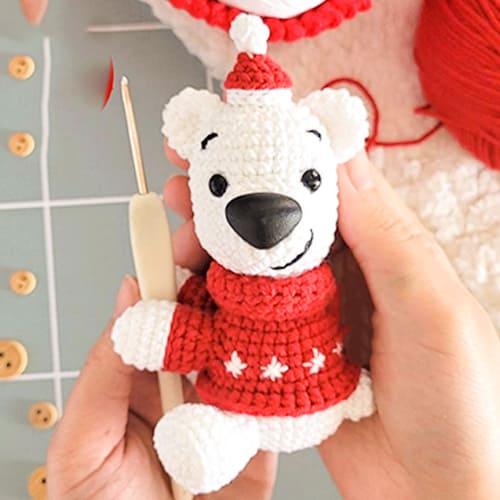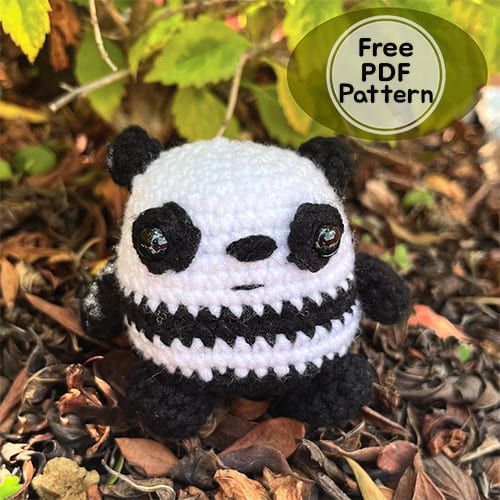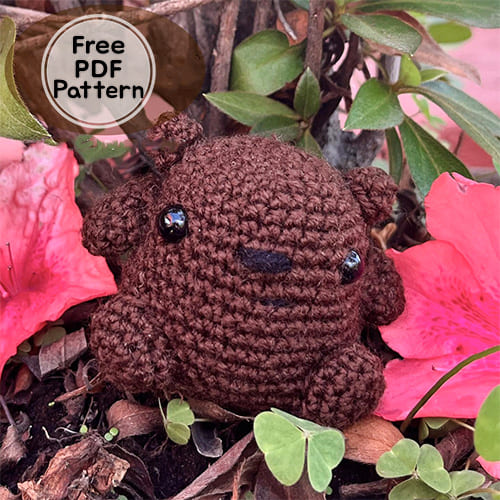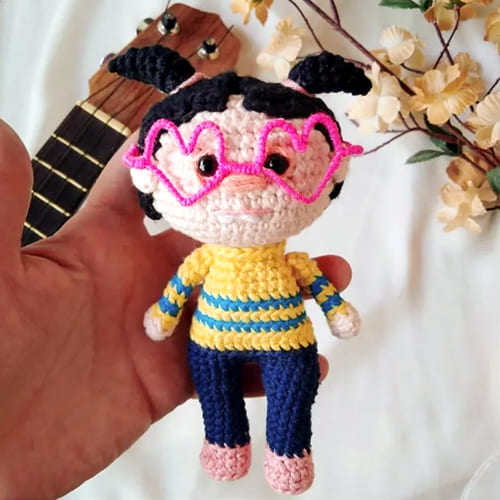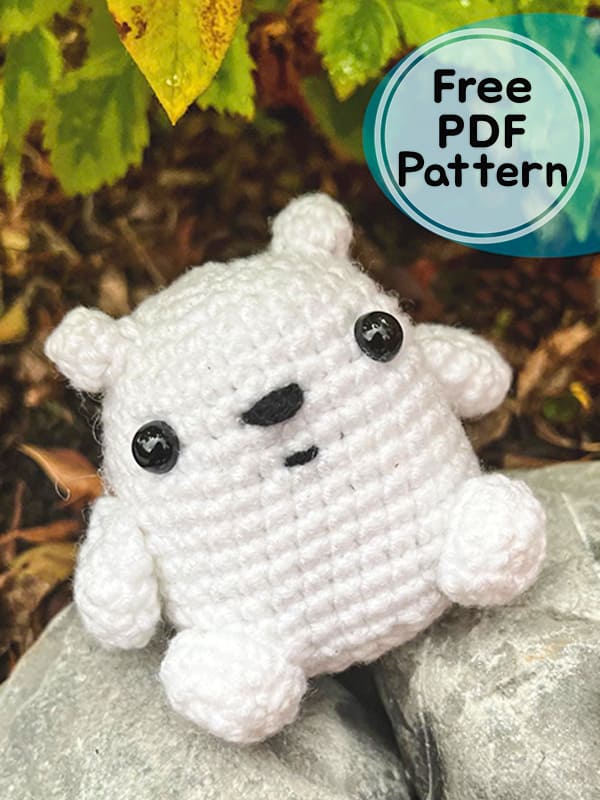
Greetings friends, here is ice bear from We bare bears cartoon series. First of all, I would like to thank the owner of the pattern. I am sharing the character of the cartoon we bare bears, ice bear, which children love very much, for you. Thanks to the detailed step by step pattern instructions, beginners can easily complete the amigurumi teddy bear. Come on now, gather the materials and start crocheting the ice bear character. Stay tuned for more free animal amigurumi patterns.
Crochet Ice Bear PDF Amigurumi Free Pattern
Designer: mau.crochet
Materials
• 3.5 mm crochet hook
• Yarn (white, black)
• 8 mm safety eyes
• Stuffing
• Darning needle
• Scissors
Abbreviations
Rnd – round
Mr – magic ring
Sc – single crochet
Inc – increase
Dec- decrease
Ch – chain
Slst- slip stitch
Body (Part 1)
In white yarn:
Rnd 1. 6 sc in MR (6)
Rnd 2. 6 inc (12)
Rnd 3. (sc,inc)*6 (18)
Rnd 4. (2sc,inc)*6 (24)
Rnd 5. (3sc,inc)*6 (30)
Rnd 6-8. 30 sc (30)
Rnd 9. (4sc,inc)*6 (36)
Rnd 10-14. 36 sc (36)
Place security eyes between body’s r8-9, 6 stitches apart from each other.
With darning needle and black yarn, embroider nose, 2 stitches apart from each eye.
Add mouth two stitches below nose.
Body (Part 2)
In white yarn:
Rnd 15-17. 36 sc (36)
Rnd 18. (4sc,dec)*6 (30)
Rnd 19. (3sc,dec)*6 (24)
Rnd 20. (2sc,dec)*6 (18)
Place stuffing.
Rnd 21. (sc,dec)*6 (12)
Rnd 22. 6 dec (6)
Fasten off.
Finish placing stuffing.
Close up stitches with darning needle.
Ears (Make 2)
In white yarn:
Rnd 1. 4 sc in MR (4)
Rnd 2. inc, 3sc (5)
Rnd 3. inc, 4sc (6)
Fasten off.
Arms (Make 2)
In white yarn:
Rnd 1. 6 sc in MR (6)
Rnd 2. (inc,2sc)*2 (8)
Rnd 3. (inc,3sc)*2 (10)
Rnd 4. 10 sc (10)
Rnd 5. (dec,3sc)*2 (8)
Fold round in half and stitch both sides shut with darning needle.
Feet (Make 2)
In white yarn:
Rnd 1. 6 sc in mr (6)
Rnd 2. 6 inc (12)
Rnd 3-4. 12 sc (12)
Tail
In white yarn:
Rnd 1. 5 sc in MR (5)
Rnd 2. inc, 4sc (6)
Rnd 3. inc, 5sc (7)
Fasten off.
Assembly
I suggest using pins to hold things in place.
Sew ears between body’s r4-6, midway of the y-axis.
Sew arms in body’s r11, parallel to each ear.
Sew legs in r15-18 at the parallel of each eye.
Sew tail in the backside of r17-19, midway of the x-axis.


