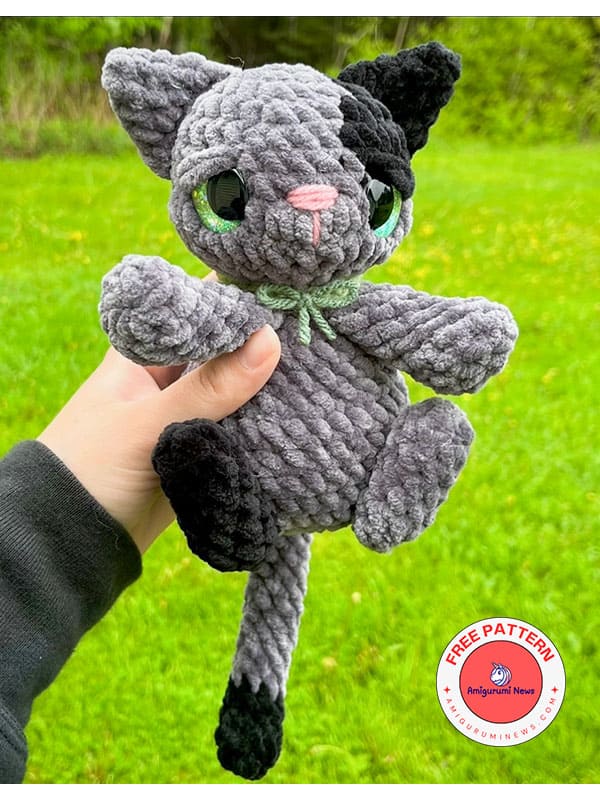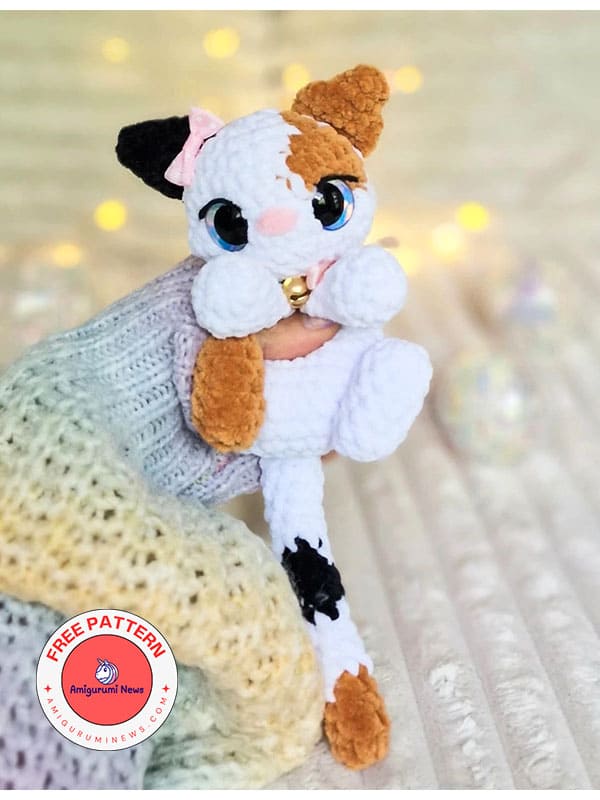
If you want a soft and cuddly crochet amigurumi cat, you can take a look at this free amigurumi pattern. This cute crochet cat is very soft because it is made with chenille yarn. I can say that it is a perfect cuddly amigurumi cat. In fact, if you do not fill it with stuffing, it can be a cuddly toy. With two colors of chenille yarn, you can easily start preparing this wonderfully cute plush crochet cat for your children now. You can make them a great summer holiday gift. Now, the crochet cat is with you with step-by-step details and plenty of helpful photos.
Clara the crochet cat pattern
Via: posiecreates
Materials:
• Yarn
• Crochet hook
• Scissors
• Yarn needle
• Stitch marker
• Safety eyes
• Stuffing
• Felt (optional)
• Glue (optional)
Terminology:
ch- chain
mr- magic ring
sc- single crochet
hdc- half double crochet
inc- increase
dec- decrease
hdcinc- half double crochet increase
slst- slip stitch
FO- fasten off
For reference: in the pattern I’ll be using hobbii honey bunny yarn with a 5mm hook and 25mm safety eyes.
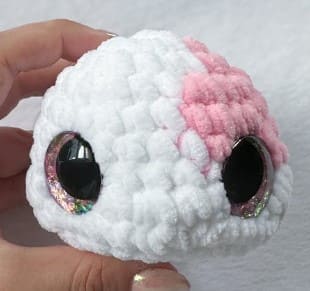
Head
Do the highlighted text in a secondary color.
R1. 7 sc in mr (7)
R2. 4 inc, inc, 2 inc (14)
R3. (sc,inc)x4, sc, inc, (sc,inc)x2 (21)
R4. (2sc,inc)x3, 2sc, inc, 2sc, inc, (2sc,inc)x2 (28)
R5. 14sc, 6 sc, 8 sc (28)
R6. 15sc, 5 sc, 8 sc (28)
R7. 16sc, 4 sc, 8 sc (28)
I placed my safety eyes between rounds 7 and 8, just above the cheeks about 5 visible stitches apart.
R8. 7 sc, 2 hdcinc, 3 sc, 3 inc, 3 sc, 2 hdcinc, 8 sc (35)
R9. 7 sc, 2 dec, 3 sc, 3 dec, 3 sc, 2 dec, 8 sc (28)
R10. (2sc,dec)x7 (21)
R11. (sc,dec)x7 (14)
Begin stuffing.
R12. 7 dec (7)
FO, close the hole and weave in your ends.
The increases in round 8 will be the cheeks and nose areas. Add some extra stuffing here.
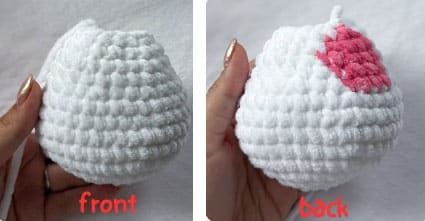
Body
Note: the spot should be the back of the body.
I stuffed the body very lightly. Feel free to stuff more for a chubbier look, or leave unstuffed for a snuggler/lovey.
R1. 8 sc in mr (8)
R2. 8 inc (16)
R3. (sc,inc)x8 (24)
R4. (2sc,inc)x8 (32)
R5. (7sc,inc)x4 (36)
R6-7. sc around (36) – 2 rounds.
R8. (7sc,dec)x4 (32)
R9. 28 sc, 4 sc (32)
R10. (2sc,dec)x7, 2 sc, dec (24)
R11. sc, 20 sc, 3 sc (24)
R12. 2 sc, 19 sc, 3 sc (24)
R13. sc, dec, (sc,dec)x6, sc, dec (16)
R14. (6sc,dec)x2 (14)
FO and leave a tail for sewing to the bottom of the head, in the center.
Ears
Make 2, one in your primary color and one in your secondary color. Do not stuff.
R1. 4 sc in mr (4)
R2. (sc,inc)x2 (6)
R3. (2sc,inc)x2 (8)
R4. (sc,inc)x4 (12)
Fold then sc 6 across to close. FO leaving a tail for sewing to the sides of the head between rounds 3 and 7, 3-4 stitches back from the eyes.
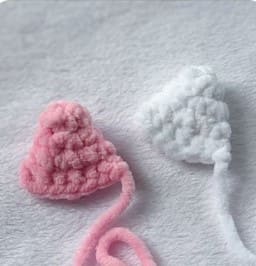
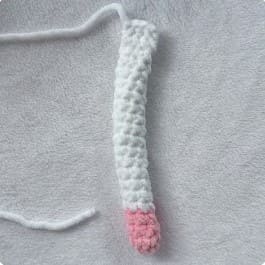
Tail
R1. 7 sc in mr (7)
R2-4. sc around (7) – 3 rounds.
R5-20. sc around (7) – 16 rounds.
FO and leave a tail for sewing to the back of the body on round 5 I left my tail unstuffed.
Arms
Make 2 in your primary color stuff firmly at the base and lightly as you go up the arm.
R1. 8 sc in mr (8)
R2. 3 sc, 2 inc, 3 sc (10)
R3. sc around (10)
R4. 3 sc, 2 dec, 3 sc (8)
R5-8. sc around (8) – 4 rounds.
Fold and sc 4 across the top to close, in line with the increases.
FO and leave a tail for sewing to the body, just below the head. The arms should be sewn directly next to each other with no space inbetween.
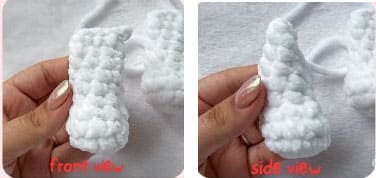
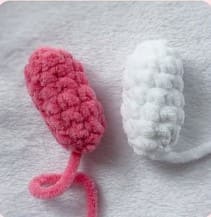
Feet
Make 2, one in your primary color and one in your secondary color. Stuff lightly.
R1. 8 sc in mr (8)
R2-6. sc around (8) – 5 rounds.
R7. (2sc,dec)x2 (6)
FO and close the hole. Leave a tail for sewing to rounds 4-8 of the body at a slight angle. I left about 8 visible stitches between the feet.
Round 1 will be the toes (top) and round 7 will be the heel (bottom).
Congratulations!