
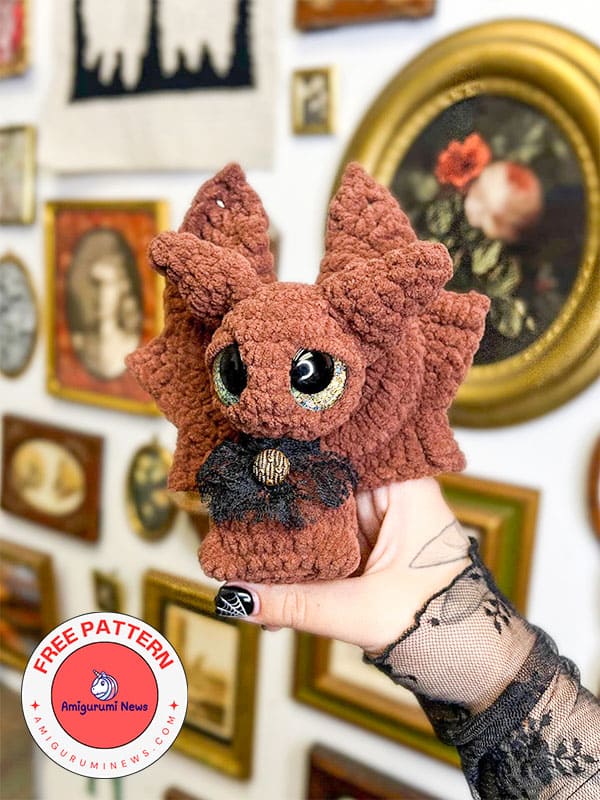
A crochet bat plush named Barron is here. Today, we’re continuing our crochet animal series with a crochet bat. Here’s a super cute and incredibly soft bat amigurumi that you can make for Halloween. While the designer chose brown plush yarn, you can work with yarn of your choice. Adding an accessory to the neck of your crochet bat after completing it wouldn’t be a bad idea. The designer opted for a stylish brooch here. If you’re looking for a different crochet bat pattern you haven’t seen before, here’s one for you.
Barron the crochet bat pattern
Designer: creature.made
Materials:
Bernat mystical in ‘cinder’
30 mm sinker safety eyes
6.0 mm hook
Fiberfill/polyester stuffing
Darning needle
Scissors
Abbreviations:
MR- magic ring
rnd- round
ch- chain
slst- slip stitch
sc- single crochet
dc- double crochet
hdc- half double crochet
inc- increase
dec- decrease
tr- treble crochet
p- picot
exdc- extended double crochet
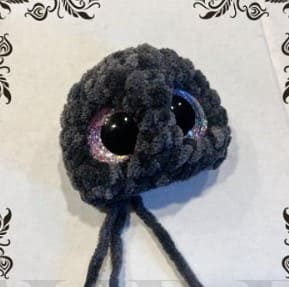
Head & body
Stuff firmly as you go once the eyes are secured. Be careful not to over stuff the head.
R1. sc x 6 in MR (6)
R2. inc around (12)
R3. (sc,inc)x6 (18)
R4. (scx2, inc) (24)
R5-7. (3 rounds): sc around (24)
Place safety eyes between rounds 6-7 approx. 2-3 visible stitches apart.
The eyes should be placed on the same side as where the bobbles will later be placed.
R8. (scx2, dec) x6 (18)
R9. (sc,dec)x6 (12)
R10. (sc,dec)x4 (8)
R11. (sc,inc)x4 (12)
R12. (sc,inc)x6 (18)
R13. (sc x2,inc)x6 (24)
R14-17. (4 rounds): sc around (24)
You may need to adjust the bbl stitches in R17 according to tension, to align the eyes.
R18. bbl, sc x4, bbl, sc x 18 (24)
R19. in BLO- (sc x2,dec)x6 (18)
R20. (sc,dec)x6 (12)
R21. dec x6 (6)
FO, weave your tail through the front loops of the remaining stitches.
Pull tight to close and the secure tail.
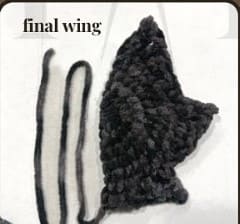
Wings (make 2)
Do not stuff.
R1. sc x8 in MR (8)
R2. inc around (16)
R3. (sc,inc)x8 (24)
R4. (scx2,inc)x8 (32)
R5. (scx3,inc)x8 (40)
R6. (scx4,inc)x8 (48)
Fold your circle in half, sc x24 across to form a half circle.
Now you will be working along the stitches you just placed-
ch 1+ turn, sc x 3, hde x 2, dc, exde, [tr, picot, sc x 3 along the tr]. sl st. hdc x 2. de x 2. exde. [tr. picot, sc x 3 along the tr]. sl st. sc. hde x 2, de x 2, exde. [tr. picot, sc x 3 along the tr], sl st into the last stitch.
You will end at the top of the wing. F.O. & tuck your tail in.
Attach a new long tail at the bottom of the wing, where you placed your ch 1 stitch.
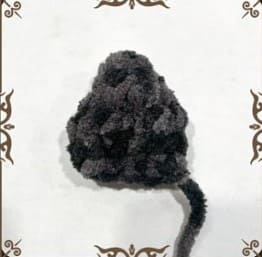
Ears (make 2)
Do not stuff.
R1. sc x4 in MR (4)
R2. (sc,inc)x2 (6)
R3. sc around (6)
R4. inc around (12)
R5. sc around (12)
R6. (sc x2, dec)x3 (9)
Ch 1, sc x4 across to close.
FO and leave a tail for sewing.
Assembly
Using a darning needle, sew each ear to the top of the head starting at round 2-3 of the head, approximately 3-4 rounds above the eyes. The ears should be about 4-6 stitches apart from each other. You may adjust the angle of the ear to your liking.
Attach each of the wings to the back of the body, starting from the bottom of the wing, working your way up the body, and F.O. about halfway up the wing. This may change depending on the angle you choose for your bat. You may play with the angle of your wing placements to achieve different looks, however I prefer to sew them vertically to the body. Additional sewing may be necessary to secure your wings.


