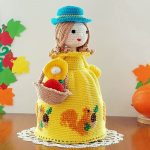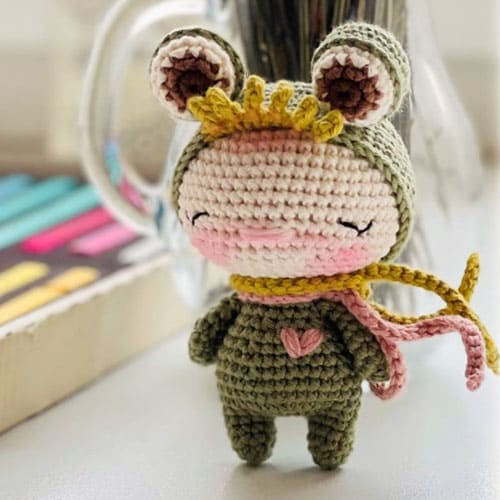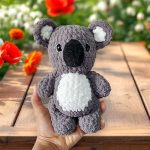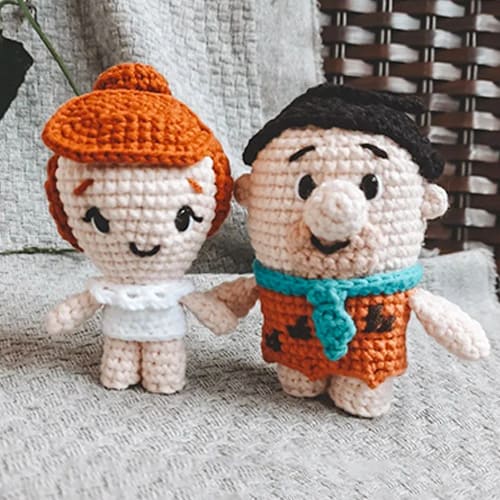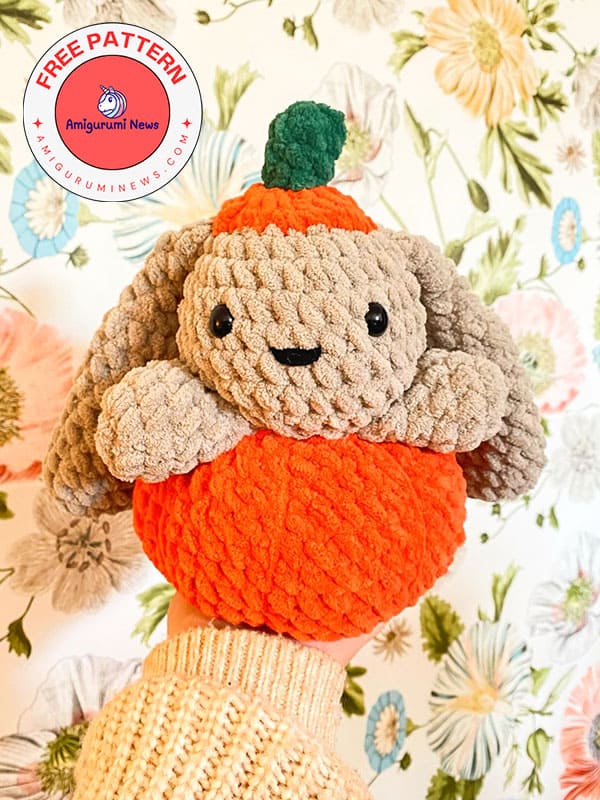
I’m continuing with today’s second free amigurumi pattern. This time, it’s a crocheted pumpkin pal. Those looking for crochet pumpkin patterns will love these unique amigurumi patterns today. A cute crochet bunny inside a pumpkin. Those looking for a different and unique crochet bunny pattern should definitely try it. It’s both simple to make and a unique amigurumi. Now you can make a fun amigurumi bunny plush toy that kids will love, step by step.
Crochet pumpkin pal bunny pattern
Designer: makalacrochets
Materials for a pumpkin pal:
• Orange yarn (pumpkin body and hat)
• Grey yarn (bunny’s head, ears, arms)
• Green yarn (pumpkin stem)
• Black or pink yarn (optional to embroider the bunny’s nose)
• 6.5 mm crochet hook
• Stitch marker
• Yarn needle
• Polyfill
• Safety eyes (optional)
Abbreviations used in pumpkin pal:
MR: magic ring
sc: single crochet
inc: increase (2 sc in 1 stitch)
dec: decrease (single crochet 2 stitches together)
slst: slip stitch
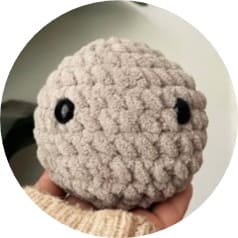
Head
Using grey yarn:
Round 1: MR, 6 sc (6)
Round 2: inc around (12)
Round 3: (1 sc, inc) x6 (18)
Round 4: (2 sc, inc) x6 (24)
Round 5: (3 sc, inc) x6 (30)
Rounds 6-8: sc around (30)
*Insert safety eyes between rows 6 & 7 (or wherever you prefer) approximately 6 stitches apart. Begin stuffing.
Round 9: (3 sc, dec) x6 (24)
Round 10: (2 sc, dec) x6 (18)
Round 11: (1 sc, dec) x6 (12)
Round 12: dec around (6)
Fasten off and leave a tail for sewing. Finish stuffing. Embroider nose in between eyes.
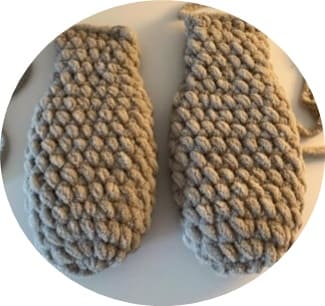
Ears (make two)
Using grey yarn:
Round 1: MR, 6 sc (6)
Round 2: inc around (12)
Round 3: (1sc,inc)x6 (18)
Round 4-12. sc around (18)
Round 13: (1sc,dec)x6 (12)
Round 14-17: sc around (12)
Optional: Fold the ear in half and sc 5 across the top of the ear for easier sewing.
Fasten off, leaving a tail for sewing.
Sew the ears to the top of the bunny’s head (between rows 4-5 on head).
Arms (make two)
Using grey yarn:
Round 1: MR, 6 sc (6)
Round 2: inc around (12)
Round 3-6: sc around (12)
Fold arm in half and 5 sc across the top.
Optional: stuff arms lightly if preferred.
Fasten off and leave a tail for sewing.
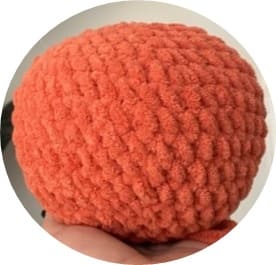
Pupmkin body
Using orange yarn:
Round 1: MR, 6 sc (6)
Round 2: inc around (12)
Round 3: (1 sc, inc) x6 (18)
Round 4: (2 sc, inc) x6 (24)
Round 5: (3 sc, inc) x6 (30)
Round 6: (4 sc, inc) x6 (36)
Round 7: (5 sc, inc) x6 (42)
Round 8-12: sc around (42)
Round 13: (5 sc, dec) x6(36)
Round 14: (4 sc, dec) x6(30)
Begin stuffing.
Round 15: (3 sc, dec) x6 (24)
Round 16: (2 sc, dec) x6 (18)
Round 17: (1 sc, dec) x6 (12)
Round 18: dec around (6)
Finish stuffing.
Fasten off and leave a long tail. Sew hole closed. Using your sewing needle, pull the yarn through the center – bottom to top. Carefully pull firmly to create shape of pumpkin. Repeat this 5 times around pumpkin.
Base of hat
Using orange yarn:
Round 1: MR, 6 sc (6)
Round 2: inc around (12)
Round 3: inc around (24)
Fasten off and leave tail for sewing.
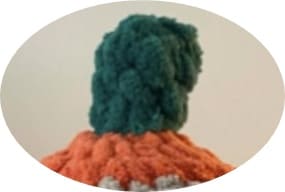
Stem of hat
Using green yarn:
Round 1: MR, 6 sc (6)
Round 2-4. sc around (6)
Fasten off and leave a tail to sew the stem on top of the base of the hat.
Assembly
Ears: Sew the ears between rows 4-5 on head.
Arms: Sew arms at an angle underneath the head.
Head/arms to pumpkin body: Place the head/arms on top of the pumpkin and sew around.
Stem hat: Sew hat on top of bunny’s head between ears.

