
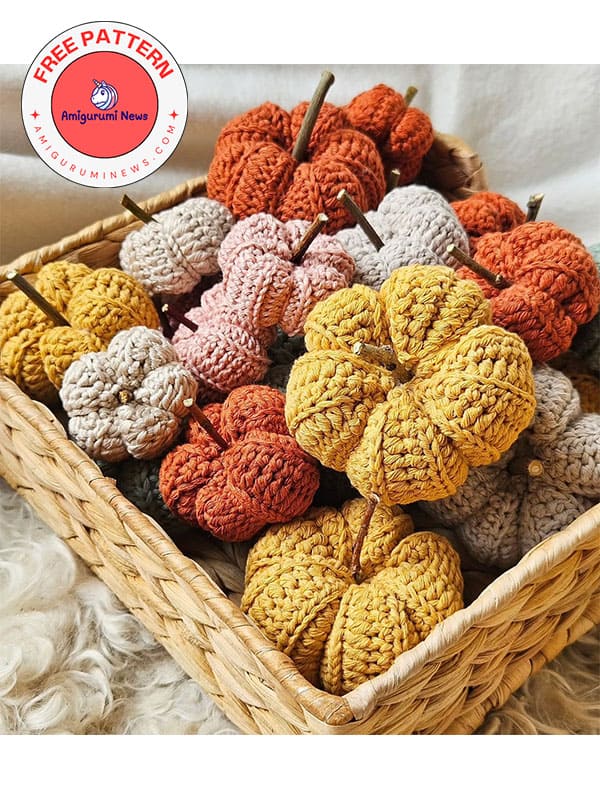
You can make this free crochet pumpkin pattern in three different sizes. It’s accompanied by helpful step-by-step photos for beginners to easily understand. Start preparing for Halloween right now by checking out this free crochet pumpkin pattern. Since it can be made in any size, you can use it as decor anywhere in the house. Display these beautiful crochet pumpkins on a coffee table or by hanging them from the ceiling. Now, let’s move on to the pattern instructions and learn how to make them.
Small, medium and large crochet pumpkin pattern
Designer: karemarkvirkar
Materials
Hook: 3,5 mm
Fiber filling
Recommended yarn: 8/8 for example:
Drops muskat, drops cotton light, yarn and colours epic
Secateurs
Stich/cinnamon stick
Measure wxh:
Large: ca 6×4 cm
Medium: ca 5×3 cm
Small: ca 3×2 cm
Abbreviations
ch: chain
st: stitch
sc: single crochet
slst: slip stitch
hdc: half double crochet
blo: back loop only
Yarn under hook:

Yarn over hook:
The different sizes are crocheted the same way, but cast on the indicated stitches to get larger/smaller pumpkins. Or cast on more stitches to crochet a larger pumpkin.
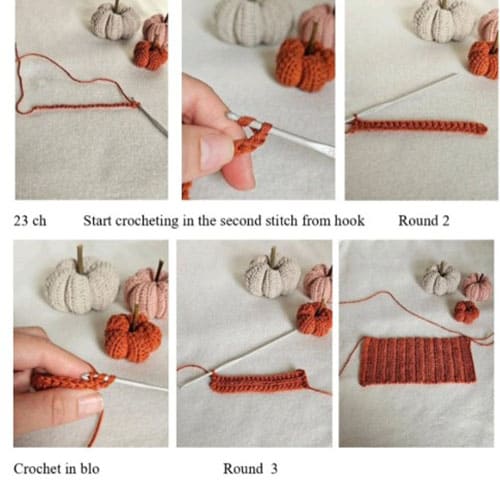
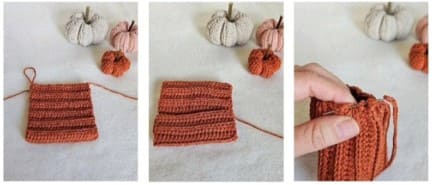
For large pumpkin: cast on 23 ch, start crocheting in the second stitch from the hook: 21 hdc.
For medium pumpkin: cast on 18 ch, start crocheting in the second stitch from the hook: 16 hdc.
For small pumpkin: cast on 14 ch, start crocheting in the second stitch from the hook: 12 hdc.
Large Pumpkin, from round 3 onwards, turn all rounds with 2 ch.
1:23 ch (23)
2: Start crocheting in the second stitch from the hook, 21 hdc (21)
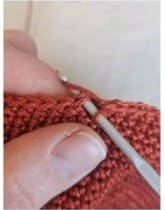
3: 21 hdc in blo (21)
Continue crocheting as in round 3 until you can fold the pumpkin like the pictures below:
To make sure that you have crocheted long enough, do as follows:
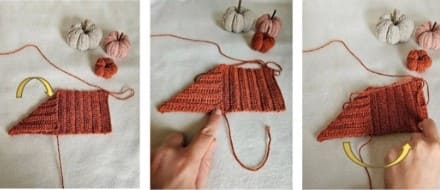
Fold one corner down towards the long side and then fold to the other short side.
If the triangle comes edge with the other short side, you have crocheted enough rounds.
Fold the short sides towards each other and crochet together with slip stitches and cut the yarn with about 120 cm left.
Then sew a few stitches at the top of the pumpkin.
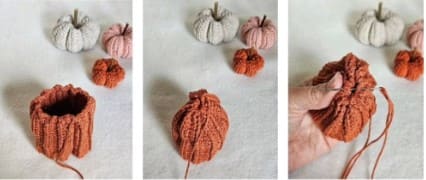
Start and where you crocheted the short sides together, pull tight. Then sew the rest of the hole together with a few stitches.
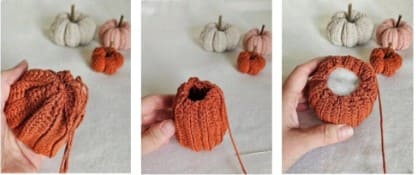
Insert the needle in the middle to the other short side, sew around this side as well.
Fill with fiber filling.
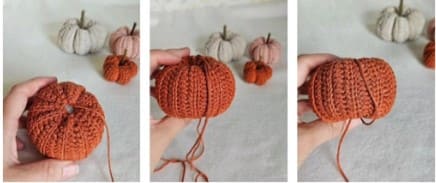
Pull tight and sew a few stitches but leave a small hole where the stick will be inserted later. Insert the needle through the pumpkin and pull tight. Sew a few stitches through the pumpkin and move the thread around, pulling tight to give the pumpkin its shape. Then secure the thread at the bottom.
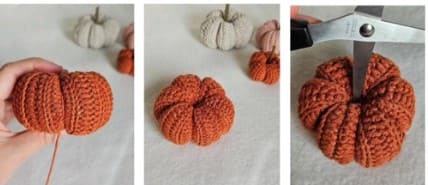
For example, press a scissor or a thicker hook into the hole at the top of the pumpkin to make it easier to push a stick or cinnamon stick down.


