
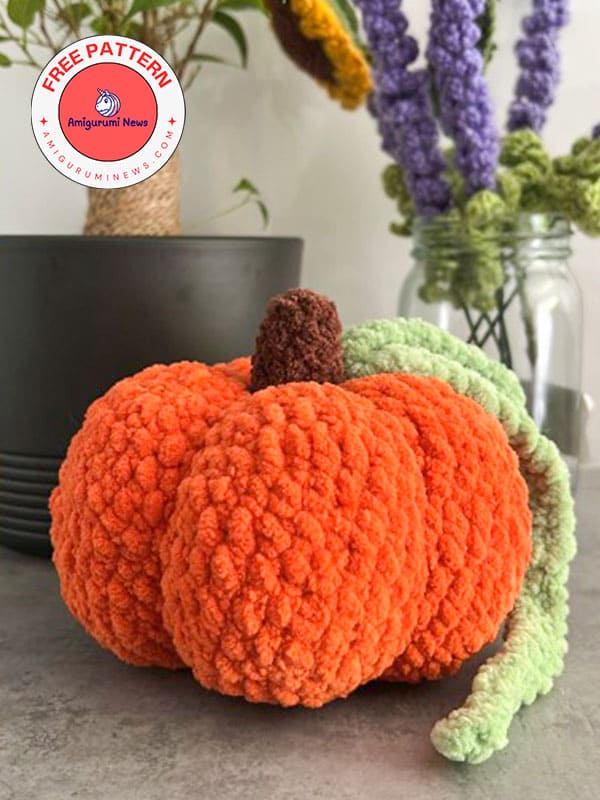
What could be better than a classic crochet pumpkin for Halloween decor? I think everyone should make one this year. It can be used all fall to create a cozy atmosphere at home. Yes, you heard that right, you can also use it as a throw pillow. Because it’s made with soft chenille yarn, it makes a very comfortable crocheted pillow. If you want a slightly more squashed pumpkin look, you’ll need to fill it less to create a squashed pumpkin. Here’s how to crochet pumpkin in detail below.
Chunky crochet pumpkin
Designer: hookcrochetco
Materials:
Orange yarn:
(Bernat blanket Mist-ical)
Brown yarn:
(Yarn bee cozy occasion)
Green yarn:
(Premier basix chenille)
Crochet hook size: 6 mm.
Stuffing.
Tapestry needle.
Abbreviations:
hdc- half double crochet
hdcinc- half double crochet increase
hdcdec- half double crochet decrease
sc- single crochet
inc- increase
MR- magic ring
slst- slip stitch
Large pumpkin
Using orange yarn.
R1. 8 hdc in MR (8)
R2. hdcinc x8 (16)
R3. (hdc,hdcinc)x8 (24)
R4. (2hdc,hdcinc)x8 (32)
R5. (3hdc,hdcinc)x8 (40)
R6. (4hdc,hdcinc)x8 (48)
R7. (5hdc,hdcinc)x8 (56)
R8-18. (11 rounds): hdc around (56)
R19. (5hdc,hdcdec)x8 (48)
R20. (4hdc,hdcdec)x8 (40)
R21. (3hdc,hdcdec)x8 (32)
R22. (2hdc,hdcdec)x8 (24)
Begin stuffing.
R23. (hdc,hdcdec)x8 (16)
R24. hdcdec x8 (8)
Slip stitch in the next stitch and fasten off.
Leave an extra-long tail for closing hole and shaping pumpkin.
Using tapestry needle, sew hole closed. Do not cut tail.
Special stitch:
Half double crochet decrease YO, insert into next stitch, YO, pull up a loop.
You should now have 3 loops on your hook. YO, insert into the following stitch (next to the one you just went into).
YO, pull up a loop. You should now have 5 loops on your hook. YO, pull through all loops.
Shaping Pumpkin
Using orange tail from pumpkin…
• Insert needle into top hole of pumpkin (where you just closed) and pull out of the center of the bottom magic ring.
• Bring needle back to the top of the pumpkin and insert through top hole again. Pull out of the bottom magic ring and pull tightly. Press on the top of pumpkin while pulling to shape the pumpkin.
• You have just made your first shaping line.
• Repeat this process 4 more times for a total of 5 lines. Make sure to evenly space your lines out around the pumpkin.
• After 5 lines are complete, your needle should be coming out of the bottom of the pumpkin. Insert needle into a stitch close to where it’s currently coming out of and pull needle through the pumpkin.
• Pull out other side of pumpkin and hide tail.
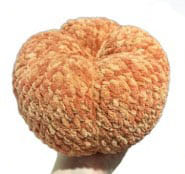
Stem
Using brown yarn.
R1. 5 sc in MR (5)
R2. 2 sc, inc, 2 sc (6)
R3. (2sc,inc)x2 (8)
R4. sc around (8)
R5. (3sc,inc)x2 (10)
R6. sc around (10)
Slip stitch in the next stitch and fasten off leaving a tail for sewing.
Stuff stem.
Sew stem on top of the pumpkin.
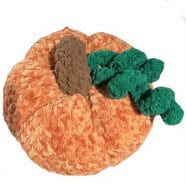
Vines
Using green yarn.
Make a slip knot on your hook and chain 20.
Starting in the 2nd chain from hook, 19 sc.
Fasten off leaving a tail for sewing.
Make a slip knot on your hook and chain 30.
Starting in the 2nd chain from hook, 29 sc.
Fasten off leaving a tail for sewing.
Sew both vines to the top of the pumpkin near the stem. Hide all remaining yarn tails.


