
This fun crochet gnome or crochet Easter bunny can be used in the fall, too. Whether you’re making it for Easter or in the fall, make this adorable crochet gnome using autumn colors. Whether you’re a beginner or an experienced crafter, this amigurumi pattern offers a great opportunity to hone your skills while creating gifts. In this article, we’ll explore how to make these charming crocheted gnomes, the supplies you’ll need, and tips to make your project stand out.
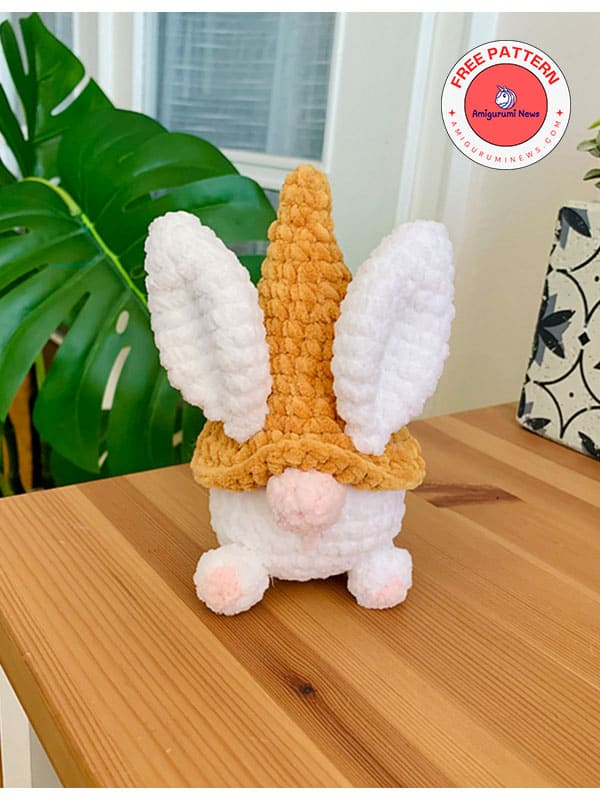
Unique crochet bunny gnome craft for home decoration
A crochet gnome and a crochet Easter bunny are here. While you can find similar gnomes online, I haven’t come across an amigurumi pattern quite like this one. Here’s a simple crochet gnome pattern anyone can make. Follow this free amigurumi pattern to create your own crocheted gnome right now. Choose from floppy ears, pointy ears, or a hat. Customize it however you like and get it ready for fall.
Designer: tatoocrochet
Abbreviations:
– MR: Magic ring
– sc: single crochet
– inc: increase
– dec: decrease
– ch: chain
– BLO: Back loop only
– FLO: Front loop only
– (…) x…: repeat the sequence within parentheses.
Materials:
– 4mm crochet hook
– Yarn needle
– Stitch markers
– Scissors
– Stuffing
– Chenille yarn: White, pink, and a third color for the hat.

Hat:
R1: MR of 4 (4)
R2: (1sc, 1inc) x2 (6)
R3: 6sc (6)
R4: (1sc, 1inc) x3 (9)
R5: 9sc (9)
R6: (2sc, 1inc) x3 (12)
R7: 12sc (12)
R8: (3sc, 1inc) x3 (15)
R9: 15sc (15)
R10: (4sc, 1inc) x3 (18)
R11: 18sc (18)
R12: (5sc, 1inc) x3 (21)
R13: (2sc, 1inc) x7 (28)
R14: FLO (3sc, 1inc) x7 (35)
R15: 35sc (35)
R16: (6sc, 1inc) x5 (40)Cut the yarn and make an invisible finish. Stuff as you go.
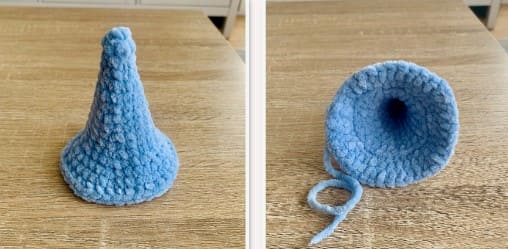
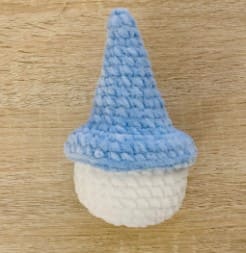
Body:
Resume at Round 14, working in back loops only with white yarn.
R14: BLO 28sc (28)
R15-20: 28sc (28) (6 rounds)
R21: (2sc, 1dec) x7 (21)
R22: (1sc, 1dec) x7 (14)
R23: 1dec x7 (7)
Stuff completely, cut the yarn, and close.
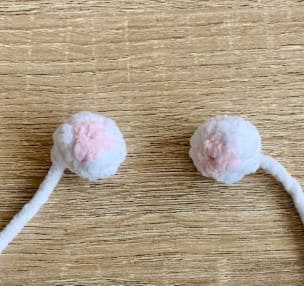
Legs (x2): Start with pink
R1: MR of 4 (4), switch to white
R2: 1inc x4 (8)
R3: 8sc (8)
R4: 1dec x4 (4)
Stuff, cut the yarn (leave 20cm for sewing).
Nose: Pink yarn
R1: MR of 4 (4)
R2: 1inc x4 (8)
R3: 8sc (8)
R4: 1dec x4 (4)
Stuff, cut the yarn (leave 20cm for sewing).
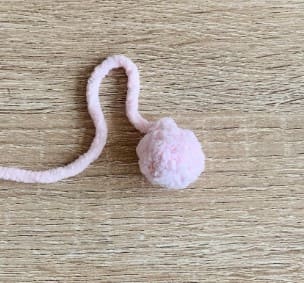
Tail: White yarn
R1: MR of 8 (8)
R2: 1inc x8 (16)
R3: 16sc (16)
R4: 1dec x8 (8)
Stuff, cut the yarn (leave 20cm for sewing).
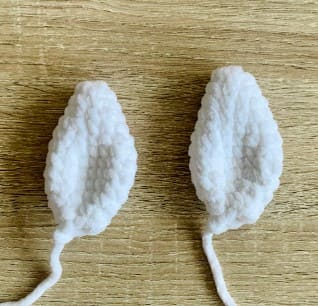
Ears (x2): White yarn
R1: MR of 6 (6)
R2: (1sc, 1inc) x3 (9)
R3: 9sc (9)
R4: (2sc, 1inc) x3 (12)
R5: 12sc (12)
R6: (3sc, 1inc) x3 (15)
R7-9: 15sc (15) (3 rounds)
R10: (3sc, 1dec) x3 (12)
R11: (2sc, 1dec) x3 (9)
R12: (1sc, 1dec) x3 (6)
Do not stuff, cut the yarn (leave 20cm for sewing).
Assembly:
– Attach the nose between rounds 15 and 17 (pass the thread under the nose from round 17 to round 20).
– Attach the feet between rounds 20 and 21.
– Attach the tail at the back between rounds 18 and 20.
– Attach the ears at round 13 of the hat


