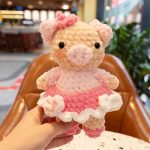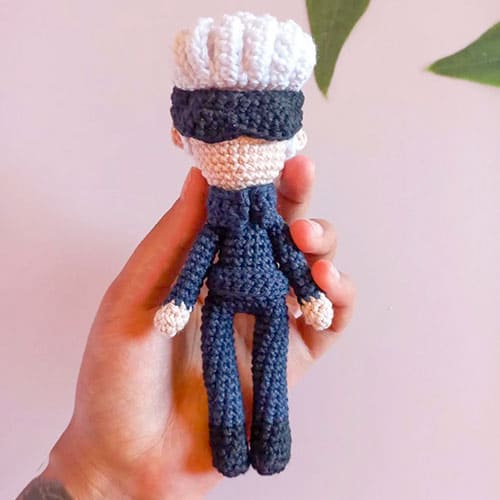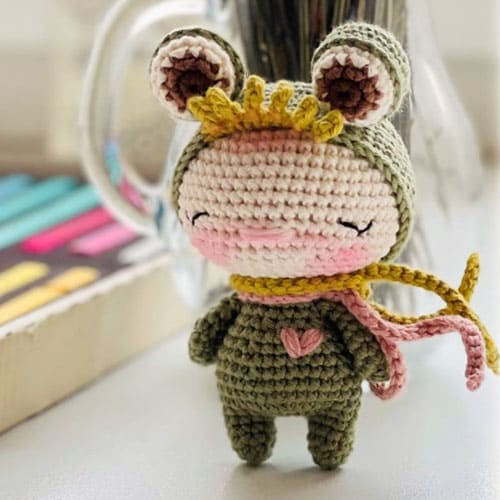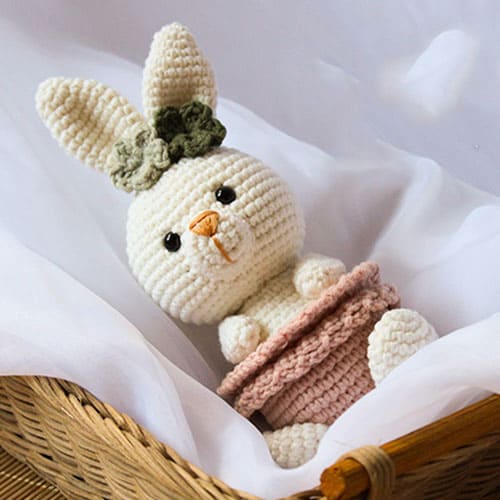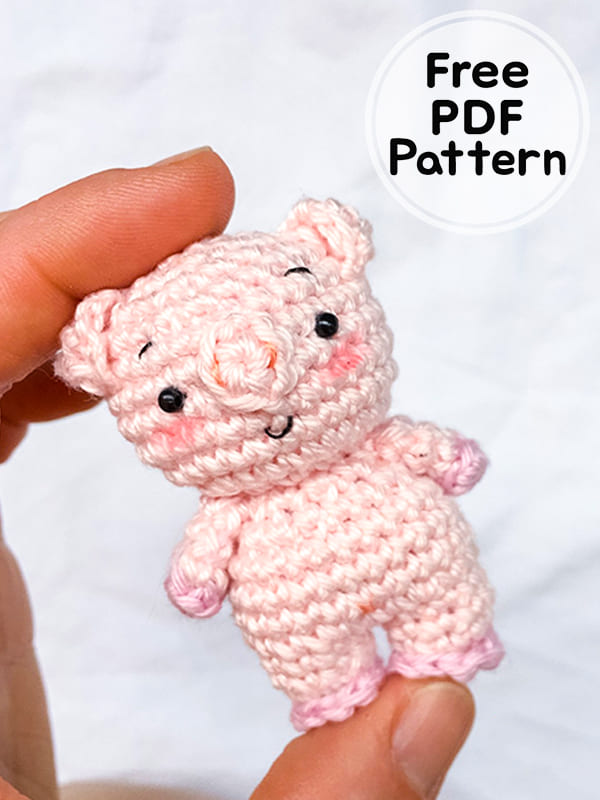
I’m with you with the Amigurumi crochet little pig free pattern. First of all, I would like to thank the owner of the pattern. Thanks to the detailed and very easy step by step amigurumi pig pattern instruction, beginners can complete their own crochet amigurumi pig toy. Complete the little piggy right now and gift your child a beautiful handmade amigurumi toy. If you wish, you can use the cute pig as a key chain. Now I invite you to the free amigurumi pattern instruction. Don’t forget to follow for more animal amigurumi patterns.
Amigurumi Little Pig PDF Free Crochet Pattern
Designer: amigurumi_amo
Materials
Crochet hook: 2,5/3 mm
Cotton yarn in two shades of pink
Yarn needle
Stuffing
Black beads
Abbreviations
Ch: Chain
MR: Magic ring
Sc: Single crochet
FLO: Front loop only
BLO: Back loop only
Inc: Increase
Dec: Decrease
St: Stitch
Slst: Slip stitch
Legs (Make 2) Body and head
Rnd 1. sc 9 (9)
Rnd 2. (9) work BLO
Rnd 3. (9)
One you have realized the second leg do not cut the thread (you’ll use it to
join the legs and work the body), with darker red work on the FLO stitches of round 2 as follows (from the back), slst 3, sc inc, slst, sc inc, slst 2.
To join the legs continue to work on the second leg as follows:
Rnd 1. sc 7, join to the first leg with a sc in the third sc of the last round, sc8, sc2 in the second leg (18)
Rnd 2. (sc2,inc)*6 (24)
Rnd 3-4. (24)
Rnd 5. (sc2,dec)*6 (18)
Rnd 6. (sc,dec)*6 (12)
Stuff.
Rnd 7. 12 slst
Rnd 8. (inc)*12 (24) Work FLO
Rnd 10-13. (30)
Rnd 14. (sc3,dec)*6 (24)
Rnd 15. (sc2,dec)*6 (18)
Stuff.
Rnd 16. (sc,dec)*6 (12)
Rnd 17. (dec)*6 (6)
Cut off and secure.
Muzzle
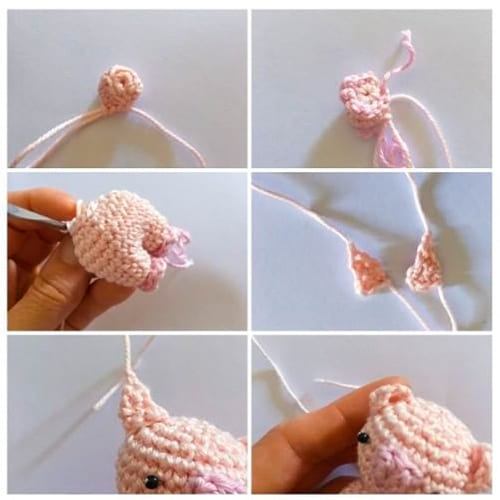
Sc 6 in magic ring. Cut off and leave a long tail to sew to the head.
Ears (Make 2)
Ch 2, sc 2 in the second ch from the hook, ch, turn (2)
sc 2, ch, turn (2)
sc inc, sc (3)
Cut off and leave a long tail to sew to the head.
Arms (Make 2)
Dark pink.
Rnd 1. sc 6 in magic ring (6)
Change color and use light pink.
Rnd 2. (6) Work BLO
Rnd 3-4. (6)
Cut off and leave a long tail to sew to the head.
Tail
Ch6, slst 6. Cut off, stretch with the fingers and sew on the back.
Sew the muzzle, the ears (fold the point and sew), sew the black beads, the arms, the tail and color the cheeks.
