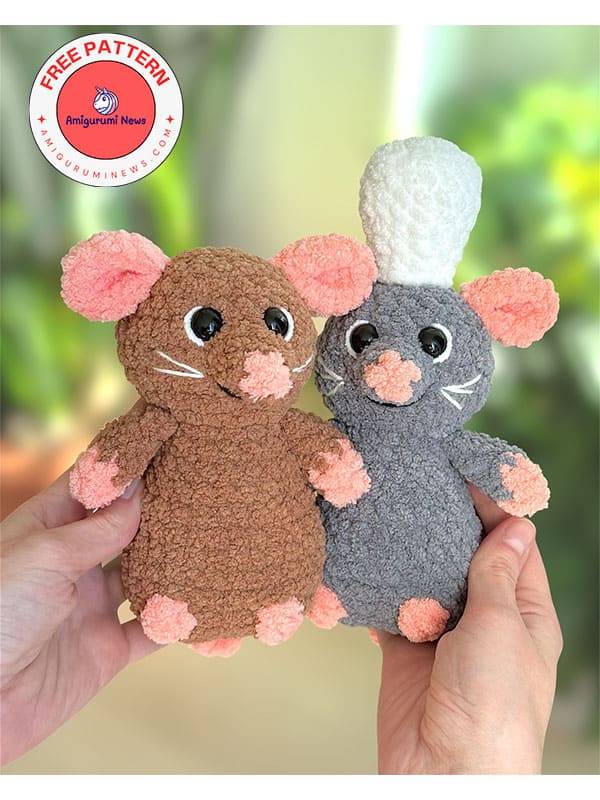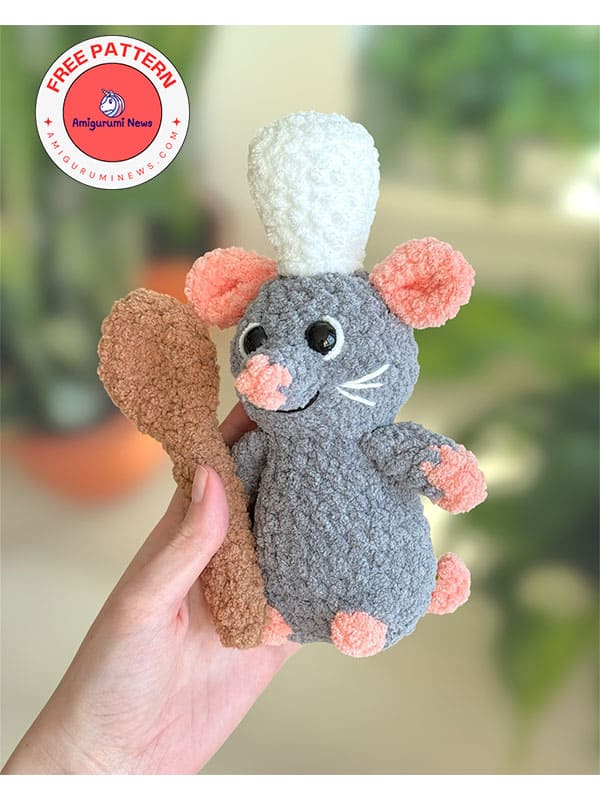
This wonderful crochet mouse pattern is available for free today. This wonderful crochet mouse is inspired by Remy and Emile from the movie Ratatouille. The Ratatouille character, one of the most beloved movies of all time, can now be made as an amigurumi. Make these wonderful crochet mice and give your children these cute amigurumi pattern mice while watching the movie. When making Remy’s brother Emile, you can use a 5.5 mm crochet hook instead of a 5 mm. This will create a slightly larger mouse. Here is the crochet mouse pattern with step by step details below.
Amigurumi ratatouille remy crochet mouse pattern
Via: crochets_byliza
Materials:
– Super bulky yarn (6) (I used premier basix chenille) in,
• Grey for the body
• Pink for the legs, arms, ears, nose and tail
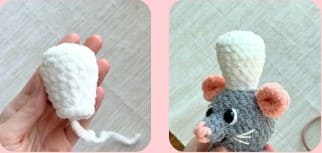
• White for the chef hat
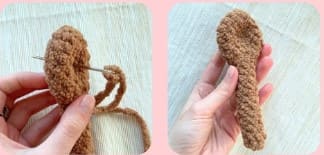
• Brown for the spoon
– Thinner acrylic or cotton yarn in,
• White for embroidering the face details
• Black for embroidering the face details
– Size 5mm crochet hook (use 5.5 mm hook to make a bigger size)
– Black safety eyes (12mm)
– Tapestry needle
– Fiberfill
– Stitch marker
– Scissors
Skills and abbreviations:
MR- magic ring
sc- single crochet
inc- increase
dec- decrease
slst- slip stitch
BLO- back loop only
FLO- front loop only
ch- chain
BO- bobble stitch
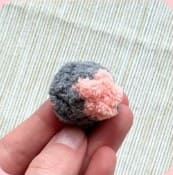
Nose
Start in pink yarn.
Rnd 1. 4 sc in a magic ring (4)
Change to grey yarn.
Rnd 2. (sc,inc)*2 (6)
Rnd 3. (2sc,inc)*2 (8)
Slst in the first st. Fasten off, leaving a long tail for sewing.
Arms
Make 2 arms.
Start with pink yarn.
Rnd 1. 4 sc in a magic ring (4)
Rnd 2. (sc,inc)*2 (6)
Change to grey yarn.
Rnd 3-5. sc in all 6 (6) [3 rounds]
Do not stuff the arm. Fold in half and crochet 3 sc through both sides of the arm. Fasten off and weave in the yarn ends.

Ears
Make two in pink yarn.
Rnd 1. 8 sc in a magic ring (8)
Rnd 2. inc in all 8 (16)
Fasten off, leaving a long tail for sewing.
Pinch the bottom of the ear and sew first 2 stitches of each side together to make them slightly pointy.

Body and head
Text in pink yarn should be crocheted with pink yarn.
Start in grey yarn.
Chain 8. Starting from the second chain, crochet around the chain.
Rnd 1. inc, 5 sc, 4 sc in the last st, 5 sc, inc (18)
Rnd 2. 2 inc, 5 sc, 4 inc, 5 sc, 2 inc (26)
Next round we are going to make the legs and the tail.
Rnd 3. BLO: 3sc, in both loops: BO, BLO: 5 sc, in both loops: BO BLO: 9 sc, 12 chain, starting from the second chain: 11 slst on the chain, 7 sc (26)
Rnd 4-6. sc in all 26 (26) [3 rounds]
Rnd 7. (11sc,dec)*2 (24)
Rnd 8. sc in all 24 (24)
Start stuffing the body with fiberfill and continue stuffing as you go.
Do not overstuff the bottom, it should be flat.
Rnd 9. (4sc,dec)*4 (20)
Rnd 10. sc in all 20 (20)
Rnd 11. (3sc,dec)*4 (16)
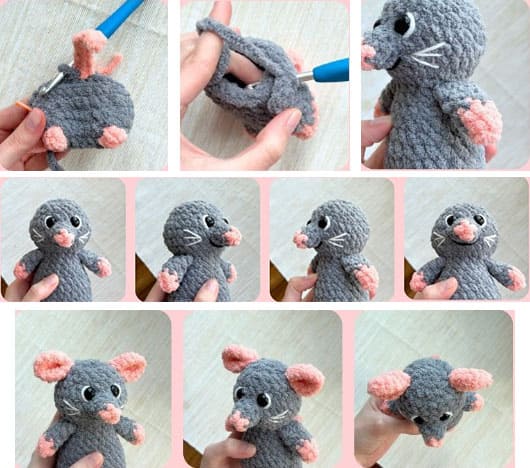
In the next round, we will crochet through the body and the arms at the same time.
Rnd 12. 3 sc through the first arm, 5 sc, 3 sc through the second arm, 5 sc (16)
Adjust the position of BO stitches and the tail if they are not in the center.
Adjust the position of the arms if they are not in the center.
Rnd 13. FLO (sc,inc)*8 (24)
Rnd 14. (3sc,inc)*6 (30)
Rnd 15-17. sc in all (30) [3 rounds]
Rnd 18. (3sc,dec)*6 (24)
Rnd 19. (2sc,dec)*6 (18)
Sew the nose between rounds 15-17. Insert safety eyes between rounds 17 and 18 right above the nose.
Start stuffing the head and stuff as you go.
Rnd 20. sc in all 18 (18)
Rnd 21. all dec (9)
Add more stuffing to the head if needed. Fasten off, leaving a tail.
Using a needle, weave the yarn tail through the front loop of each remaining stitch and pull tight to close. Weave in the yarn end.
Embroider the whiskers and eye details with white yarn. Embroider the smile with black thin yarn under the nose.
Sew the ears to each side of the head between rounds 20 and 21.
Chef hat
Make it in white yarn.
Rnd 1. 8 sc in a magic ring (8)
Rnd 2. inc in all 8 (16)
Rnd 3. (3sc,inc)*4 (20)
Rnd 4. BLO sc in all 20 (20)
Rnd 5. (4sc,dec,4sc)*2 (18)
Rnd 6. (7sc,dec)*2 (16)
Rnd 7. (3sc,dec,3sc)*2 (14)
Rnd 8. (5sc,dec)*2 (12)
Rnd 9. sc in all 12 (12)
Rnd 10. slst in all 12 (12)
Slst in the fitst st. Fasten off, leaving a long tail for sewing. Stuff with fiberfill.
Do not overstuff the top of the hat, it should be flat. Sew the hat to the top of the head (round 21).
Spoon
Make it in brown yarn.
Rnd 1. 6 sc in a magic ring (6)
Rnd 2. inc in all 6 (12)
Rnd 3. (3sc,inc)*3 (15)
Rnd 4-5. sc in all 15 (15) [2 rounds]
Rnd 6. (3sc,dec)*3 (12)
Rnd 7. sc in all 12 (12)
Rnd 8. all dec (6)
Rnd 9-20. sc in all 6 (6) [12 rounds]
Fasten off, leaving a tail. Using a needle, weave the yarn tail through the front loops of the remaining stitches and pull tight to close.
Weave in the end securely. Flatten the spoon at the center of the wide part of the piece, and make a few stitches with a needle to help it stay flat.
Then fasten off and weave in any remaining yarn ends.