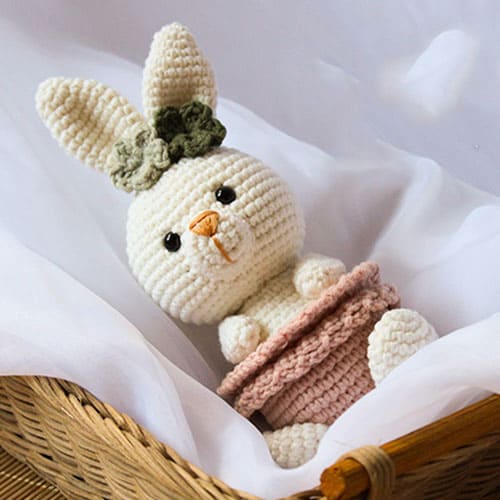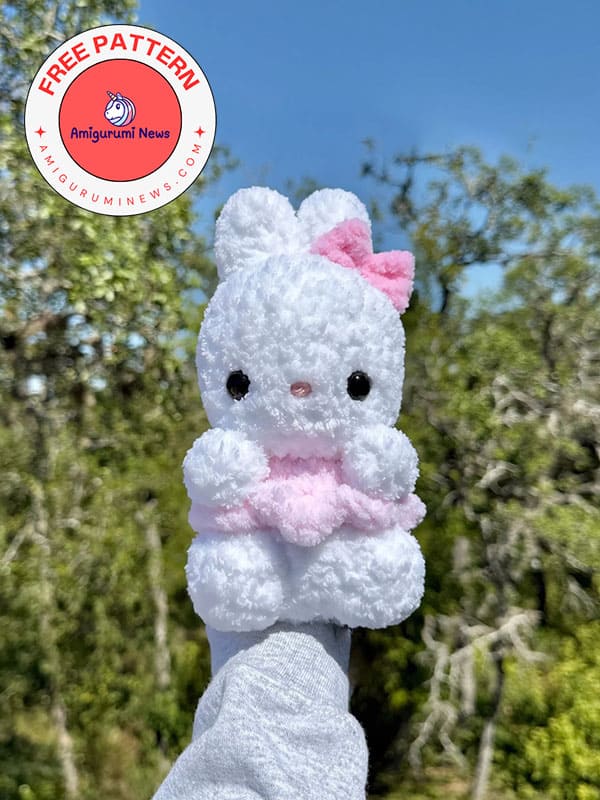
I’m sharing a very simple crochet plush bunny amigurumi pattern with you. This little baby plush crochet bunny is incredibly easy to make. The pattern instructions are both short and easy to follow. We can all make this crocheted toy bunny, one of our most popular amigurumi patterns, today, on the last day of summer. It’ll only take a few hours. It would make a great back-to-school gift for kids. We’ll make the head and body of this adorable plush bunny in one piece. You’ll need pink yarn for the body. Finally, we’ll sew the ruffles on the skirt. Here’s how. You can follow the steps below.
Free baby plush crochet bunny pattern
Designer: sweetpeaplush
Materials
• Any same size yarn in white, light pink and dark pink (I am using size 6 yarn)
• Crochet hook that matches the size of your yarn (I am using a 6.5mm hook)
• A pair of safety eyes and washers (I am using 12mm eyes)
• Pink acrylic yarn for the nose
• Yarn needle
• Stitch marker
• Scissors
• Stuffing
Abbreviations
• R = round/row
• mr magic ring
• ch = chain
• st(s) = stitch(es)
• sc = single crochet
• inc = increase
• dec = decrease
• FO = fasten off
• BLO = back loop only
• hdc half double crochet
• slst = slip stitch
Head and Body
(in white yarn)
R1: 6 sc in mr (6)
R2: inc x 6 (12)
R3: (sc, inc) x 6 (18)
R4: (2sc, inc) x 6 (24)
R5: (3sc, inc) x 6 (30)
R6-11: sc around (6 rounds) (30)
R12: (sc, dec) x 10 (20)
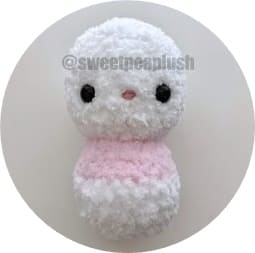
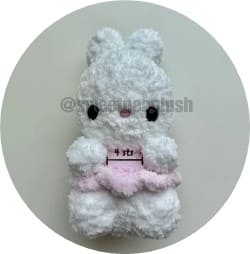
Place safety eyes between rows 9-10. around 6 sts apart.
R13: dec x 10 (10)
Begin stuffing and color change to light pink yarn, we will continue onto the body.
(in light pink yarn)
R14: inc x 10 (20)
R15: (4sc, inc) x 4 (24)
R16-17: sc around (2 rounds) (24)
(color change to white yarn and FO light pink yarn)
R18: BLO sc around (24)
R19-21: sc around (3 rounds) (24)
R22: (sc, dec) x 8 (16)
R23: (2sc, dec) x 4 (12)
R24: dec x 6 (6)
Finish stuffing and FO. leave a tail and sew closed. Embroider a nose using pink acrylic yarn in between the eyes.
Ears
(make 2)
(in white yarn)
R1: 8 sc in mr (8)
R2-5: sc around (4 rounds) (8)
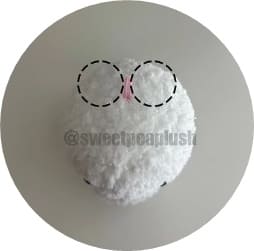
FO then leave a long tail for sewing. Stuff the ears.
Sew between R1-4 on the back side of the head.
Ruffles
(in light pink yarn)
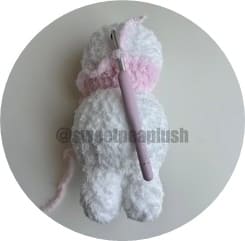
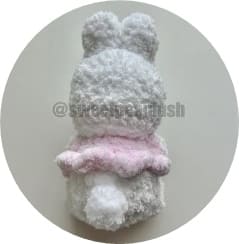
With the rabbit facing upside down. insert your hook into one of the front loops we left out on the back of the rabbit’s body and pull your yarn through to make a slst.
Then, in the same loop make 3hdc, 3hdc into the next loop, slst into the next loop.
Repeat (3hdc, 3hdc, slst) 7 more times. Slst into the first st and FO.
Legs
(make 2)
(in white yarn)
R1: 6 sc in mr (6)
R2: inc x 6 (12)
R3: sc around (12)
Firmly stuff.
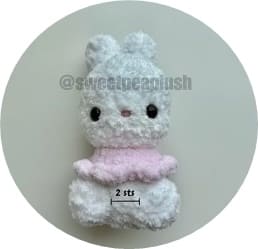
FO and leave a long tail for sewing. Sew legs directly under the dress ruffles around 2sts apart.
Arms
(make 2)
(in white yarn)
R1: 6 sc in mr (6)
R2-4: sc around (3 rounds) (6)
(color change to light pink yarn)
R5-6: sc around (2 rounds) (6)
FO and leave a long tail for sewing. Stuff half of the arm if needed.
Sew arms directly under the head around 4 sts apart.
Tail
(in white yarn)
R1: 6 sc in mr (6)
R2: sc around (6)
R3: (sc, dec) x 2 (4)
Do not stuff.
FO and leave a tail for sewing.
Sew tail to the back of the rabbit’s body, 3 rounds below the ruffles.
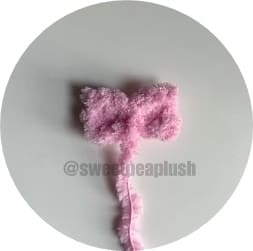
Bow
(in dark pink yarn)
R1: ch6 (6)
R2: starting on the second ch from your hook: 5sc (5)
R3-4: ch1, turn, 5sc (2 rounds) (5)
FO and weave in ends.
Pinch the center of the bow in half. then using another piece of dark pink yarn, wrap the yarn around the middle of the bow tightly and make a knot in the back.
FO and leave a tail for sewing. Sew the bow in front of the right ear.
