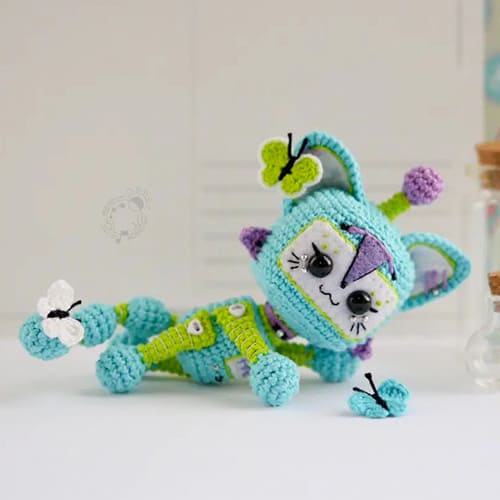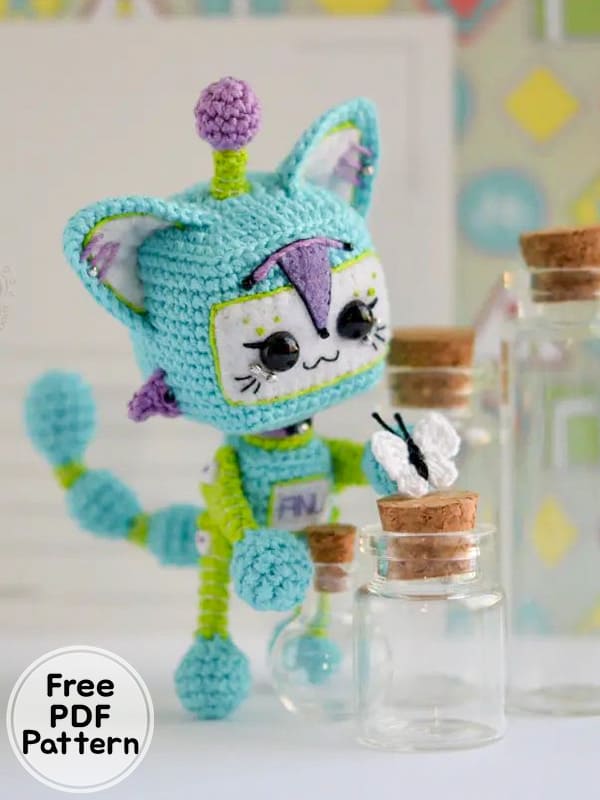
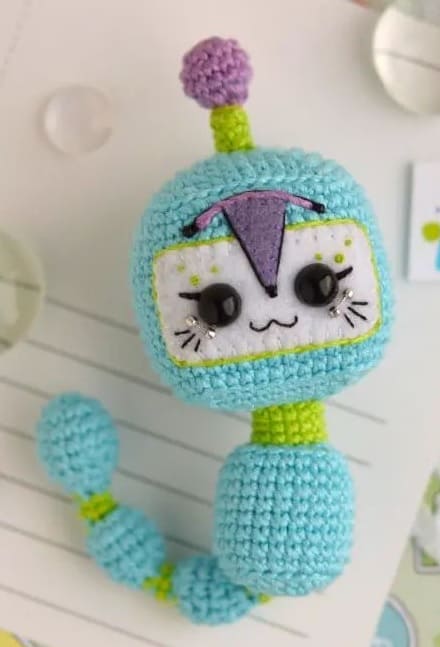
Hello everyone, today I shared the cute amigurumi cat pattern for you. Crochet crochet cat amigurumi pattern step by step is intermediate difficulty. The robot crochet cat pattern amigurumi is crocheted using turquoise yarn. The completed length will be 13 cm. You can crochet using 1mm fine crochet. You can change the thread colors as you wish. You can see how the amigurumi cat pattern is made by looking at the thumbnails. The cutest amigurumi toy will be a gift for children. You can use it to decorate your home. Thank you to the creator of the free amigurumi patterns. Don’t forget to add it to your favorite list and share it with your loved ones.
Crochet Cat Robot PDF Free Amigurumi Patterns
Designer: ann_the_amigurumer
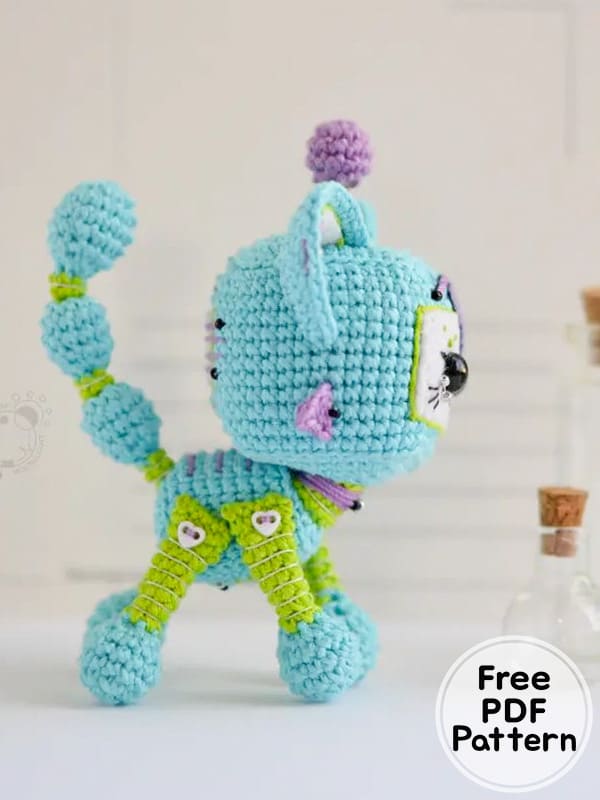
Materials
• Yarn of two or more colors (I will turquoise as the main color,
light green and lilec as the additional colors)
• Fiberfill
• A pair of doll safety eyes (you can also use beads or buttons instead)
• Crochet hook, needle, scissors
• For the movable doll (optional): Felt, buttons, beads, charms, etc
Abbreviations
ch- chain
sc- single crochet
hdc- half double crochet
dc- double crochet
tr- treble crochet
inc- increase (single crochet 2 in next stitch)
dec- decrease (single crochet 2 together)
inc2– increase (single crochet 3(!) in next stitch)
dec2– decrease (single crochet 3(!) together)
BLO- back loops only
FLO- front loops only
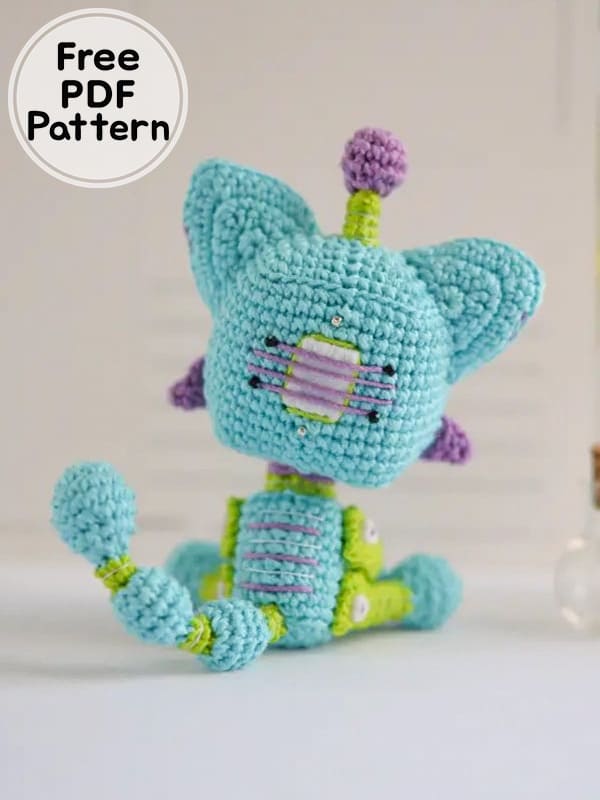
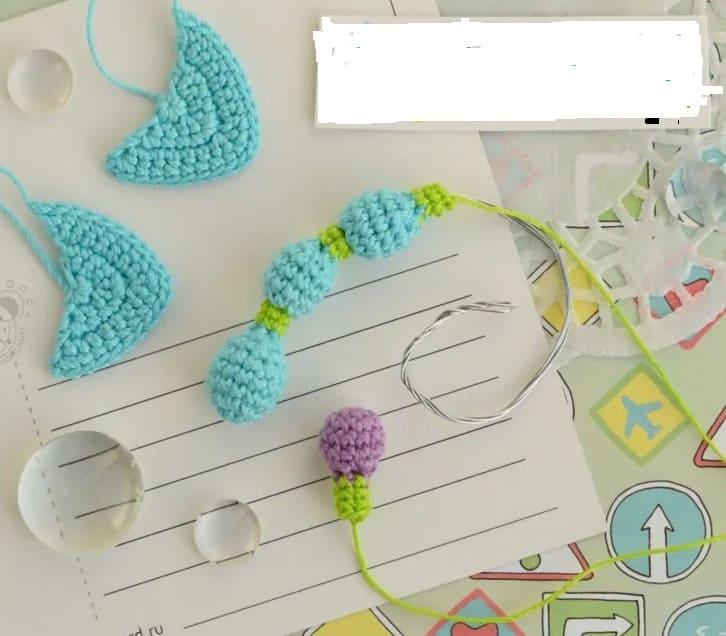
Tail
If you want the doll to be movable you need to put wire inside the tail. The
wire should be 2 times longer than the tail itself.
Begin with the yarn of the main color
Rnd 1. 6sc in magic ring (6)
Rnd 2. *inc* repeat 6 times (12)
Rnd 3. *3sc, inc* repeat 3 times (15)
Rnd 4. 15sc
Rnd 5. *3sc, dec* repeat 3 times (12)
Rnd 6. 12sc
Put the wire inside and stuff the detail. Continue crocheting around the wire
Rnd 7. *dec* repeat 6 times (6)
Continue with the yarn of the additional color
Rnd 8. FLO 6sc
Rnd 9. 6sc
Don’t stuff. Continue with the yarn of the main color
Rnd 10. FLO *inc* repeat 6 times (12)
Rnd 11-13. 12sc (36)
Stuff
Rnd 14. *dec* repeat 6 times (6)
Repeat round 8-14, then repeat round 8-9.
Fasten off leaving a long end for sewing. Don’t cut the wire!
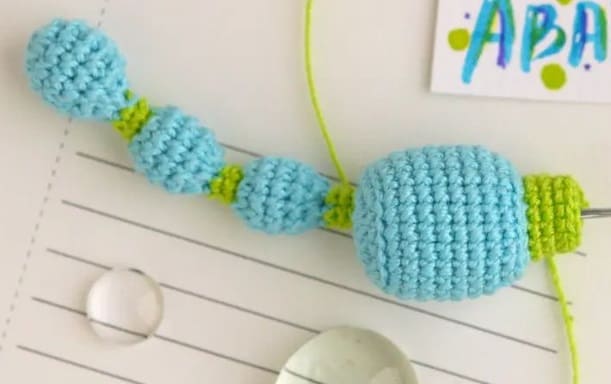
Body
Use the yarn of the main color.
Rnd 1. 8sc in magic ring (8)
Rnd 2. *inc2, 1sc* repeat 4 times (16)
Rnd 3. *1sc, inc2 , 2sc* repeat 4 times (24)
Rnd 4. BLO 24sc
Rnd 5-11. 24sc
If you made the tail with the wire, put it between round 3 and round 4.
Stuff the detail and continue crocheting around the wire.
Rnd 12. BLO *1sc, dec2, 2sc* repeat 4 times (16)
Continue with the yarn on the additional color
Rnd 13. FLO 16sc
Rnd 14-15. 16sc (32)
Fasten off leaving a long end for sewing.
Attach the tail to the body
Head
Use the yarn of the main color
Rnd 1. 8sc in magic ring (8)
Rnd 2. *1sc, inc2* repeat 4 times (16)
Rnd 3. *2sc, inc2, 1sc* repeat 4 times (24)
Rnd 4. *3sc, inc2, 2sc* repeat 4 times (32)
Rnd 5. *4sc, inc2, 3sc* repeat 4 times (40)
Rnd 6. *5sc, inc2, 4sc* repeat 4 times (48)
Rnd 7. BLO 48sc
Rnd 8-12. 48sc
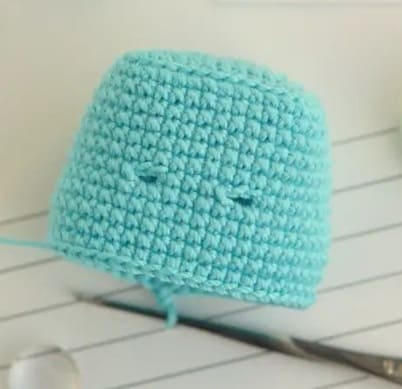
If you use safety eyes you can make the holes for them while crocheting the next round. If you don’t need this, just crochet the next round like the previous one.
Rnd 13. 20sc, 2 ch (skip 2 stitches), 4sc, 2 ch (skip 2 stitches), 20sc (48)
Rnd 14-18. 48sc
Rnd 19. BLO *5sc, dec2, 4sc* repeat 4 times (40)
Rnd 20. *4sc, dec2, 3sc* repeat 4 times (32)
Rnd 21. *3sc, dec2, 2sc* repeat 4 times (24)
Stuff the detail
Rnd 22. *2sc, dec2, 1sc* repeat 4 times (16)
Rnd 23. *1sc, dec2* repeat 4 times (8)
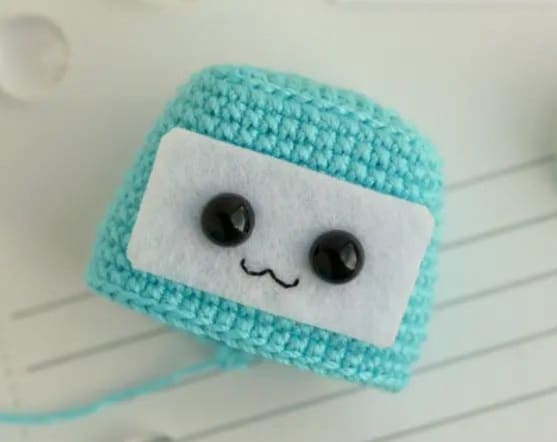
Fasten off and hide the yarn tail inside the head. Attach the body to the head.
Embroider the face.

Antenna
Begin with the yarn of the additional color (or yarn other color if you
use more than two colors)
Rnd 1. 6sc in magic ring (6)
Rnd 2. *inc* repeat 6 times (12)
Rnd 3-4. 12sc (24)
Stuff the detail
Rnd 5. *dec* repeat 6 times (6)
Continue with the yarn of the additional color
Rnd 6. FLO 6sc
Rnd 7-8. 6sc (12)
Fasten off leaving a long for sewing. Attach the antenna to the head.
Ears (x2)
Use the yarn of the main color
Rnd 1. 5sc in magic ring, 1 ch, turn (5)
Rnd 2. inc, 1sc, inc2, 1sc, inc, 1ch, turn (9)
Rnd 3. inc, 3sc, inc2, 3sc, inc, 1ch, turn (13)
Rnd 4. inc, 5sc, inc2, 5sc, inc, 1ch, turn (17)
Rnd 5. inc, 7sc, inc2, 7sc, inc (21)
Fasten off leaving a long end for sewing. Attach the ears to the head.
You can decorate them with felt.
Legs (x4)
Begin with the yarn of the main color
Rnd 1. 6sc in magic ring (6)
Rnd 2. *inc* repeat 6 times (12)
Rnd 3. *3sc, inc* repeat 3 times (15)
Rnd 4. 15sc
Rnd 5. *3sc, dec* repeat 3 times (12)
Stuff the detail
Rnd 6. *dec* repeat 6 times (6)
Continue with the yarn of the additional color
Rnd 7. 6sc
Rnd 8. inc, 5sc (7)
Rnd 9. 7sc
Rnd 10. inc, 6sc (8)
Rnd 11. 8sc
Rnd 12. inc, 7sc (9)
Rnd 13. 9sc
Rnd 14. inc, 8sc (10)
Fasten off leaving a long end for sewing.
If you don’t want the doll to be movable just attach the legs to the body.
The robot should sit. To make the doll movable at first sew up the hole on the top of each leg. Then attach the legs to the body using button joints.
Decorative details (x2)
Use the yarn of the additional color (or any other color if you use more than two colors)
Ch5, start in the 2nd ch from hook
Rnd 1. 1sc, 1hdc, 1dc, 1tr (4)
Fasten off leaving a long end for sewing. I attach these details to the head below the ears, but you can find any other place for them.
You can also decorate the doll according to your wishes. You can add a screen and buttons (it’s robot after all), you can make the collar with a bell or charm.
