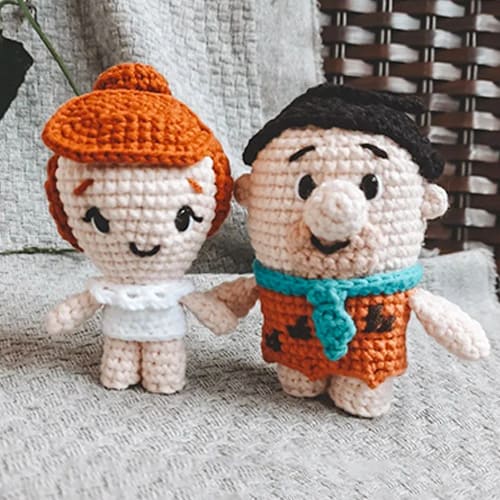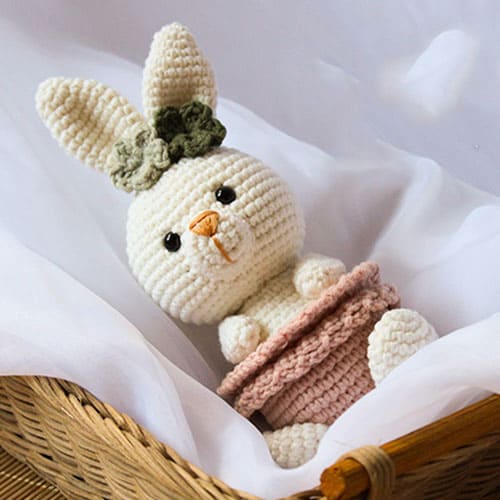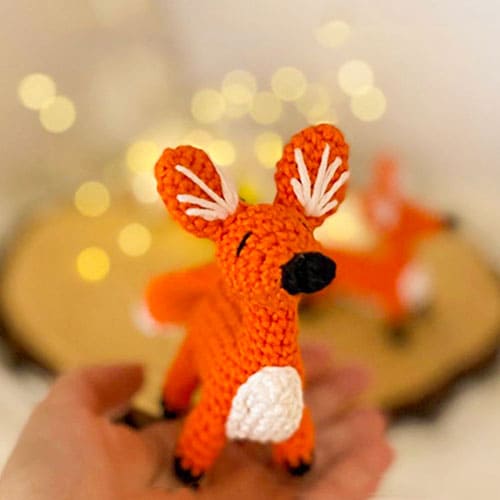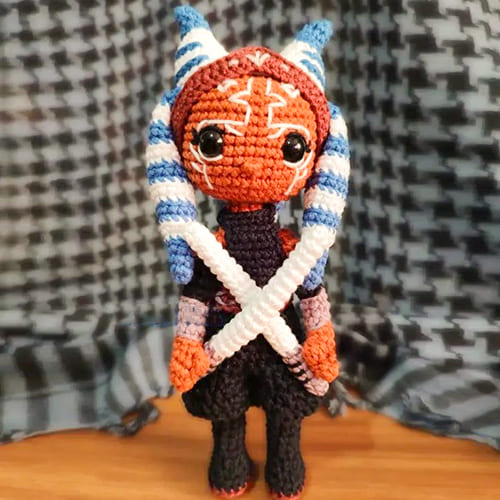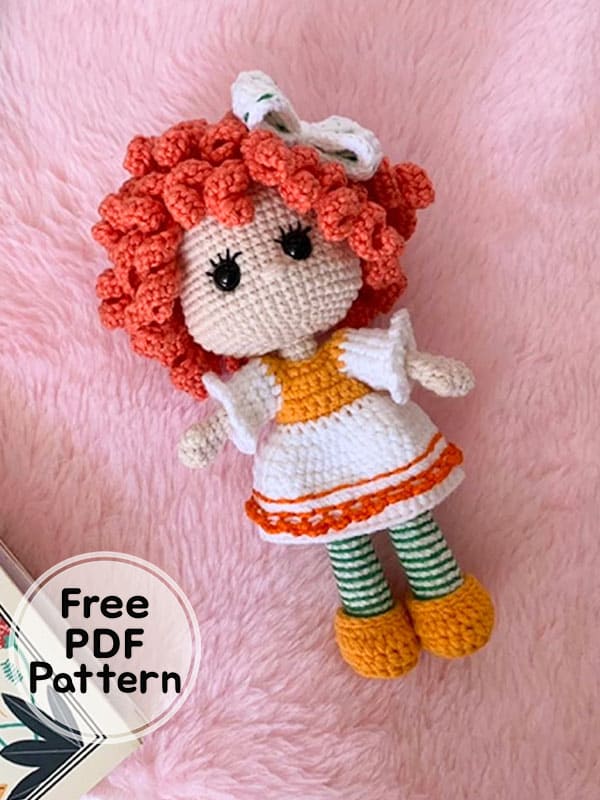
Did you know that you can make great designs with orange colors? Today I shared the most colorful amigurumi crochet dolls for you. With the right color tones, you will easily crochet a wonderful amigurumi crochet doll pattern step by step. Kids will love the amigurumi patterns free toy. They will be the most popular playmates. You can give the cute doll as a gift to your friends. It will be the best surprise.
We will crochet all the parts of the free amigurumi patterns doll separately. You can get help from thumbnails. I have explained in detail step by step in the description section. Thank you to the creator of the amigurumi toy. Follow me to see the latest amigurumi crochet patterns.
Crochet Doll Betina Amigurumi Patterns Free PDF
Designer: crochecionavel
Abbreviation
Rnd- round
sc – single crochet
MR – magic ring
inc- increase
puf- puff stitch
dec- decrease
ch – chain
incT- triple increase
BLO- Back loop only
slst- Slip Stitch
hdc- hdc – half double crochet
FLO- Front loop only
tr -trible crochet
Materials
Needle 2,2
upholstery needle
9mm eye
acetate (optional)
silicone glue
mini button
Thin hot glue tube
Filling
Yarn;
White (balloon 0002)
Light orange (balloon 0210)
Dark orange (amigurumi 4448)
Light beige (balloon 5208)
Dark green (anne 5638)
Dark orange (anne 4445)
Black (anne 8990)
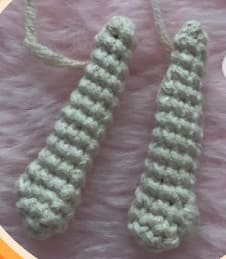
Arms
Use skin tone
Rnd 1. 6sc at the MR
Rnd 2. 2sc, 1 inc x 2 (8)
Rnd 3. 8sc
Rnd 4. 1 puf, 7sc (8)
Make a puff stitch with 3 loops, close the stitch and continue
Rnd 5-9. 8sc (5 Rnd)
Rnd 10. 1 dec, 6sc (7)
Rnd 11. 7sc
Rnd 12. 3sc, 1 dec, 2sc (6)
Rnd 13-14. 6sc (2 Rnd)
Close with an inverted magic ring and secure between rows 30 and 31. (If you prefer, flatten and make 3sc).
Legs
Start with white
5 ch. back in 2nd chain
Rnd 1. 1 inc, 2 sc, 1 incT, 3sc (10)
Rnd 2. 2 inc, 2sc, 3 inc, 2sc, 1 inc (16)
Rnd 3. BLO 16sc
Rnd 4. 6sc, 3 dec, 4sc (13)
Rnd 5. 7sc, 1 dec, 4sc (12)
Rnd 6-10. 12sc (5 Rnd)
Rnd 11. 6sc, 1 dec, 4sc (11)
Rnd 12-15. 11sc (4 Rnd)
Rnd 16. 1sc, 1 dec, 8sc (10)
Rnd 17-20. 10sc (4 Rnd)
Cut the thread from the first one and leave it on the second one to continue.
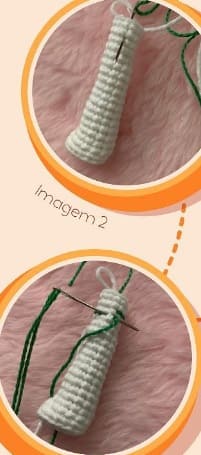
Rnd 21. To join the legs make 4sc more in the second leg and undo 1sc in the first.
(This can vary according to each one’s stitch) 3 chain. secure with sl st in the other leg (make sure to line up the center so the legs are straight) in sl st make 1 sc and 9 sc in the rest of the leg. 3sc in the chains. 10sc on the leg (26)
Rnd 22. 26sc
Rnd 23. 4sc, 1 dec, 11sc, 1 dec, 7sc (24)
Rnd 24. 10sc, 1 dec x 2 (22)
Rnd 25. 4sc, 1 dec, 8sc, 1 dec, 6sc (20)
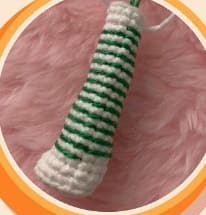
Switch to skin tone
Rnd 26. BLO 20slst
Rnd 27. BLO 20sc
Rnd 28. 20sc
Rnd 29. 8sc, 1 dec x 2 (18)
Rnd 30. 3sc, 1 dec, 7sc, 1 dec, 4sc (16)
Rnd 31. 6sc, 1 dec x 2 (14)
Rnd 32. 2sc, 1 dec, 5sc, 1 dec, 3sc (12)
Rnd 33-41. 12sc (9 Rnd)
Rnd 42. 6 dec
Close with inverted MR
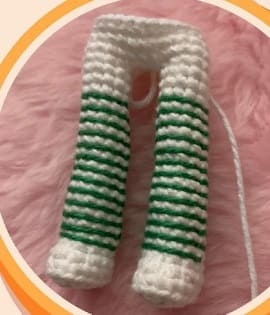
Head
Start crocheting from the wrong side
Rnd 1. 7sc at the MR
Rnd 2. 7 inc (14)
Rnd 3-11. 14sc (9 Rnd)
Rnd 12. 14hdc
Now on the right side
Rnd 13. BLO 2sc, 1 inc x 4, 2sc (18)
Rnd 14. (1sc, 1 inc, 1sc) x 6 (24)
Rnd 15. 3sc, 1 inc x 6 (30)
Rnd 16. (2sc, 1 inc, 2sc) x 6 (36)
Rnd 17. 5sc, 1 inc x 6 (42)
Rnd 18. (3sc, 1 inc, 3sc) x 6 (48)
Rnd 19. 12sc (1sc, 1 inc) x 3, 11sc (1sc, 1 inc) x 3, 13sc (54)
Rnd 20-21. 54sc
Embroider the lashes before attaching the eyes
Rnd 22. 12sc (1sc, 1 dec) x 3, 11sc (1sc, 1 dec) x 3, 13sc (48)
Rnd 23-29. 48sc (7 Rnd)
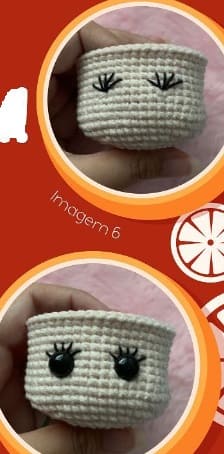
Place 9mm eyes between rows 21 and 22 with 7sc between them. To find the center count 24sc from the beginning of the row. Stuff the head by adjusting the corners of the cheeks so that everything is filled out.
Rnd 30. (3sc, 1 dec, 3sc) x 6 (42)
Rnd 31. 5sc, 1 dec x 6 (36)
Rnd 32. (2sc, 1 dec, 2sc) x 6 (30)
Rnd 33. 3sc, 1 dec x 6 (24)
Rnd 34. (1sc, 1 dec, 1sc) x 6 (18)
Rnd 35. 1sc, 1 dec x 6 (12)
Rnd 36. 6 dec
Close with inverted MR

Hair
Rnd 1. 6sc at the MR
Rnd 2. 6 inc (12)
Rnd 3. BLO 1sc, 1 inc x 6 (18)
Rnd 4. (1sc, 1 inc, 1sc) x 6 (24)
Rnd 5. BLO 3sc, 1 inc (30)
Rnd 6. (2sc, 1 inc, 2sc) x 6 (36)
Rnd 7. BLO 5sc, 1 inc x 6 (42)
Rnd 8. (3sc, 1 inc, 3sc) x 6 (48)
Rnd 9. BLO 48sc
Strands 1-5 : Ch 16, go back with 15 hdc, skip 1 sc in the base and make sl st.
Strands 6: Ch 21, go back with 20 hdc, skip 1 sc in the base and make sl st.
Strands 7-23 (17strands): Ch 26, go back with 25 hdc, skip 1 sc in the base and make sl st.
Strands 24: Ch 21, go back with 20 hdc, skip 1 sc in the base and make sl st
On row 3 with BLO make 6 strands: ch 16, return with 15 hdc, skip 1 sc in base and make sl st.
On row 7 in BLO make 12 strands: ch 21, return with 20 hdc, skip 2 sc in the base and make sl st.
To fix it on the head, check where the row ends, leaving the fringe locks in front.
Dress
15 ch, go back to ch 2 with
Rnd 1. 1sc, 1 inc x 7 (21)
Rnd 2. 2sc, 1 inc x 7 (28)
Rnd 3. 2sc, 1 inc, 4 ch, skip 8sc, 1 inc, 4sc, 1 inc, 4 ch, skip 8sc, 1 inc, 2sc
Rnd 4. 4sc, 4sc in the ch, 8sc, 4sc in the ch, 4sc (24)
Rnd 5. 24sc
Change to white
Rnd 6. 24sc
Rnd 7. FLO 1hdc, 1 inchdc x 12 (36)
Join the sides with sl st up 1 ch and continue. Do this in the next rows
Rnd 8. 2 hdc, 1 inchdc x 12 (48)
Rnd 9-13. 48 hdc (5 Rnd)
Rnd 14-15. BLO 48 hdc (2 Rnd)
Rnd 16. 48 hdc
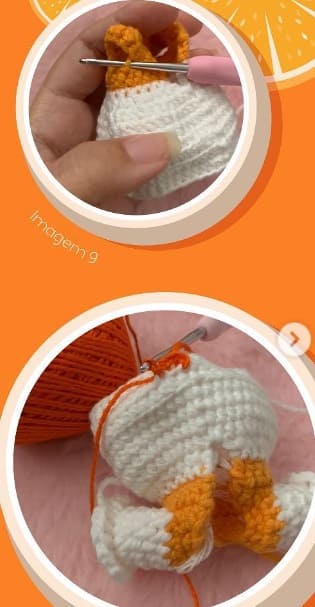
Sleeves
With white
Rnd 1. 1 hdc in the corner, 4 hdc in the chains, 1 hdc in the corner, 8 hdc on top (Reverse the order on the other sleeve)
Rnd 2-4. 14 hdc (3 Rnd)
Rnd 5. FLO (1 hdc, 2 ch) x 14
With Anne yarn and smaller needle, on the row in FLO left on row 4, chain 4, skip a stitch, sl st around.
Finish embroidering straight above the two rows in FLO
Insert the hook in the side and make 8 chains and secure with sl st. This will secure the button on the other side and the amount of chain depends on the size of the button.
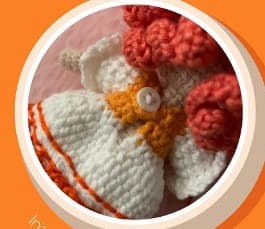
Bow Tie
Ch 33, skip the first one
Rnd 1. 32 hdc, go up 1 chain and turn
Rnd 2. 1slst, 2sc, 1hdc, 2dc, 4tr, 2dc 1hdc, 2sc, 2slst, 2sc, 1hdc, 2dc, 4tr, 2dc, 1hdc, 2sc, 1slst, go up 1 chain and turn
Rnd 3. 32slst
Cut and do the same thing on the other side starting from the same side you started the chains. Sew both sides, roll up in the center until tight as pictured.
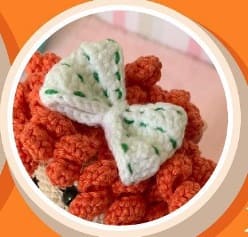
Shoes
use orange color
7 ch, back in 2nd chain
Rnd 1. 1 inc, 4 sc, 1 incT, 5sc (14)
Rnd 2. (1sc, 1 inc) x 7 (21)
Rnd 3. 21 hdc on rod
Rnd 4-5. 21 hdc (2 Rnd)
Rnd 6. 9sc, 3 dec, 6sc (18)
Rnd 7. 18 slst
Put acetate on the base.
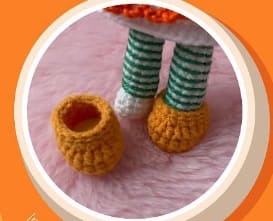
You have completed the amigurumi doll.


