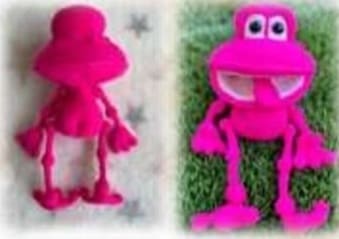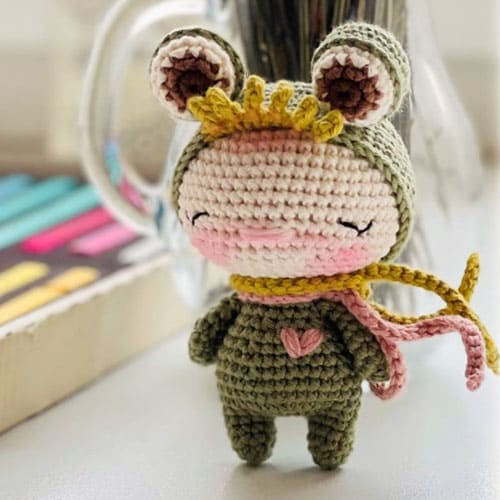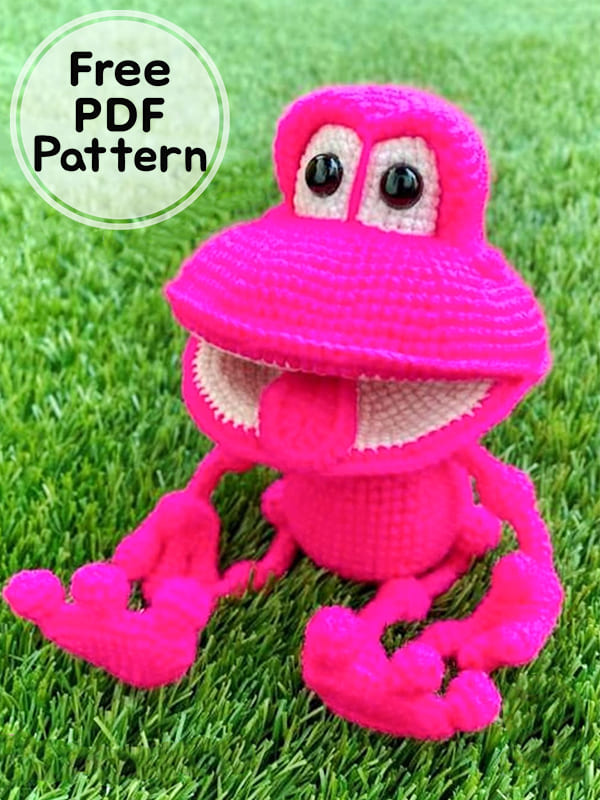
Greetings my friends, today we will make a crochet frog amigurumi toy with you. Thank you very much to the owner of the pattern. You can complete the cute frog with step by step detailed amigurumi pattern instruction and construction pictures. One of the children’s favorite amigurumi toys is frog amigurumi. Follow the free pattern instructions right now and complete the crochet frog toy. If you wish, you can download the amigurumi pattern free of charge as a PDF.
Crochet Frog Amigurumi PDF Free Pattern
Designer: toyed000
MATERIALS:
✓ YarnArt Baby (nr: 8041) yarn.
✓ YarnArt Baby (nr: 217) yarn.
✓ 2.5 mm crochet hook.
✓ 12 mm safety eyes (14, 16, 18mm.)
✓ Cardboard or plastic.
✓ Thin thread for sewing parts.
✓ Sewing needles and scissors.
✓ Fiberfill.
ABBREVIATIONS:
R – row
MR – magic ring
ch – chain
sc – single crochet
sl.st. – slip stitch
hdc — halt double crochet
inc – 2 sc in the next stitch
dec – single crochet 2 stitches
FLO – Front Loop Only
FO – finish off
[…] – number of stitches you should have at the end of the row
(…) – repeat whatever is between the brackets the given number of times.
LEGS: (make 2)
FEET x 2
With a bright pink color yarn:
1R: 6inc in MR
2R: (1sc, inc)*3 [9]
3R: (2sc, inc)*3 [12]
4R: (3sc, inc)*3 [15]
5R: (4sc, inc)*3 [18]
6R: (5sc, inc)*3 [21]
7R: (6sc, inc)*3 [24]
8R: (7sc, inc)*3 [27]
9R: (8sc, inc)*3 [30]
Stuff lightly.
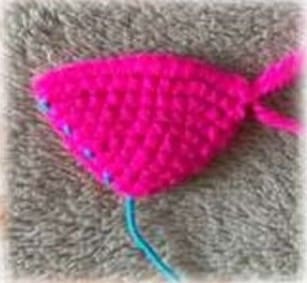
10R: 1sc, and then fold and crochet, capturing the loops from both sides: 15sc. Don’t cut the thread, make lch, turn, turn and crochet the foot fingers:
FIRST FINGER:
1R: FLO: 3sc, turn
2R: FLO (in the remaining loops on the other side): 3sc
Continue crocheting in a spiral in the 6sc:
3R: 6inc [12]
4R: 12inc 5R: 6dec [6]
FO. Stuff a little and then close the hole. Crochet the next 2 finzers in the same way with another thread, leaving 3sc between them (repeat rows 1-5).
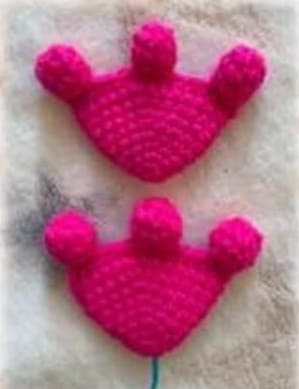
FEET x 2
With a bright pink color yarn:
Connecting loop.
1R: 1 sl.st., 6sc. [6]
2R: 6inc [12]
3R: (3sc, inc)*3 [15]
4 – 5R: 15sc.
6R: (3sc, dec)*3 [12]
7R: 6dec. [6]
Stuff.
8R: FLO 6sc.
9 – 16R: 8sc. (8 rows)
17R: FLO 6inc. [12]
18 – 19R: 12sc. (2 rows)
20R: 6dec. [6] .
Stuff lightly the knee.
21R: FLO 6Sc.
22 – 29R: 6sc. (8 rows)
30R: FLO 6inc. [12]
31 – 32R: 12sc. (2 rows)
33R: 6dec [6]
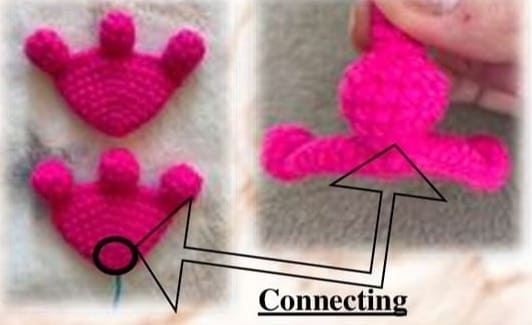
FO. Leave a tail for sewing. Stuff the third ball.
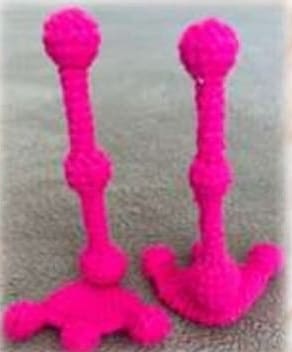
2. e.g. decrease:

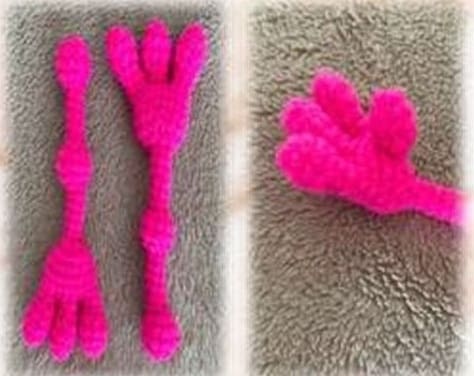
HANDS: (make 2)
With a bright pink color yarn:
THUMB:
1R: 6sc in MR
2R: (1sc, inc)*3 [9]
3R: 9sc. 4R: (1sc, dec)*3 [6]
5R: 6sc.
FO. Don’t stuff. Leave a tail for sewing.
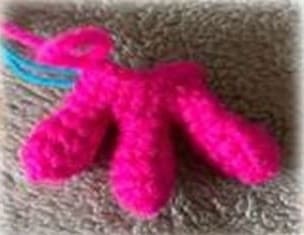
FINGERS: (make 3)
1R: 6sc in MR
2R: (1sc, inc)*3 [9]
3R: 9sc.
4R: (1sc, dec)*3 [6]
5 – 6R: 6sc.
FO. Don’t stuff.
Don’t cut the thread at the last finger and loin the fingers:
1R: 3sc, 3sc (on the second), 6sc (on the first), 2sc (on the second), 3sc (on the third). [18]
2 – 4R: 18sc (3 rows)
5R: (4sc, dec)*3 [15]
6R: (3sc, dec)*3 [12]
7R: 6dec. [6] Stuff the palm..
8R: FLO 6sc. [12]
9 —14R: 6sc. (6rows)
15R: FLO 6inc. [12]
16 — 17R: 12sc.
18R: 6dec. [6] Stuff only the ball.
19R: FLO 6sc. [12]
20 — 25R: 6sc. (6rows)
26R: FLO 6inc. [12]
27 — 28R: 12sc.
29R: 6dec. [6] Stuff only the ball. Close the hole.
✓ Sew the thumb to the palm.
MOUTH: (make2)
With light pink color yarn:
1R: 6inc in MR
2R: 6inc (12)
3R: 12inc (24)
4R: 24sc.
5R: (1sc, inc)*2 (36)
6R: 36sc.
7R: (2sc, inc)*2 (48)
8R: 48sc.
9R: (3sc, inc)*2 (60)
10R: 60sc.
11R: (4sc, inc)*2 (72)
12R: 72sc.
13R: (5sc, inc)*2 (84)
14R: 84sc.
Change to bright pink.
15R: (6sc, inc)*2 (96) 1slst. F.O.
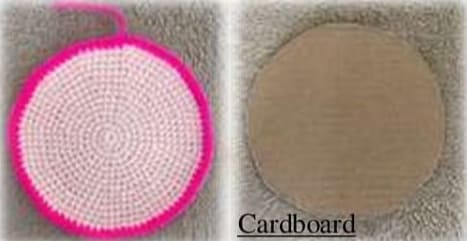
Cut and hide the thread. Crochet and another in the same way. Cut a cardboard or plastic disc to the size of the base (mouth).
TONGUE:
With bright pink color yarn:
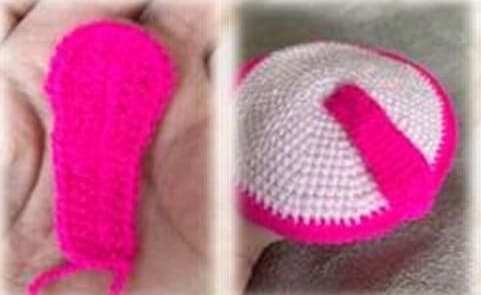
1R: 15ch and from the second ch from hook: 7sc, 4hdc, 2dc, 6dc in the last ch, then on the other side of the chain: 2dc, 4hdc, 7sc, lch, turn.
2R:13sc, 6inc, 13sc. FO.
Leave a tail for sewing.
✓ Sew the tongue onto the body.
EYES:
With light pink color yarn:
1R: 6inc in MR
2R: 6inc (12)
3R: (1sc, inc)*6 [18]
4R: (2sc, inc)*6 [24]
5R: (3sc, inc)*6 [30]
6R: (4sc, inc)*6 [36]
7-12R: 36sc. (6 rows).
FO. Leave a tail for sewing.

EYELIDS:
With bright pink color yarn:
1R: 6inc in MR
2R: 6inc (12)
3R: (1sc, inc)*6 [18]
4R: (2sc, inc)*6 [24]
5R: (3sc, inc)*6 [30]
6R: (4sc, inc)*6 [36]
7R: (5sc, inc)*6 [42]
8R: (6sc, inc)*6 [48]
9R: (7sc, inc)*6 [54]
10 -15R: 54sc. (6 rows)
16R: (25sc, 2inc3hdc)*2 [62], 1slst. FO.
Leave a tail for sewing, and fold.
✓ Insert safe eyes side by side
HEAD:
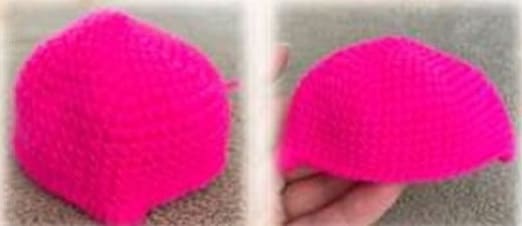
With bright pink color yarn:
1R: 6inc in MR
2R: 6inc (12)
3R: 12inc (24)
4R: 24sc.
5R: (1sc, inc)* 12 (36)
6R: 36sc.
7R: (2sc, inc)* 12 (48)
8R: 48sc.
9R: (3sc, inc)*12 (60)
10R: 60sc.
11R: (4sc, inc)*12 (72)
12R: 72sc.
13R: (5sc, inc)* 12 (84)
14 – 15R: 84sc.
16R: (6sc, inc)* 12 (96)
17 – 18R: 96sc, 1slst. FO.
Cut and hide the thread.
19R: 96sc.
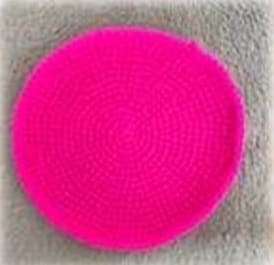
✓ Put the cardboard (or plastic) dis between the second piece from mouth and head.
✓ Crochet by catchign the two rows of stitches together.
✓ Before finishing crocheting the 96 stitches, leave an opening to stuff the head.

✓ Sew the eyes through the middle. Stuff it while you will sew it.
✓ After sewing, the head should be stable. Place the eyelids and sew.
✓ In the end, fix the lids in the upper part of the eyes and divide them into two parts.

BODY:
With bright pink color yarn:
1R: 6inc in MR
2R: 6inc (12)
3R: ( 1 sc, inc)*6 [18]
4R: (2sc, inc)*6 [24]
5R: (3sc, inc)*6 [30]
6R: (4sc, inc)*6 [36]
7R: (5sc, inc)*6 [42]
8R: (6sc, inc)*6 [48]
9 -14R: 48sc. (6 rows)
15R: (6sc, dec)*6 [42]
16R: 42sc.
17R: ( 5sc, dec)*6
18R: 36sc.
19R: ( 4sc, dec)*6 [30]
20R: 30sc.
21R: ( 3sc, dec)*6 [24]
22- 24R: 24sc. (3 rows)
25R: FLO: ( 1sc, inc)* 12 [36]
26R: 36sc.
27R: (2sc, inc)*12 [48]
28R: 48sc.
29R: (3sc, inc)*12 [60]
30R: 60sc.
31R: (4sc, inc)*12 [72]
32R: 72sc.
33R: (5sc, inc)*12 [84]
34R: 84sc.
35R: (6sc, inc)*12 [96]
Stuff the body.
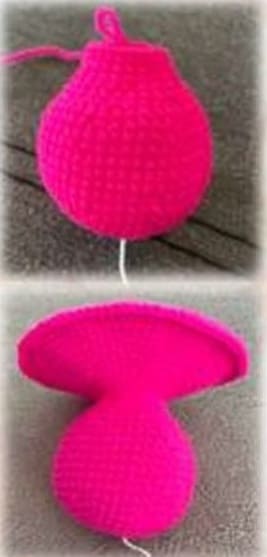
✓ Attach the first part of the two, that form the mouth, to the body as in the photo and crochet by catching the two rows of stitches together.

36R: 96sc. FO.
Leave a tail for sewing.
ASSEMBLY:
✓ Connect the body with the head.
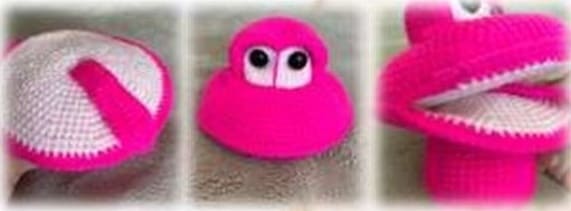
✓ Sew the legs sideways between rows 10 and 11 of the body so that thread penetrates from one side of the body to the other, giving them stability.
✓ Sew the hands sideways between rows 20 and 21 of the body so that the thread penetrates from one side of the body to the other, giving them stability.
✓ At 2 rows from the center of the magic ring of the body from the buttocks on 9 rows, tightening the thread well.

✓ You can glue false eyelashes.
✓ You can glue decorative felt flowers or sew buttons instead of nostrils.
✓ You can make a navel in the middle of the belly with a decorative button.
