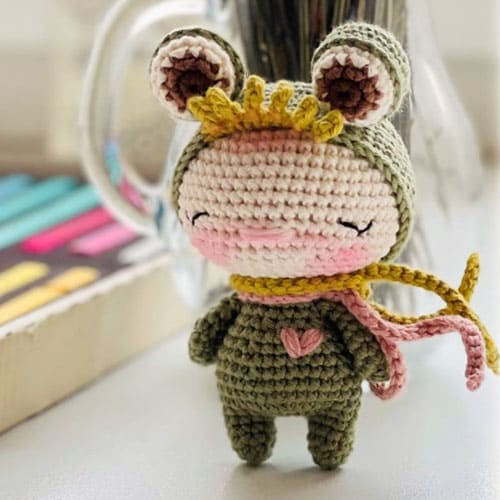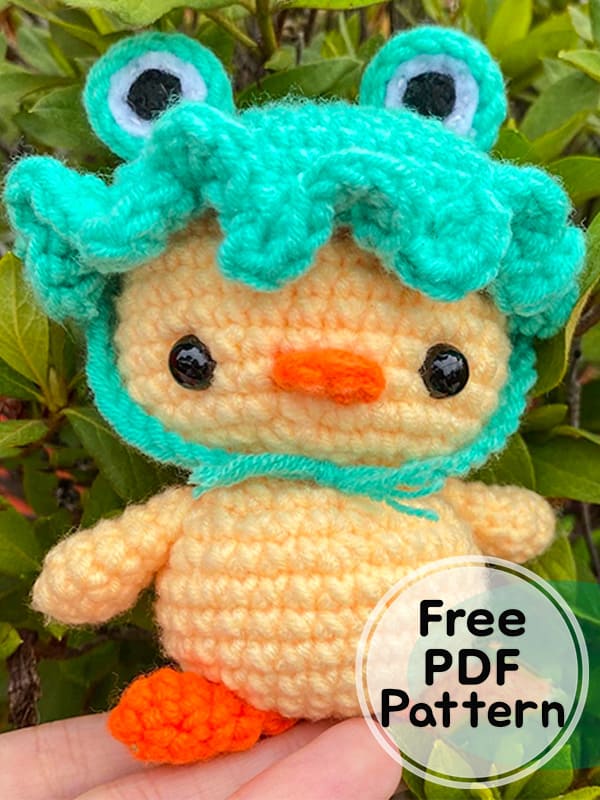
Greetings friends, today we will learn how to make an amigurumi duck step by step. I would like to thank the owner of the pattern. The Amigurumi crocheted duck has a frog-like crochet hat on its head. You can make your children happy by making a cute amigurumi duck toy. The designer used a 3.5mm crochet hook to make such a cute duck. It is an easy level amigurumi pattern for beginners. Check out the free amigurumi pattern instruction right now and complete the cute duck. Don’t forget to follow us for more animal amigurumi patterns.
Crochet Frog Ducky Amigurumi Free PDF Pattern
Designer: mau.crochet
Materials
• 3.5 mm crochet hook yarn (yellow, orange, green)
• 8-10mm safety eyes
• stuffing
• darning needle
• scissors
• white and black felt and string
Abbreviations
R – round
mr – magic ring
sc – single crochet
inc – increase
dec- decrease
ch – chain
(#) – stitch count
fo – fasten off
Head
in yellow yarn:
R1: 6sc in MR (6)
R2: 6inc (12)
R3: (sc, inc)x6 (18)
R4: (2sc, inc)x6 (24)
R5: (3sc, inc)x6 (30)
R6: (4sc, inc)x6 (36)
R7-R13: 36sc (36)
R14: (4sc, dec)x6 (30)
R15: (3sc, dec)x6 (24)
R16: (2sc, dec)x6 (18)
Place safety eyes between body’s R12-R13, 7 stitches apart from each other. Add stuffing into the head.
R17: (sc, dec)x6 (12)
R18: 6dec (6), fo.
Finish stuffing head.
Body
in yellow yarn:
R1: 6sc in MR (6)
R2: 6inc (12)
R3: (sc, inc)x6 (18)
R4: (2sc, inc)x6 (24)
R5: (3sc, inc)x6 (30)
R6-R8: 30sc (30)
R9: (4sc, inc)x6 (36)
R10: (4sc,dec)x6 (30)
R11: (3sc,dec)x6 (24)
R12: (2sc,dec)x6 (18)
R13: (sc,dec)x6 (12)
Fill body with stuffing.
R14: 6dec (6), fo.
Finish putting in stuffing.
Wings (Make 2)
*[] means within a single stitch
in yellow color:
R1: 4sc in MR (4)
R2: ([3sc], sc)x2 (8)
R3-R5: 8sc (8)
R6: 8sc (8), fo.
Feet (Make 2)
R1: 4sc in MR (4)
R2: inc, 2sc, inc (6)
R3-R4: 6sc (6)
R5: dec, 2sc, dec (4), fo and close off.
Beak
in orange yarn:
R1: 4ch
R2: 2dec
sc R1’s first stitch and slip stitch second stitch, cut long tail.
Alternative/easier and rounder beak:
R1: 4sc in MR, (don’t pull all the way in), fo.
Hat (part 1)
*FLO = Front Loops Only
base
in green yarn:
R1: 6sc in MR (6)
R2: 6inc (12)
R3: (sc, inc)x6 (18)
R4: (2sc, inc)x6 (24)
R5: (3sc, inc)x6 (30)
R6: (4sc, inc)x6 (36)
R7: (5sc, inc)x6 (42)
R8-R10: 42sc (42)
R11: FLO ([5dc], sc)x21 (126), fo.
Hat (part 2)
Eyes (Make 2)
in green color:
R1: 6sc in MR (6)
R2: 6inc (12)
R3: 12sc (12)
Cut a circle of white felt: the same size as the crochet circle for the eye.
Cut a smaller black felt circle for the pupil. Sew both pieces together to make an eye, and sew or glue to crochet base.
Straps (Make 2)
ch10 and leave long tails on both sides.
Assembly
Body
Sew feet in body’s R 3- R 4, 6 stitches apart from each other.
Sew wings R4-R5 into body’s R10-R11, 15 stitches apart from each other.
Sew beak into head’s R13, two stitches apart from each eye (3 middle stitches).
Sew head’s center into body’s center.
Hat
Attach the eyes into hat’S R4-R6 (6 rounds apart from each other).
Tie straps into back loops, parallel to frog eyes.


