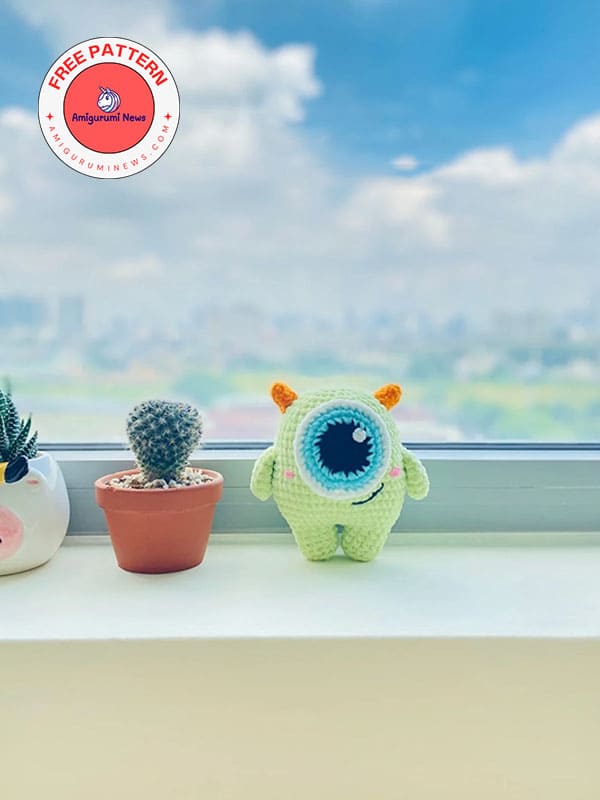
I’m so happy to share this one-eyed green monster amigurumi pattern, featuring the most beloved animated character, with you, my valued readers. I absolutely adore this crochet green monster amigurumi pattern. It’s easy to make and looks incredibly fun. The step-by-step instructions make it easy. You can gift your children a beautiful green monster amigurumi as they start school. Made from plush yarn, its soft texture will captivate them.
Amigurumi green monster pattern
Designer: demiwool
Materials and tools:
1. Yarn: I use Xuefeier mini chenille yarn with the yarn thickness of 3.0 mm.
2. Hook: size 3.0 mm.
3. Fiberfill
4. Yarn needle
5. Stitch markers
6. Scissors
7. Pins (optional)
Color:
Green, black, white, blue, orange, a little bit of pink yarn to embroider the nose and cheeks.
Abbreviations:
R- round
MR- magic ring
st- stitch
ch- chain
sc- single crochet
inc- increase
dec- decrease
slst- slip stitch
BLO- back loop only
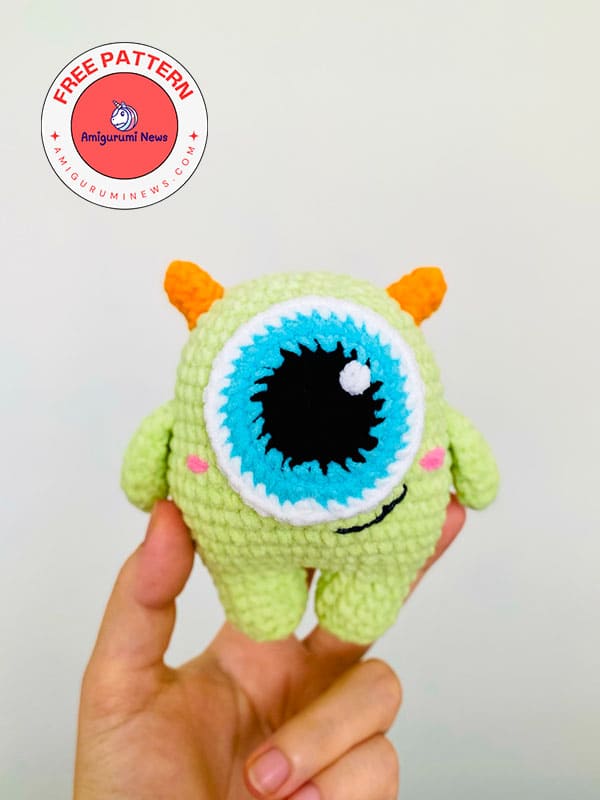
Size: If you use the same yarn as me, the finished monster will be around 12cm/ 4.7 inch tall.
Legs
Make 2, using green yarn.
Leg 1:
R1: MR, 6sc (6)
R2: 6inc (12)
R3: BLO 12sc (12)
R4-5 (2 rounds): 12sc (12)
Fasten off, cut the yarn and weave it in.
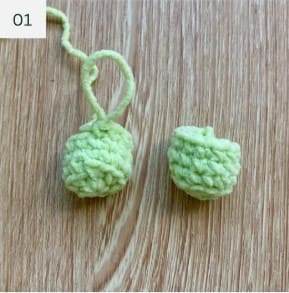
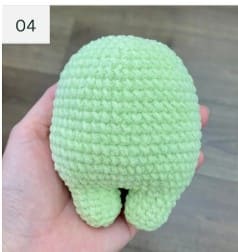
Leg 2: Crochet same as leg 1, but do not cut the yarn. We will connect to 2 legs together and make the body (pic 1).
Body
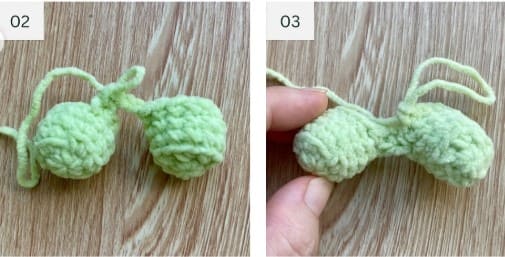
R1: From the last stitch of the second leg, ch2, connect with the last stitch of R5 of the first leg with 1sc (pic 2), then continue to crochet 11sc left on the first leg (total 12sc on the first leg), 2sc on the chain, 12sc around the second leg. We finish the first round of the body here. Now we have total 28sc for R1. [(12sc x 2 legs) + (2sc on chain x 2)] (pic 3).
R2: (3sc, inc) x 7 (35)
R3: (4sc, inc) x 7 (42)
R4: (5sc, inc) x 7 (49)
R5 – 15 (11 rounds): 49sc (49)
Stuff the legs and the body and continue to stuff as you go.
R16: (5sc, dec) x 7 (42)
R17: 42sc (42)
R18: (4sc, dec) x 7 (35)
R19: (3sc, dec) x 7 (28)
R20: (2sc, dec) x 7 (21)
R21: (sc, dec) x 7 (14)
R22: 7dec (7)
Stuff the body firmly. Fasten off, cut the yarn, close the remaining gap and weave the yarn in (pic 4).
Eye
Start with black yarn.
At the end of each round, slst into the first stitch, ch1, and continue with the next round. This will help the eye look rounder compared to working in a spiral.
R1: MR, 7sc, slst (7)
R2: ch1, 7inc, slst (14)
R3: ch1, (sc, inc) x 7, slst (21)
Switch to blue yarn.
R4: ch1, (sc, inc, sc) x 7, slst (28)
R5: ch1, (3sc, inc) x 7, slst (35)
Switch to white yarn.
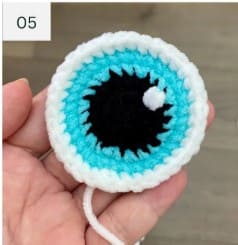
R6: ch1, (2sc, inc, 2sc) x 7 (42)
• At the end of R6, instead of making a slst, finish with an invisible fasten off, cut the yarn, and leave a long tail for sewing.
• Use white yarn to embroider a white spot on the eye, at R3 of the eye (pic 5).
Arms
Make 2, using green yarn.
R1: MR, 6sc (6)
R2: (2sc, inc) x 2 (8)
R3: (3sc, inc) x 2 (10)
R4-5 (2 rounds): 10sc (10)
R6: (3sc, dec) x 2 (8)
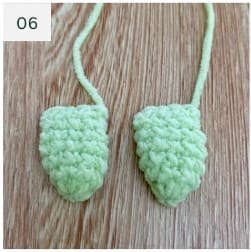
Do not stuff the arms, fold the arm in half, crochet 4sc through 2 edges. Fasten off, cut the yarn and leave a long tail for sewing (pic 6).
Horns
Make 2, using orange yarn.
R1. MR, 6 sc (6)
R2. 6 sc (6)
R3. (2sc,inc)x2 (8)
R4. 8 sc (8)
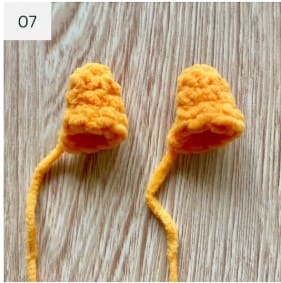
Do not stuff the horn. Fasten off, cut the yarn and leave a long tail for sewing (pic 7).
Assembly
• Sew the eye between R7 and R18 of the body.
• Sew the arms on both sides of the body, between R11 and R12 of the body.
• Sew the horns on both sides of the head, between R17 and R19 of the body.
• Use black yarn or black embroidery thread to embroider the mouth right below the eye.
• Optional: use pink yarn to embroider the cheeks.
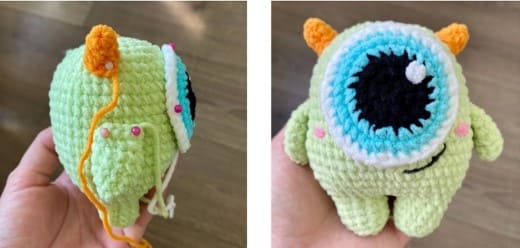
Now you’ve finished the Green Monster.