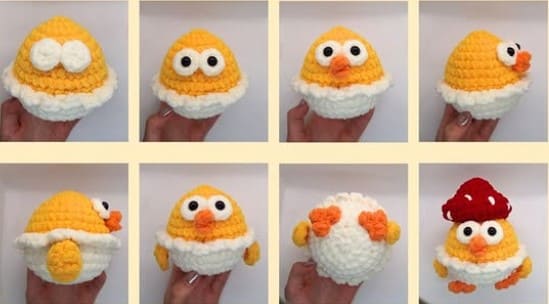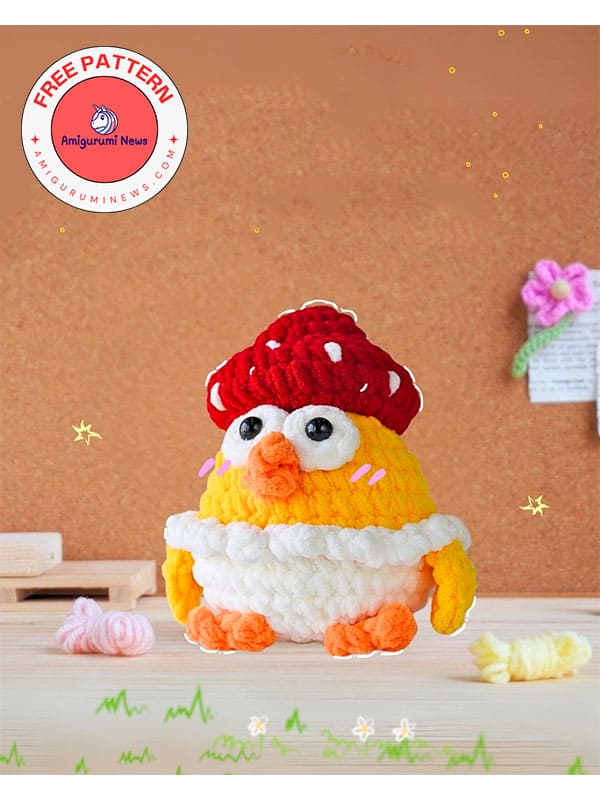
Here is a chicken amigurumi pattern with a crochet mushroom hat. An amigurumi project that will excite crochet mushroom and crochet chicken lovers. I can say that it is a very fun crochet chicken pattern. With plenty of helpful photos, you will have a fun amigurumi chicken experience that even beginners can do. If you start making the chicken quickly after looking at the necessary materials, you can finish it in a very short time. This wonderful crochet chicken that children will have a lot of fun with is now with you step by step.
Crochet mushroom chicken
Via: phoa_crochet
Abbreviations:
MR- magic ring
st(s)- stitch(es)
Slst- slip stitch
ch- chain
sc- single crochet
inc- increase
dec- decrease
dc- double crochet
hdc- half double crochet
Materials and tools:
1. Yarn: bulky/category 5
2. Color: yellow, white, red, and a little orange.
3. 4.0 mm (G/6) hook.
4. Stitch marker.
5. Sewing needle.
6. Scissors.
7. Fiberfill.
8. Plastic safety eyes (10 mm)
9. White felt
Head and body
Begin with yellow yarn.
Row 1. 6 sc in a MR (6)
Row 2. 6 inc (12)
Row 3. (sc,inc) 6 times (18)
Row 4. (2sc,inc) 6 times (24)
Row 5. (3sc,inc) 6 times (30)
Row 6. 30 sc (30)
Row 7. (4sc,inc) 6 times (36)
Row 8-9. 36 sc (36) 2 rows total.
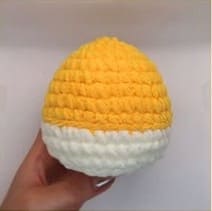
Change to white yarn.
Row 10. BLO: 36 sc (36)
Row 11. 36 sc (36)
Row 12. (7sc, dec) 4 times (32)
Row 13. (2sc, dec) 8 times (24)
Row 14. (sc,dec) 8 times (16)
Stuffing.
Row 15. 8 dec (8)
Weave in the yarn end and cut.
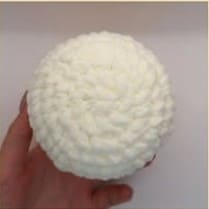
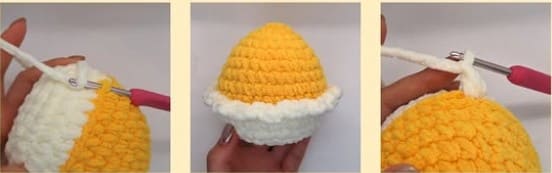
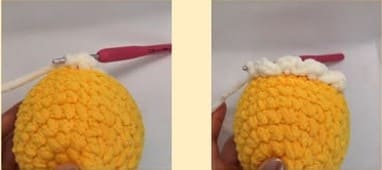
Use white yarn.
Turn over R9, crochet in FLO sts:
• (sc, ch, slst in to the next st, slst) 18 times
Cut the yarn, hide the excess yarn.
Eyes X2:
Use white yarn.
Row 1. 6 sc in MR, slst (6)
Cut the yarn leaving a long tail for sewing.
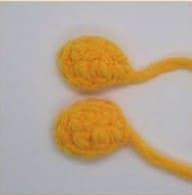
Wings X2:
Use yellow yarn.
Row 1. Make 5 ch, start with the second chain from the hook (work on both sides of a chain):
inc, 2 hdc, inc, 2 hdc, sc, slst.
Cut the yarn leaving a long tail for sewing.
Beak
Use orange yarn.
Row 1. 2 ch turn slst, 3 ch turn 2 sc.
Cut the yarn leaving a long tail for sewing.
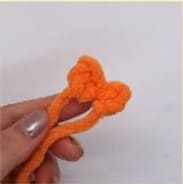
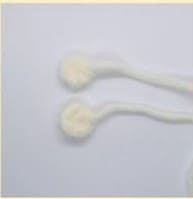
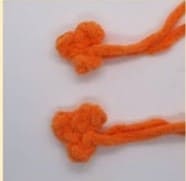
Legs X2
Use orange yarn.
Row 1. (2 ch turn sc, slst) 3 times in an MR.
Cut the yarn leaving a long tail for sewing.
Mushroom cap
Use red yarn.
Row 1. 8 sc in an MR (8)
Row 2. 8 inc (16)
Row 3. 16 sc (16)
Row 4. (sc,inc) 8 times (24)
Row 5. (2sc,inc) 8 times (32)
Row 6-8. 36 sc (36) 3 rows total.
Row 9. (sc,dec) 10 times, 2 sc (22)
Row 10. 11 dec (11)
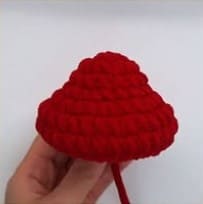
Cut the yarn leaving a long tail for sewing.
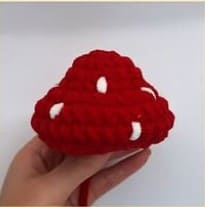
Use white yarn to embroider the scales as shown.
• Use a needle to sew the eyes between R5-6 of the head, the eyes are close together, then attach plastic eyes as shown.
• Sew the beak to R7 of the head, right below the eyes.
• Sew the wings between R9 and 10, aligning them so they are balanced.
• Sew the foot between R13 and 14.
• Sew cap onto the head.
During the product assembly process, it is necessary to align the parts so that they are balanced with each other.