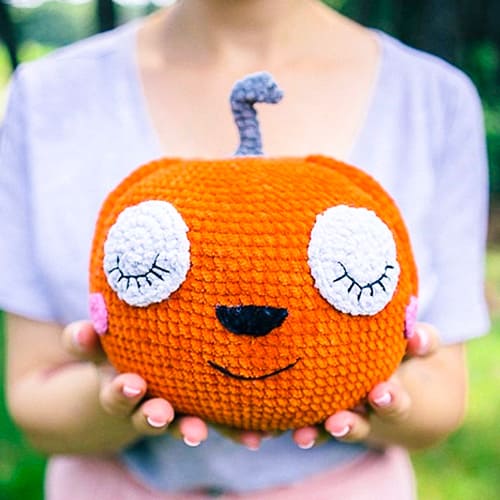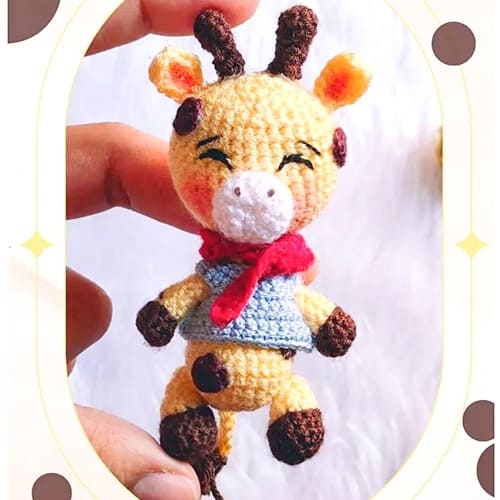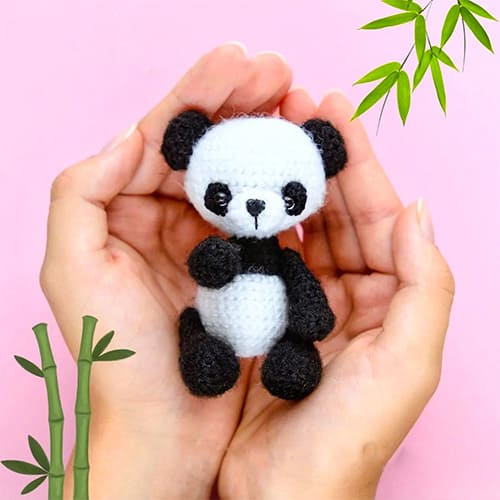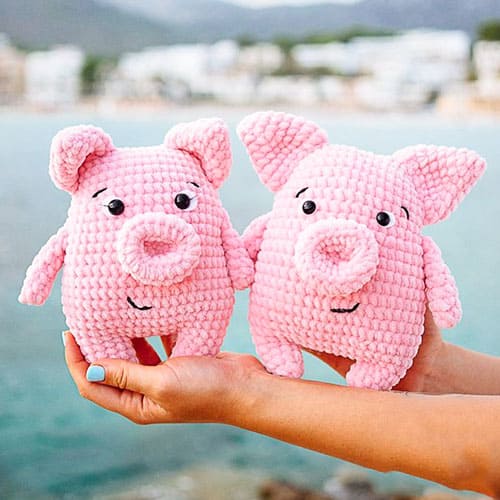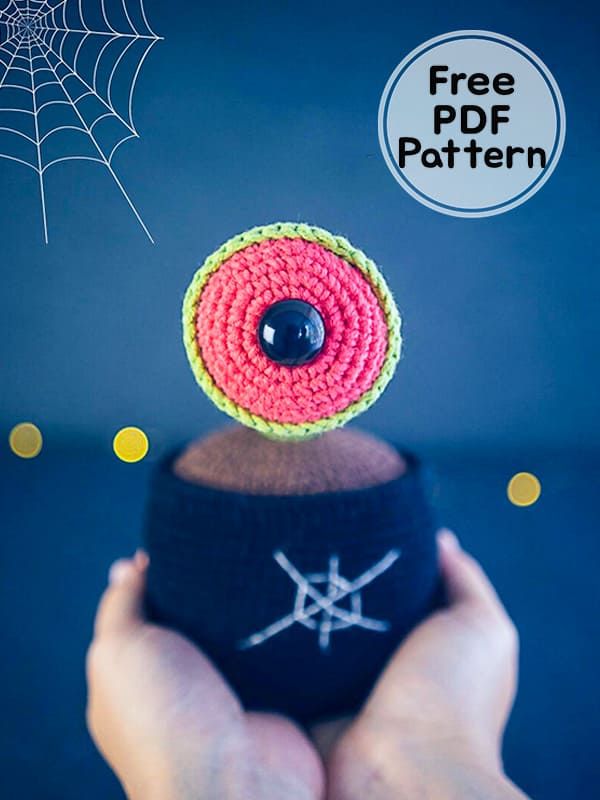
Greetings my friends, we continue to share crochet patterns for halloween. First of all, I would like to thank the pattern designer for giving us the crochet pattern for Halloween free of charge. By following the detailed and easy halloween crochet pattern step by step, you can quickly complete the free pattern. It is an easy amigurumi pattern for beginners. Stay tuned for more free amigurumi patterns and crochet pattern for halloween.
Crochet Pattern For Halloween PDF Amigurumi
Designer: mumigurumi
Materials and tools
• Fibre content: 60% cotton, 40% acrylic
• Yarn weight: DK
• Length: 140 meter
• Ball weight: 50 gram
• Colour: black, brown, pink and green.
• Cardboard for the base
• 3 mm hook
• 12 mm safety eyes
• Polyester fiberfill for stuffing
• Tapestry needle
• Stitch markers
• Aliminium wire for shaping
Abbreviations
Ch: Chain
MR: Magic ring
Sc: Single crochet
Inc: Increase
Dec: Decrease
Dc: Double crochet
Slst: Slip stitch
BLO: Back loop only
FLO: Front loop only
Pot
We start from the bottom with black color.
Rnd 1. 8 sc in MR (8)
Rnd 2. 8 inc (16)
Rnd 3. (1sc,1 inc)*8 (24)
Rnd 4. (2sc,1 inc)*8 (32)
Rnd 5. (3sc,1 inc)*8 (40)
Rnd 6. (4sc,1 inc)*8 (48)
Rnd 7. (5sc,1 inc)*8 (56)
Rnd 8. (6sc,1 inc)*8 (64)
Rnd 9. sc around in BLO (64)
Rnd 10-12. sc around (64)
Rnd 13. (15sc, 1 inc)*4 (68)
Rnd 14-16. sc around (68)
Rnd 17. (16sc,1 inc)*4 (72)
Rnd 18-25. sc around (72)
Rnd 26. 72 dc in FLO
Finish with a slst. Fasten off and weave in the ends.
Flower
We start with pink yarn.
Rnd 1. 6 sc in MR (6)
Rnd 2. 6 inc (12)
Rnd 3. (1sc,1 inc)*6 (18)
Rnd 4. (2sc,1 inc)*6 (24)
Rnd 5. (3sc,1 inc)*6 (30)
Rnd 6. (4sc,1 inc)*6 (36)
Rnd 7. sc around (36)
Switch to green color. You can now insert a safety eye and lock it with a washer.
Rnd 8. sc around (36)
Rnd 9. sc around in BLO (36)
Rnd 10. (4sc, dec)*6 (30)
Rnd 11. sc around (30)
Rnd 12. (3sc,dec)*6 (24)
Rnd 13. sc around (24)
Start stuffing. But make sure to leave some space for aluminium wire.
Rnd 14. (2sc,dec)*6 (18)
Rnd 15. sc around (18)
Rnd 16. (1sc,dec)*6 (12)
Rnd 17-34. sc around (12)
Switch to brown yarn.
Rnd 35. 12 inc in FLO (24)
Rnd 36. (2sc,inc)*6 (24)
Rnd 37. (3sc,inc)*6 (30)
Rnd 38. (4sc,inc)*6 (36)
Rnd 39. (5sc,inc)*6 (42)
Rnd 40. (6sc,inc)*6 (48)
Rnd 41. (7sc,inc)*6 (54)
Rnd 42. (8sc,inc)*6 (60)
Rnd 43. (9sc,inc)*6 (66)
Rnd 44. (10sc,inc)*6 (72)
Finish with a slst. Fasten off, leaving a long tail for sewing.
Leaves
With green yarn.
Row 1. 10 ch, from the second chain from the hook work 8 sc along the chain, then 3 sc in the last stitch.
Continue working on th opposite side of the chain.
Row 2. hdc, dc, dc, dc, inc, dc, inc, dc, dc, hdc, sc: work on the opposite side of the chain.
Row 3. hdc, dc, dc, dc, inc, dc, inc, dc, dc, dc, hdc, slst.
Make two or three leaves the same way.
Assembly
Cut a piece of wire and insert it inside the flower. Stuff firmly.
Cut out a piece of cardboard and place it to the bottom of the pot. Then stuff firmly.
Now sew the pot and the flower together, using the brown yarn, that is left.
Stuff firmly before sewing the hole. Hide the yarn ends your plant is almost ready.
Join the green yarn to the front loop of round 9 and dc around. Finish with a slst and hide the yarn ends.
Pin the leaves to the plant and sew them on.
Sew on a spider web and you’re done.


