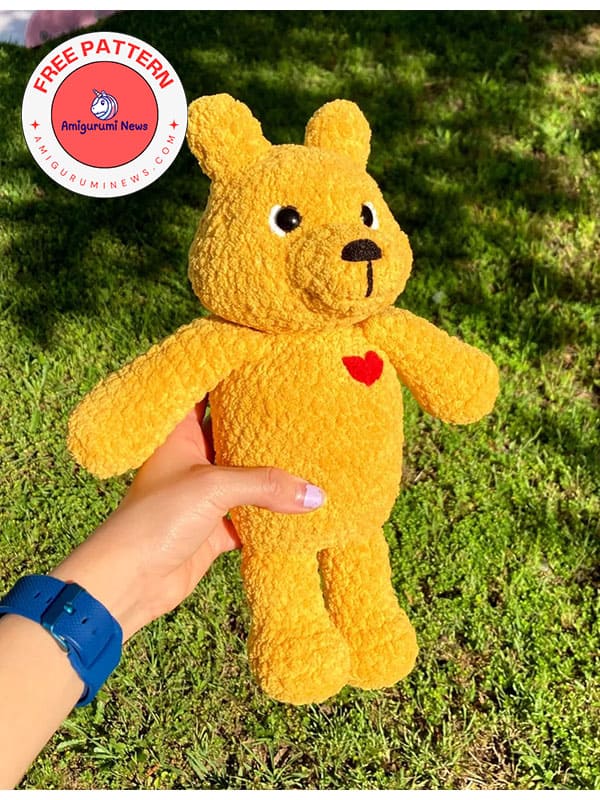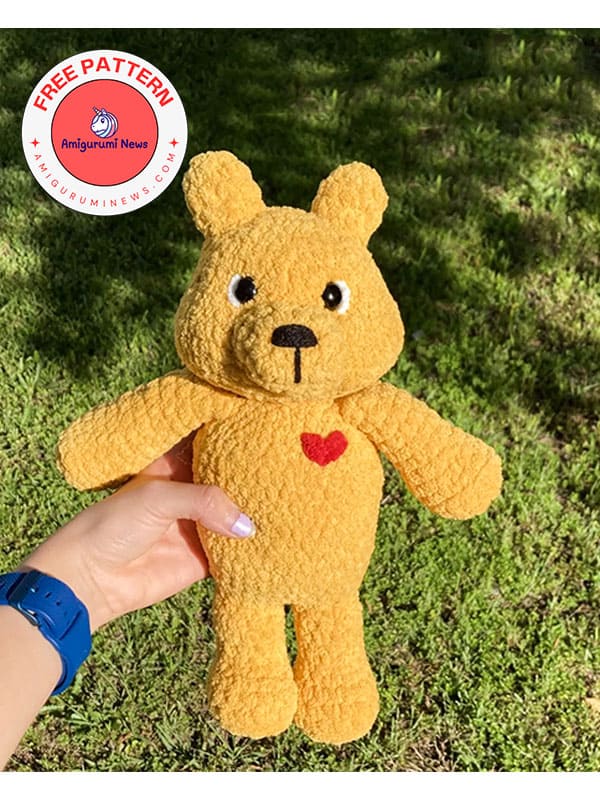
A very cute and cuddly crochet amigurumi bear pattern is here. Those looking for a simple and cute crochet bear pattern should try this. The cute bear also has a red heart embroidery detail on its chest. A super fun and cute amigurumi crochet bear that you can make at home for your children is waiting for you. The designer uses a 5mm crochet hook when making this bear. I would like to thank her very much for this wonderful crochet bear. It has been a great work.
Cuddles the crochet bear pattern
Materials and tools:
Yarn, size 6 (your choice of color, a little red for the heart, and some black acrylic yarn for the nose).
Stuffing.
Sewing needle.
Stitch marker (too keep track of your stitches).
Safety eyes (size of your choice).
5mm hook.
Abbreviations:
sc- single crochet
mr- magic ring
inc- increase
dec- decrease
sc2tog- single crochet 2 stitches together
blo- back loop only
ch- chain
st- stitch
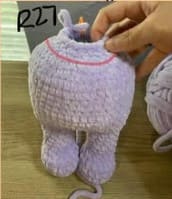
Snout
R1. Chain 6, in the second chain from the hook, inc, sc in the next 4 chains, 3 sc in the last chain (this will get us to the other side, we will now work in the same sts, but on the opposite side), 4sc, inc in the last stitch (13)
R2. 13 sc (13)
R3. (2sc,inc)x4, 1sc (18)
FO. and leave a long tail to sew onto face
(sew snout between rounds 34 and 37. Stuff lightly as you sew it closed).
Ears X2
R1. 6 sc in MR (6)
R2. (1sc,inc)x3 (9)
R3-4. 9 sc (9) *2 rounds*
FO. and leave long tail to sew onto head.
Arms X2
R1. 6 sc in MR (6)
R2. (inc)x6 (12)
R3. (5sc,inc)x2 (14)
R4. BLO: 14 sc (14)
R5-6. 14 sc (14) *2 rounds*
R7. 6sc, dec, 6sc (13)
R8. 13 sc (13)
R9. 5sc, dec, 4sc, dec (11)
R10-13. 11 sc (11) *4 rounds*
Lightly stuff, fold in half and 5sc across through both stitches.
FO. leave long tail to sew onto body: about 2-3 rounds below the neck or attach the arms while crocheting the body on R27.
Tail
R1. 6 sc in MR (6)
R2. (inc)x6 (12)
R3. 12 sc (12)
Lightly stuff as you sew on your tail to the back of the bear where you find it looks best.
Feet (make 2)
R1. 8 sc in MR (8)
R2. (inc)x8 (16)
R3. BLO: 16 sc (16)
R4-5. 16 sc (16)
R6. 3sc, 5dec, 3sc (11)
R7-11. 11 sc (11)
Note: FO. and cut first leg.
For the second leg:
R11. 4sc, ch3, don’t FO second leg make sure to positions your feet the same way if you need to add or take away some stitches do so I tried to make it to where you would be able to connect them both facing the same way after the chaining 3sc into the first leg (this will be the first stitch of R12).
Continue to body
Note: If you have holes where you connected your legs: sew holes closed with the tail you FO’d with the first leg.
R12. 10sc, 3sc in chain, 11sc, 3sc in chain (28)
R13. (3sc,inc)x2, 6sc (3sc,inc)x2, 6sc (32)
R14. (3sc,inc)x8 (40)
R15-18. 40 sc (40) *4 rounds*
R19. inc, 37sc, inc (41)
R20-22. 41 sc (41) *3 rounds*
R23. (4sc,inc)x8, sc (49)
R24. 49 sc (49)
R25. (4sc,dec)x8, sc (41)
R26. (3sc,dec)x8, sc (33)
Note: If you don’t want to sew the arms in: you can start crocheting them into R27.
R27. (2sc,dec)x8, sc (25)
R28. (1sc,dec)x8, sc (17)
R29. 15sc, dec (16)
Head
R30. (1sc,inc)x8 (24)
R31. (2sc,inc)x8 (32)
R32. (3sc,inc)x8 (40)
R33. (4sc,inc)x8 (48)
R34. (5sc,inc)x8 (56)
R35-37. 56 sc (56) *3 rounds*
R38. (5sc,dec)x8 (48)
Note: for R39- Make sure the “dec” are on the sides of the face since these will shape the face and from cheeks.
You might need to adjust depending on your tension, if your “dec” aren’t on the sides.
R39. 18sc, (dec)x4, 8sc, (dec)x4, 6 sc (40)
R40-41. 40 sc (40) *2 rounds*
R42. (4sc,dec)x6, 4sc (34)
R43. 34 sc (34)
R44. (3sc,dec)x6, 4sc (28)
Note: place safety eyes between rounds 40 & 41, about 6 stitches apart and start stuffing.
R45. (2sc,dec)x7 (21)
R46. (1sc,dec)x7 (14)
Finish stuffing.
R47. (dec)x7 (7)
FO leave tail to sew close.

Assembly
Place ear 3 rounds above the eye, about 4-5 stitches behind the eyes.

About 2-3 rounds below the neck or attach the arms while crocheting the body on R27.

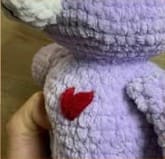
Optional: embroider a heart on the left side of his chest.
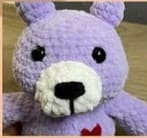
Sew snout between rounds 34 and 37. Stuff lightly as you sew it closed. With some black acrylic yarn embroider the nose onto the snout.
Lightly stuff as you sew on your tail to the back of the bear where you find it looks best.

The adorable teddy bear is ready!