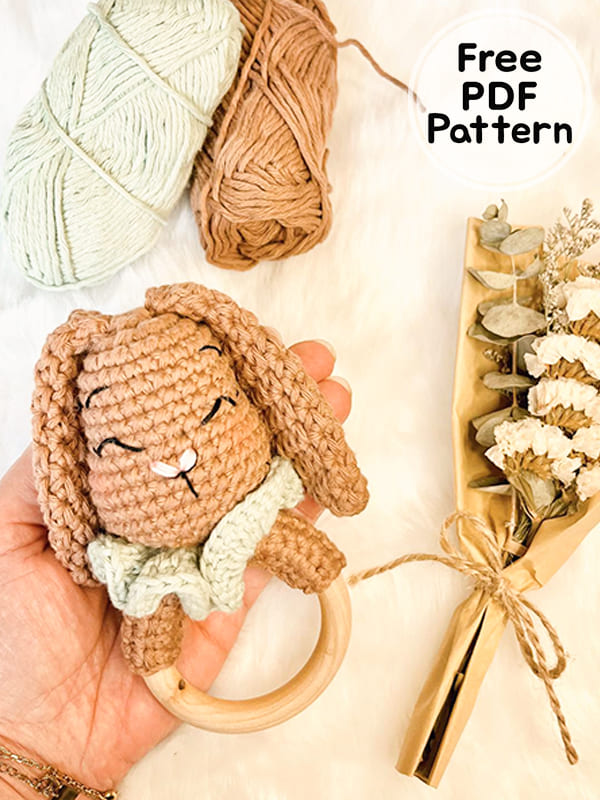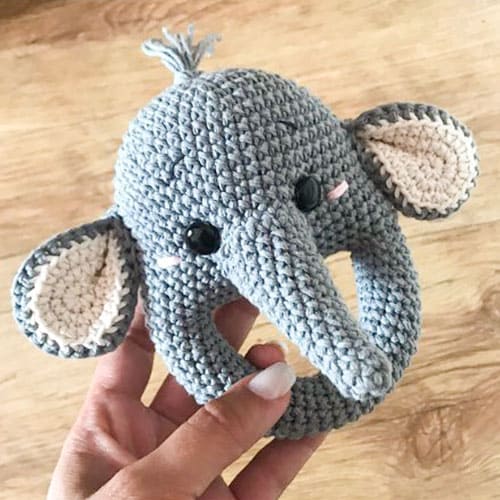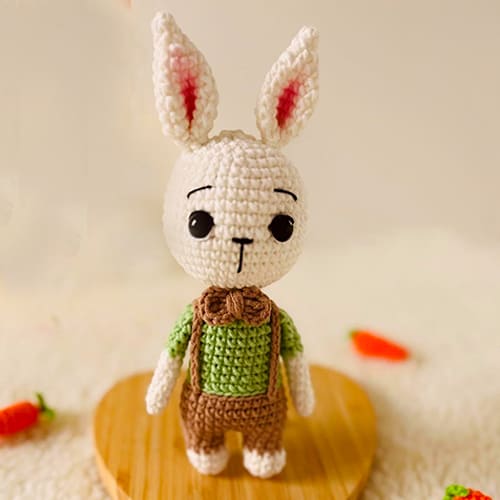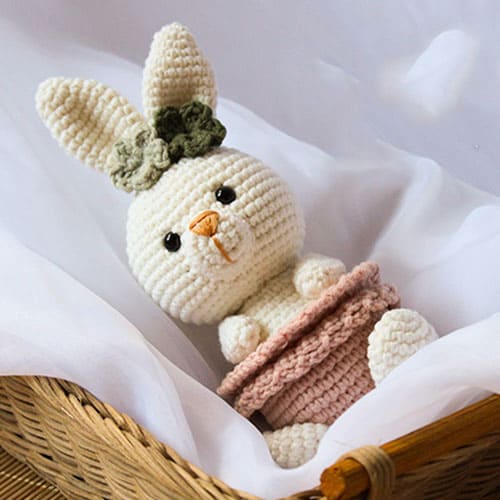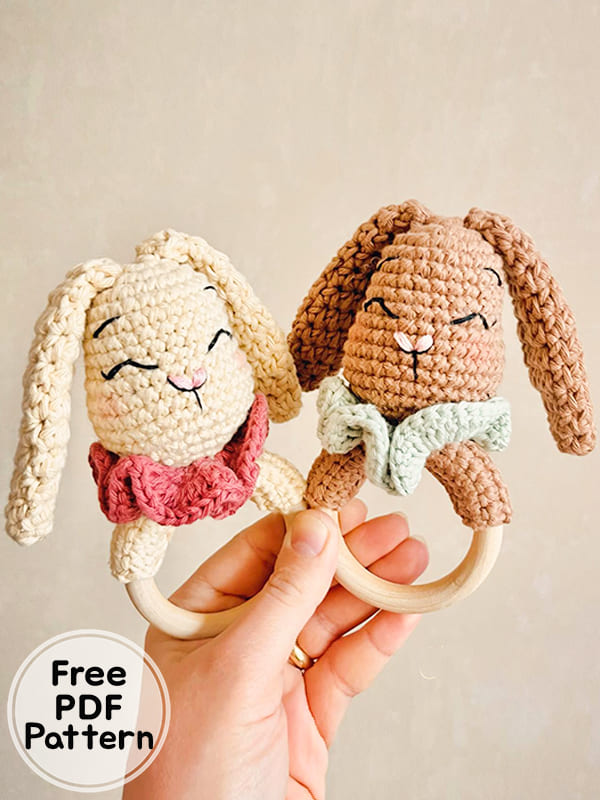
Hello my dears, today I shared the rattle amigurumi pattern for you. You can prepare the crochet amigurumi crochet bunny pattern for children using different color yarns. Children love toys with rattle bells. We will put this rattle bell inside as we fill the head of the crochet bunny pattern amigurumi with fiber. It is a safe amigurumi toy for small children.
The free amigurumi rattle pattern consists of four separate pieces. I have written these steps in detail in the step-by-step explanation section. The thumbnails will show you how the pieces look. Thank you to the creator of the rattle amigurumi patterns.
Easy Crochet Bunny Rattle Amigurumi Free Patterns PDF
Designer: boulette.et.cie
Materials
Thick cotton yarn
4mm crochet hook
Wooden teether ring (7cm diameter)
Rattle ball (optional)
Fiberfill
Black and pink embroidery thread
Tapestry needle
Abbreviations
MR- magic ring
Rnd- round
Ch- chain
sc- single crochet
hdc- half double crochet
dc- double crochet
BLO- back loop only
FLO- front loop only
inc- increase
dec- decrease
Head
Start with color A
Rnd 1. 8sc in MR (8)
Rnd 2. 8 inc (16)
Rnd 3. (1sc, 1 inc) x 8 (24)
Rnd 4-8. 24sc (24) [5 rnds]
Rnd 9. 5sc, 3 inc, 9sc, 3 inc, 4sc (30)
Rnd 10-13. 30sc (30) [4 rnds]
Rnd 11. (3sc, 1 dec) x 6 (24)
Rnd 12. (2sc, 1 dec) x 6 (18)
Start stuffing, insert rattle ball
Rnd 13. (1sc, 1 dec) x 6 (12)
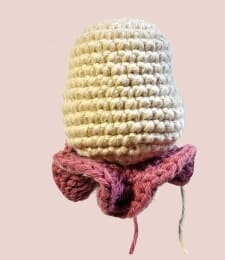
Change to color B, don’t fasten off color A
We’re going to make the detail:
Rnd 1. FLO 2dc in each st (24)
Rnd 2. 3 dc in each st (72)
Fasten off and weave in ends of color B
With color A to finish the head: Finish stuffing
Rnd 14. 6 dec in the BLO (6)
Fasten off and leave a long tail for sewing.
Ears
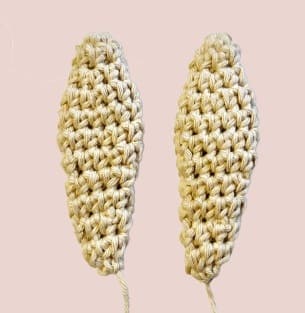
With color A make 2
Rnd 1. 6sc in MR (6)
Rnd 2. 6 hdc (6)
Rnd 3. (1 hdc, 1 inc) x 3 (9)
Rnd 4. (2 hdc, 1 inc) x 3 (12)
Rnd 5-7. 12 hdc (12) [3 rnds]
Rnd 8. (2 hdc, 1 dec) x 3 (9)
Rnd 9-10. 9 hdc (9) [2 rnds]
Rnd 11. (1 hdc, 1 dec) x 3 (6)
Rnd 12. 6 dec (6)
Fasten off and leave a long tail.
With a tapestry needle go through the FLO of the last 6 stitches and pull yarn to close.
Sew ears on the head between rnds 1-2 in the space of 1st.
Rectangle
With color A
Work flat, ch1 and turn at the end of each round.
Rnd 1. ch 19, start on the 2nd ch from the hook: 18sc. Ch 1 & turn rnds 2 to 7: 18sc
The long edges of the rectangle should barely touch when you wrap it around the wooden ring. Adjust the number of rows necessary according to the thickness of your ring.
Fasten off and leave a long tail for sewing. Weave in beginning tail.
Sew the head of the bunny on the middle of the rectangle.
Wrap the rectangle around the wooden ring and sew both long sides together tightly.
Make a few extra sts between the head and the rectangle so everything is tightly sewn.
Weave in all tails.
Embroidery
Embroider the eyes with black embroidery thread
Use pins to place the eyes before starting. The eyes should be between rnds 8-9.
Leave 2 sts between the eyes. Embroider the eye in the space of 3 sts, going up 1 row in the middle.
Make eyebrows in the space of 2 sts, between rnds 4-5 & 5-6.
Embroider a heart shaped nose 1 row below the eyes with pink embroidery thread.
Use 3 strands of black embroidery thread to make the details of the nose.
