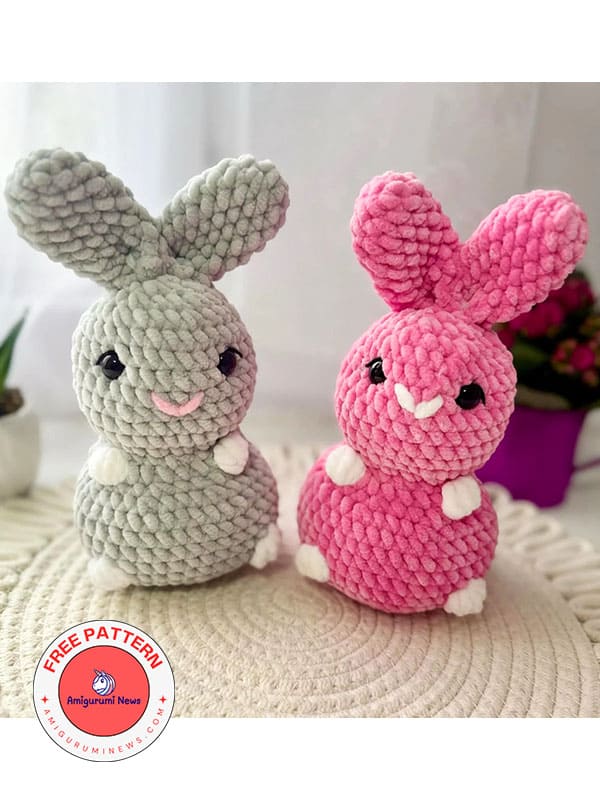
Low-sew and super easy crochet easter bunny pattern with you. I love sharing these cute and easy crochet easter bunny patterns for Easter time. The idea of decorating every part of the house with this crochet easter bunny is so nice. It is a great quick crochet amigurumi bunny pattern that you can make in a variety of colors. It is also extremely safe for children to play with. Get your colorful yarns right now and get started.
Low sew crochet easter bunny amigurumi pattern
Via: peekabotoys
What you will use:
Himalaya dolphin baby or similar yarn.
Crochet hook 4mm.
Filler hollow fiber.
Safety eyes 10mm.
A needle with a large eye for sewing.
Scissors, stitch marker
Cotton yarn (black)
Abbreviations:
sc- single crochet
ch- chain
inc- increase
dec- decrease
BB- bubble stitch
slst- slip stitch
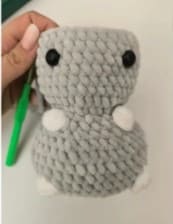
Body and head
Begin with grey.
R1. ch 2, work 8 sc in second ch from hook (8)
Or you can do a magic ring if you like.
R2. 8 sc inc x8 (16)
R3. (1sc,inc)x8 (24)
R4. (2sc,inc)x8 (32)
R5. (3sc,inc)x8 (40)
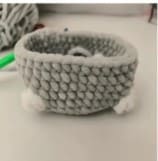
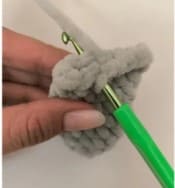
R6. work in BLO only (40)
In the next row we will work the legs.
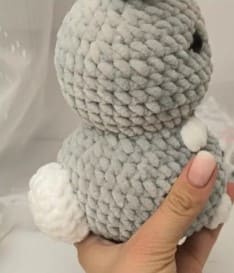
R7. 14 sc, change to white 1 BB, change yo grey 10 sc, change to white 1 BB, change to grey 14 sc (40)
R8-R11. 40 sc (4 rows)
R12. (3sc,dec)x8 (32)
R13. (2sc,dec)x8 (24)
In the next row we will work the hands
R14. 10 sc, change to white 1 BB, change to grey 6 sc, change to white 1BB, change to grey 6 sc (24)
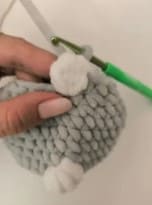
Note: Everyone’s tension is different, so depending on your tension you might need to adjust your bobbles a bit.
R15. (1sc,dec)x8 (16)
Stuff the body firmly.
We will work next the head.
R16. inc x16 (32)
R17-R22. 32 sc (6 rows)
R23. dec, 28 sc, dec (30)
R24. (3sc,dec)x6 (24)
R25. (2sc,dec)x6 (18)
R26. (1sc,dec)x6 (12)

Put the eyes between R21 and R22, 6 stitches apart. Stuff the head.
Make the nose between R19-R20.
Close the head and hide the yarn.
We will work next the head.
R14. inc x16 (32)
R15-R20. 32 sc (6 rows)
R21. dec, 28 sc, dec (30)
R22. (3sc,dec)x6 (24)
R23. (2sc,dec)x6 (18)
R24. (1sc,dec)x6 (12)
Put the eyes between R21 and R22, 6 stitches apart.
Stuff the head.
Make the nose between R19-R20.
R25. dec x6
Close the head and hide the yarn.
If you want to shape the face you can do it like this:
Insert needle from bottom of the head to the corner of the left eye. The yarn should be placed underneath the eye.
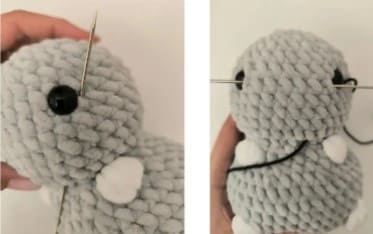
Insert the needle in the right corner of the eye and in the left corne of the right eye.
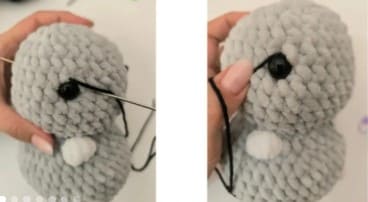
Insert needle in the right corner of the right eye, and then in the bottom of the head.

Pull hard both tails of the yarn and make a knot.
Hide the knot inside of the head.
Embroider eye lashes if you want.
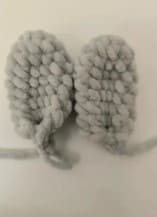
Ears
R1. ch 2, work 6 sc in second ch from hook or do a magic ring (6)
R2. 6 sc, inc (12)
R3-R9. 12 sc (7 rows)
Close the ear with 3 sc. Fold and at the bottom of the ear work 2 sc.

After you make the second ear sew them together. Sew the ears on top of the head.
Tail
R1. ch 2, work 6 sc in second ch from hook or do a magic ring (6)
R2. 6 inc (12)
R3. (1sc,inc)x6 (18)
R4-R5. 18 sc (2 rows) – slst.
Stuff a little and sew the tail between round 6 and 10.