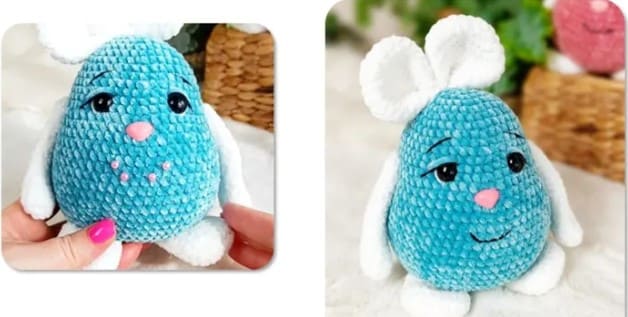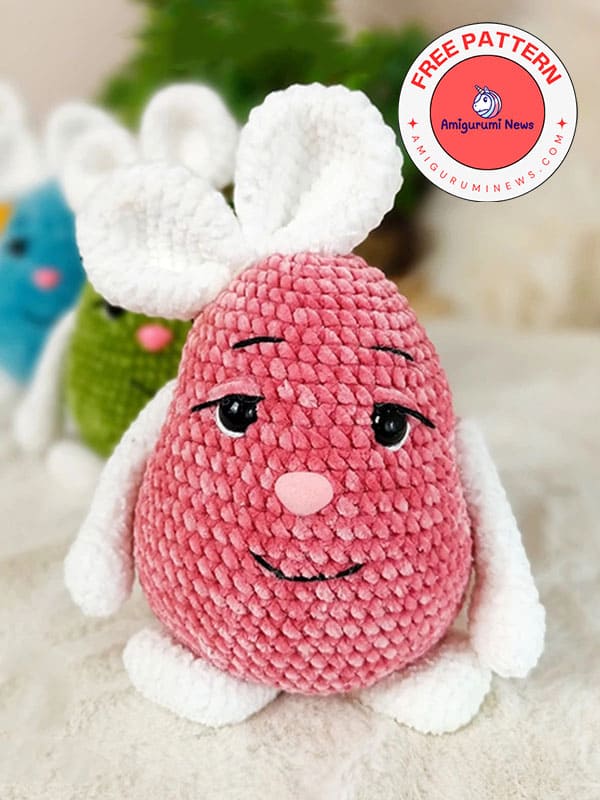
Here is a crochet easter egg and a crochet Easter bunny in the same frame. Both a crochet Easter bunny and a crochet Easter egg can be made at the same time. Children will love this plush crochet Easter egg bunny. Prepare a nice gift for them this Easter season with this cute crochet Easter bunny egg. You can make this big and soft fun crochet easter bunny in any color you want. Now let’s move on to the free amigurumi instructions step by step.
Crochet easter egg bunny pattern
Via: littlesleepyraccoon
Recommended materials:
Katia velvet mini (50g/75m), one skein in any color for making egg, and a skein in white for making the arms, feet, ears and tail.
Some black and white yarn for embroidering eyes (eyebrows,eyelashes). I used it schachenmayr catania.
Toy eyes 12 mm.
Brown nose for mascots 16 mm.
Fiberfill.
Crochet hook size: 3mm.
Knitting/tapestry needle.
Strong sewing thread.
Stitch marker.
Quick- drying gel glue.
Easter egg
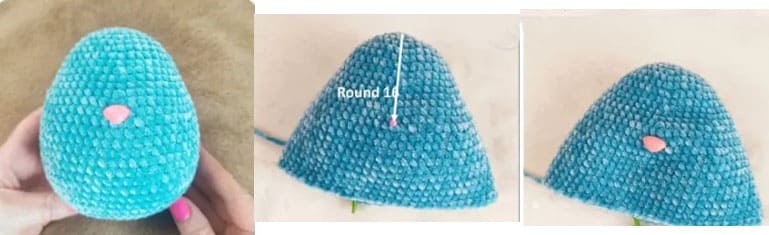
We crochet the egg with a 3 mm hook and colored yarn.
It doesn’t matter if the stitch marker is at the back or the front.
R1. 7 sc in MR
R2. inc*7 =14 sc
R3. (sc,inc)*7 = 21 sc
R4. (2sc,inc)*7 = 28 sc
R5. 28 sc
R6. (3sc,inc)*7 = 35 sc
R7. 35 sc
R8. (4sc,inc)*7 = 42 sc
R9-10. 42 sc
R11. (5sc,inc)*7 = 49 sc
R12-13. 49 sc
R14. (6sc,inc)*7 = 56 sc
R15-16. 56 sc
R17. (7sc,inc)*7 = 63 sc
R18-27. (10 times) 63 sc
R28. (7sc,dec)*7 = 56 sc
R29. 56 sc
Insert the nose at the height of row 16.
R30. (6sc,dec)*7 = 49 sc
R31. (5sc,dec)*7 = 42 sc
R32. (4sc,dec)*7 = 35 sc
R33. (3sc,dec)*7 = 28 sc
Fill the egg with stuffing for plush toys.
R34. (2sc,dec)*7 = 21 sc
R35. (sc,dec)*7 = 14 sc
R36. dec*7
Finish off and hide the yarn end inside.
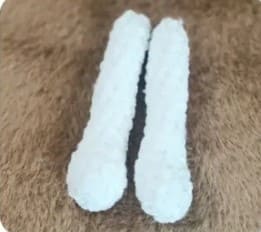
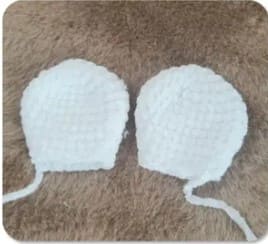
Paws
The paws are made with white yarn.
R1. 6 sc in MR
R2. inc *6 = 12 sc
R3-5. (3 times) 12 sc
R6. 2 sc, dec*4, 2 sc = 8 sc
R7-17. (11 times) 8 sc
R18. dec* 4.
Do not stuff the paws. Finish off and hide the end yarn end inside.
Feet
The feet, just like the paws, are made with white yarn.
R1. 7 ch, start from the second chain stitch, 5 sc, 3 sc into the last chain stitch 4 sc, inc = 14 sc
R2. inc, 4 sc, inc*3, 4sc, inc*2 = 20 sc
R3-4. 20 sc
R5. (8sc,dec)*2 = 18 sc
R6-7. 18 sc
R8. (4sc,dec)*3 = 15 sc
R9. 15 sc
R10. (3sc,dec)*3 = 12 sc
R11. 12 sc
R12. dec*6
Do not stuff the feet. Finish off and hide the yarn end inside.
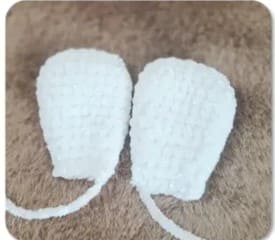
Ears
The ears are made with white yarn.
R1. 7 sc in MR
R2. inc*7 = 14 sc
R3. (sc,inc)*7 = 14 sc
R4. (2sc,inc)*7 = 21 sc
R5-6. 28 sc
R7. (12sc,dec)*2 = 26 sc
R8. (11sc,dec)*2 = 24 sc
R9. (10sc,dec)*2 = 22 sc
R10. (9sc,dec)*2 = 20 sc
R11. (8sc,dec)*2 = 18 sc
R12. 18 sc
Finish off, leaving a longer yarn end for sewing the ears.
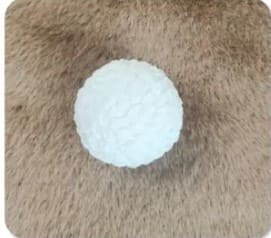
Tail
The tail is made with white yarn.
R1. 6 sc in MR
R2. inc*6 = 12 sc
R3. (sc,inc)*6 = 18 sc
R4. (2sc,inc)*6 = 24 sc
R5-7. 24 sc
R8. (2sc,dec)*6 = 18 sc
Stuff with plush toy filling.
R9. (sc,dec)*6 = 12 sc
R10. dec*6
Finish off and hide the yarn end.
Sewing details
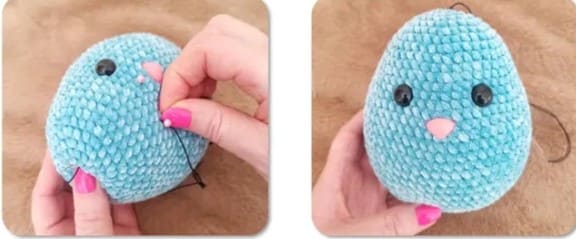
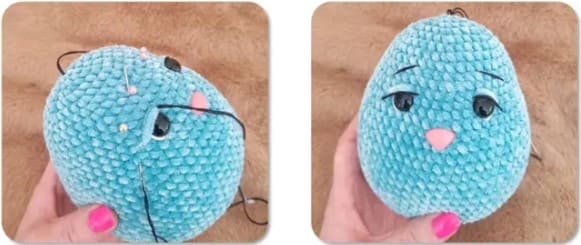
We start with the eyes- we will sew them at the height of row 12. First, mark the center just above the nose using pins, then measure 4 single crochet stitches from the center on each side, as shown in the picture.
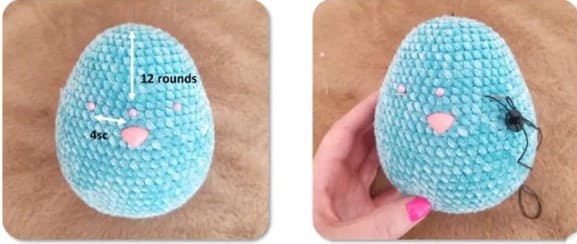
Sewing the eyes starts from the top of the egg. First, sew one eye, then the other, and finish again at the top of the head. Remember to insert the yarn into the magic ring and bring it out at the same spot- this way, after tying the ends, you can easily hide them inside the egg.
Embroider the outlines around the eyes using white yarn. First mark their placement with pins. To prevent the yarn from slipping under the eyes, it’s a good idea to glue them with fast drying gel adhesive. Start again from the top of the head.
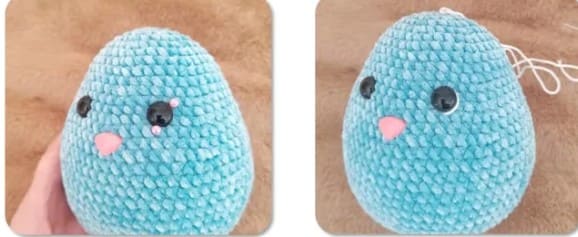
Embroider the eyelids using the same yarn as the egg. Start from the top, first stitching one eyelid, then moving on to the other. Finish again at the top of the head.
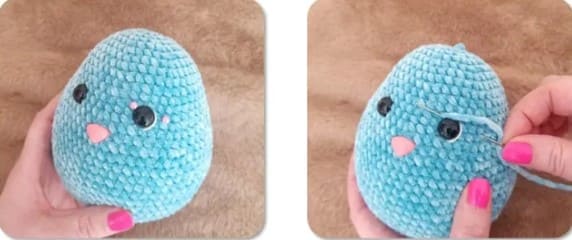
Embroider the eyelashes and eyebrows using black yarn. First, mark their size with pins, then embroider the eyelashes on one eye, followed by the other.
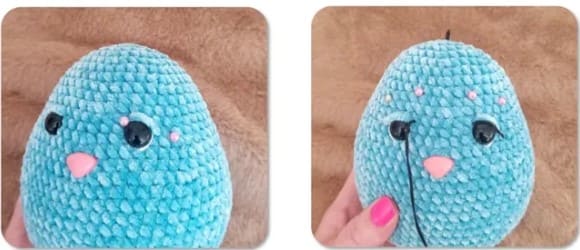
Do not finish off yet- move on to embroidering the eyebrows. First, mark their size, then stitch them using the same yarn. Finish at the top of the egg, tie a knot, and hide it inside.
Sew the feet so that they slightly overlap the egg and face outward. After attaching the paws, sew the tail on the opposite side.
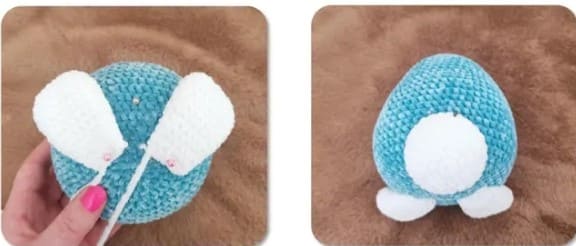
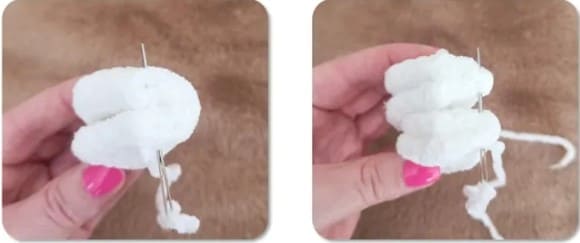
Now it’s time for the ears. First, fold one ear in half and sew it then repeat the same with the other. Next, place both ears togetger and sew them to each other. Attach the finished ears to the top of the egg, either in the center or slightly to the side, depending on your preference.
Finally, embroider the smile. First, mark the position and size of the mouth with pins. I stitched my egg’s smile two rows below the nose, with a width of 6 single crochet stitches. In the row below, I mark two points to create a nice curve.