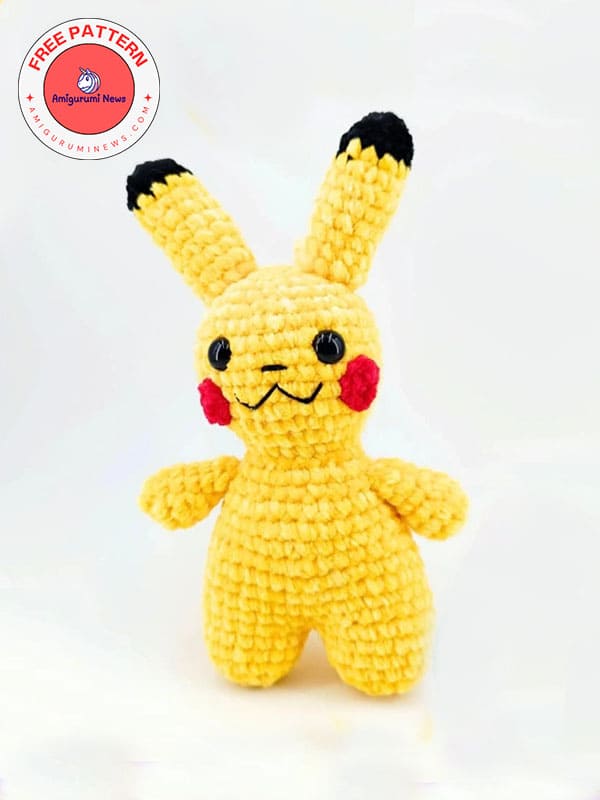
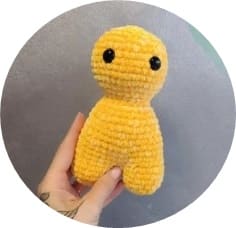
Here is the pikachu crochet pattern for you, our valued pokemon lovers and friends. Since the previous crochet pikachu pattern was very popular, I am sharing the second one with you. This crochet pikachu is a little larger. It will be 20 cm when made with the specified chenille yarn. You should use a 4mm crochet hook for this yarn. Here is this cute plush crochet pikachu with step-by-step free pattern instructions for you, our valued readers. Make it right now and gift it to pokemon lovers.
Pikachu crochet pattern
The required materials:
Chenille velvet yarn.
Black/yellow/red.
Cotton yarn smaller black to embroider the nose and mouth.
4mm crochet hook.
2 safety eyes 0,551 inches/14mm.
Stuffing material (fiberfill/polyester).
1 marker.
Abbreviations:
st- stitch
mr- magic ring
slst- slip stitch
sc- single crochet
dec- decrease
inc- increase
dc- double crochet
The finished product using a 4 mm crochet hook is – 7,874 inches / 20 cm.
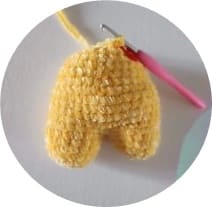
Legs (make 2)
Yellow yarn:
R1. 6 sc in mr (6)
R2. 6 inc (12)
R3. (sc,inc)x6 (18)
R4-6. 18 sc (18)
Make 2. Don’t cut the yarn from the 2nd leg.
Now continue with the body.
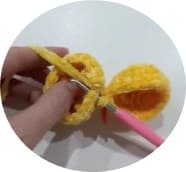
Body
R1. Take the leg you made earlier and attach it by making 18 sc in it. Then, make 18 sc in the second leg.
Place the stitch marker here.
R2-6. 36 sc (36)
R7. (4sc,dec)x6 (30)
R8-9. 30 sc (30)
R10. (3sc,dec)x6 (24)
R11. 24 sc (24)
R12. (2sc,dec)x6 (18)
Stuff the body.
Head
Continue with the head.
R1. (2sc,inc)x6 (24)
R2. (3sc,inc)x6 (30)
R3. (4sc,inc)x6 (36)
R4. (5sc,inc)x6 (42)
R5-10. 42 sc (42)
R11. (5sc,dec)x6 (36)
R12. (4sc,dec)x6 (30)
R13. (3sc,dec)x6 (24)
Insert the eye between rounds 8-9 at a distance of 7 stitches between them.
Stuff the head.
R14. (2sc,dec)x6 (18)
R15. (sc,dec)x6 (12)
R16. 6 dec (6)
With the help of a needle, close the remaining stitches, make a knot, and hide the yarn.
Cheek
Red yarn.
R1. 5 sc in mr (5)
Close with a slip stitch and leave a long tail for sewing.
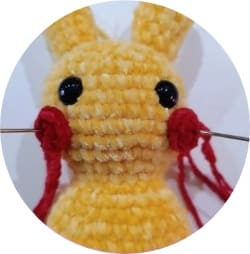
Sew to the head.
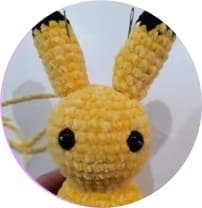
Ears (make 2)
Black yarn.
R1. 6 sc in mr (6)
R2. 6 inc (12)
R3. 12 sc (12)
Yellow yarn.
R4-8. 12 sc (12)
R9. 10sc, dec (11)
R10. 9 sc, dec (10)
R11. 8sc, dec (9)
Close with a slip stitch and leave a long tail for sewing.
Stuff the ears.
Sew to the head.
Position them symmetrically, leaving 2 rounds on each side from the magic ring.
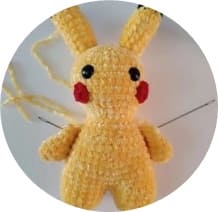
Hands (make 2)
Yellow yarn.
R1. 6 sc in mr (6)
R2. 6 inc (12)
R3. 12 sc (12)
R4. (4sc,dec)x2 (10)
R5. (3sc,dec)x2 (8)
R6-7. 8 sc (8)
Close with a slip stitch and leave a long tail for sewing.
Fill only the tip of the hand, leaving theh rest empty.
Sew to the body between round 10-11 of the body.
Tail
Yellow yarn.
R1. Make a chain of 9, then go back, skipping the chain attached to the crochet hook.
R2. make 8 sc (8)
R3. turn, 1ch, 8sc (8)
R4. turn, 1ch, 8sc (8)
R5. turn, 1ch, 8sc (8)
R6. turn, 1ch, 8sc (8)
R7. turn, 1ch, 8sc (8)
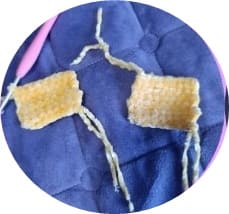
This piece is finished.
Now, make an identical one to overlap with this.
At the end, don’t cut the yarn because we’ll continue the work.
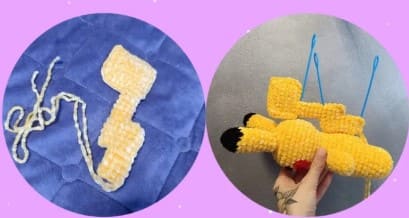
Now, overlap the two pieces and join them together.
R8. 1ch, 6sc, 1ch, 8sc, 1ch, 6sc, 1ch, 5sc (29)
There will be an opening because now we will continue working downwards.
Now, place the stitch marker.
You no longer work through both layers.
R9. 7 sc (7)
The seventh sc should be made where the stitch marker indicates the beginning of the round.
R10-13. 7 sc (7)
R14. 3sc, 4ch, 3sc in the chain, 4sc (14)
R15-18. 14 sc (14)
R19. 1ch, 3 sc work through both layers.
Now, place the stitch marker and no longer work through both layers.
R20. 9 sc (9)
The ninth sc should be made where the stitch marker indicates the beginning of the round.
R21-23. 9 sc (9)
R24. 1ch, 4 sc work through both layers.
Leave a long yarn tail to sew it to the body.
Sew to the body.
Add two stitches to the upper part of the tail to secure it to the head (because the tail is large and heavy, it wouldn’t stay up on its own).
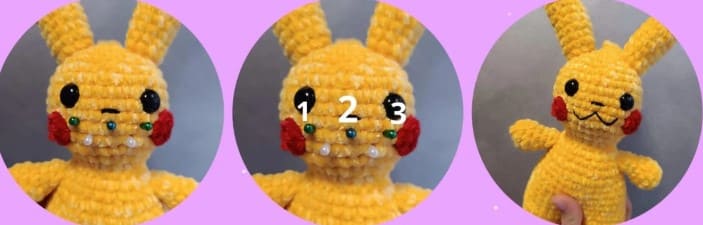
Embroider the nose
Black cotton yarn.
Find the center between the eyes and embroider the nose. I used double yarn to give it thickness.
Start at the side of the head, make the embroidery, and when finished , exit from the entry stitch to tie the knot and hide the yarn.
I made a few passes to make it thicker (I made it the width of one stitch).
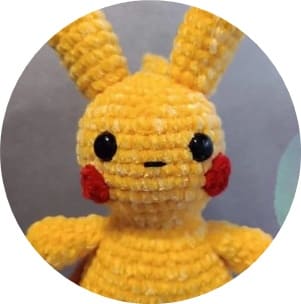
Embroider the mouth
Black cotton yarn.
I used double yarn.
I used pins to decide where to make the mouth.
Start at the side of the head and exit from point 1, then re-enter at point 2, ensuring that the white pin underneath holds the yarn.
Exit at point 3, re-enter at point 2 and exit with the needle from the pin that holds the previous yarn.
Re-enter immediately, making sure to pass over the yarn to secure it, and repeat on the other side.
When finished, exit from the entry stitch to tie knot and hide the yarn.