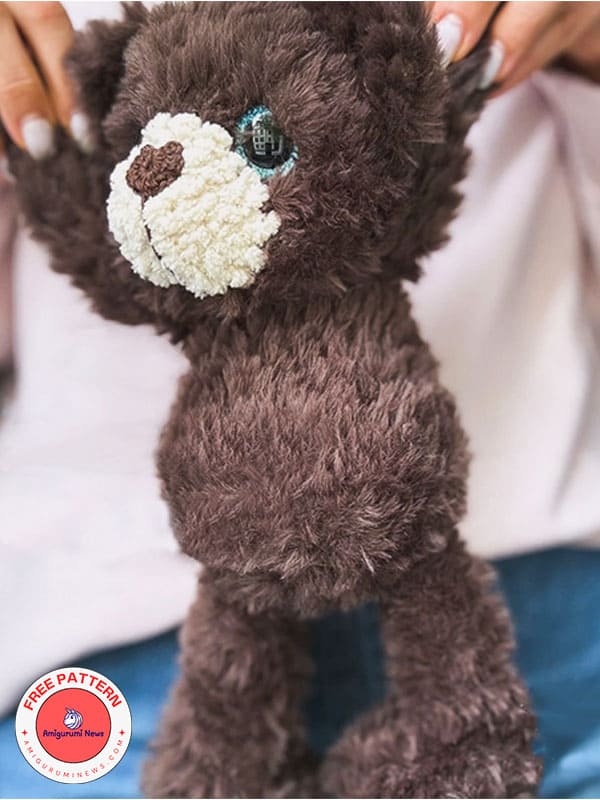
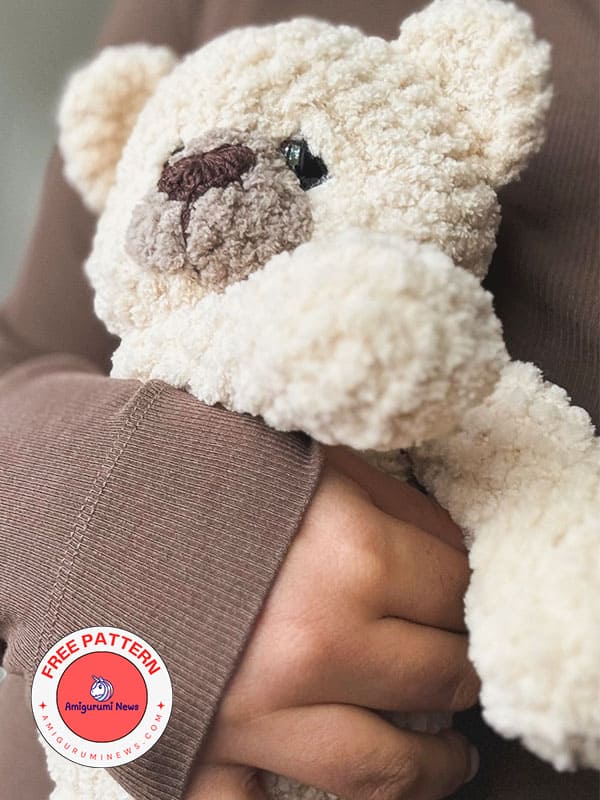
If you’re a crochet enthusiast looking for a cute amigurumi project, the amigurumi crochet teddy bear is the perfect choice. Derived from the Japanese art of amigurumi, these plush toys combine cuteness with craftsmanship. With its soft brown fur-like texture, fluffy white mouth, and sparkling blue eyes, our bear is an instant heart-snatcher. This free amigurumi pattern is perfect for both beginners and experienced crafters, allowing you to create a cuddly companion approximately 25-30 cm tall using standard yarn. Whether you’re making this crochet teddy bear for your child or as a birthday gift, it’s a great way to make it.
How to Crochet a Fluffy Teddy Bear – Free Amigurumi Pattern
Amigurumi projects like this are trending in 2025, and searches for “free amigurumi patterns” are skyrocketing on platforms like Pinterest and Etsy. So, what makes this teddy bear special? Its plush, textured body mimics real fur, achieved with simple stitches, and movable limbs can be added for even more fun. It’s also customizable; You can change the colors for a panda or polar bear vibe. In this free step-by-step tutorial, we’ll cover everything from materials to assembly, ensuring your creation is as unique as you are.
Before you start this teddy bear pattern, gather your supplies. Using high-quality materials will ensure your amigurumi teddy bear is soft and durable. Here’s a list of essentials:
• some fur or fluffy yarn, 100g/ 55-68 m -1.5-2 skeins; some plush yarn, 100g/68 m to crochet muzzle and heels – a bit;
• a pair of safety eyes, 25 mm;
• some cotton yarn to crochet a nose; a hook 4.5 mm to crochet from fur yarn and a hook 2 mm to crochet from cotton yarn;
• fiberfill;
• crochet markers;
• scissors;
Abbreviations:
MR- Magic Ring
ch- chain
sc- single crochet.
dc- double crochet.
dec- decrease.
inc- increase.
(…)*n – repeat number of stitches required times
Arms (2 pieces)
Main thread color.
ch5, turn the work, from the 2nd ch:
Rnd 1. inc 1, sc2, sc4 in ch1, along the opposite side – sc2, inc1 (12)
Rnd 2-5. (4 rnds) sc 12 (12)
Rnd 6. dec3, sc6 (9)
Stuff the arm with fiber.
Rnd 7-13. (7 rnds) sc9 (9)
Rnd 14. dec1, sc7 (8)
Crochet sc1, fold the piece in halves, sc4 in both sides. Fix and cut thread. You’ll attach the arms with a hook later.
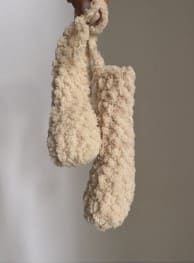
Legs (2 pieces)
Additional thread color.
Rnd 1. sc8 in MR (8)
Rnd 2. inc8 (16)
Rnd 3. (sc1, inc1)*8 (24)
Change thread color into main one in the last sc.
Rnd 4. BLO sc 24 (24)
Rnd 5-6. (2 rnds) sc24 (24)
Rnd 7. sc6, dec6, sc6 (18)
Rnd 8. sc3, dec6, sc3 (12)
Stuff with fiber.
Rnd 9-18. (10 rnds) sc12 (12)
Fold in halves, sc6 in both sides.
Fix and cut thread. You’ll attach the legs with a hock later.
Tail
Rnd 1. sc6 in MR (6)
Rnd 2. (sc1, inc1)*3 (9)
Rnd 3. (sc2, inc 1)*3 (12)
Don’t stuff the tail with fiber. Fold it in halves, scó in both sides.
Fix and cut thread. You’ll attach the tail with a hook later.
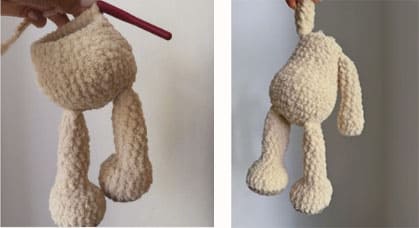
Body
Rnd 1. sc8 in MR (8)
Rnd 2. inc8 (16)
Rnd 3. (sc1, inc 1)*8 (24)
Rnd 4. (sc3, inc1)*6 (30)
Attach the legs with a hook.
Rnd 5. sc6 together with a leg, inc6, sc6 together with a leg, sc12 (36)
Attach the tail.
Rnd 6. sc6, (sc1, inc 1)*6, sc9, sc6 together with the tail, sc3 (42)
Rnd 7-10. (4 rnds) sc42 (42)
Rnd 11. sc3, dec 12, sc15 (30)
Rnd 12-13. (2 rnds) sc30 (30)
Rnd 14. (sc3, dec1)*6 (24)
Rnd 15-17. (3 rnds) sc24 (24)
Attach the arms.
Rnd 18. sc2, sc4 together with an arm, sc8, sc4 together with an arm, sc6 (24)
Rnd 19. (sc2, dec1)*6 (18)
Fix and cut thread, leave long tail thread.
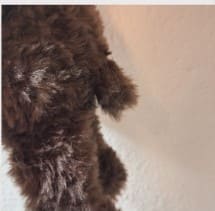
Ears (2 pieces)
Rnd 1. sc5 in MR (5) ch1, turn the work
Rnd 2. inc5 (10) ch1, turn the work
Rnd 3. (sl st1, ch1)*10 (20)
Fix and cut thread. You’ll attach the ears with a hook.
Head
Additional muzzle thread color.
Rnd 1. sc6 in MR (6)
Rnd 2. (sc3 in 1 sc, sc 1)*3 (12)
Rnd 3. sc1, sc3 in sc1, (sc3, sc3 in sc 1)*2, sc2 (18)
Rnd 4. sc 18 (18)
Change thread color into main one in the last sc.
Rnd 5. sc2, sc3 in sc1, sc11, sc3 in sc1, sc3 (22)
Place markers (M) in eye attachment points.
Rnd 6. sc3, sc3 in scl, sc4, M, inc5, M, sc4, sc3 in sc1, sc4 (31)
Rnd 7. sc4, sc3 in sc 1, sc9, inc 1, sc 10, sc3 in sc 1, sc5 (36)
Rnd 8-10. (3 mnds) sc36 (36)
Insert the eyes instead of markers.
Attach the ears.
Make sure the ears are allocated straight. If it’s necessary, shift the ears.
Rnd 11. sc11, sc5 together with an ear, sc7, sc together with an ear, sc8 (36)
Rnd 12. sc36 (36)
Rnd 13. (sc4, dec1)*6 (30)
Rnd 14. (sc3, dec1)*6 (24)
Rnd 15. (sc2, dec1)*6 (18)
Stuff the head with fiber.
Rnd 16. (sc1, dec1)*6 (12)
Rnd 17. dec6 (6)
Finish the work accurately, fix and cut thread. Hide tail thread.
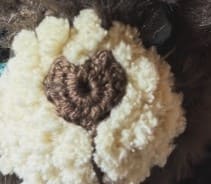
Nose
Cotton thread color.
Crochet in MR: ch3, dc3, hdc4, dc1, hdc4, dc3, ch3, sl st 1.
Tighten the ring, leave long tail thread.
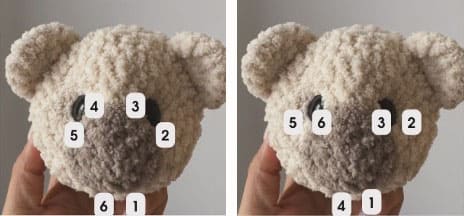
Decoration
Take some strong thread.
Contraction consists of 2 steps:
Step 1.
Insert the needle in point 1, pull it out point 2. Insert the needle in point 3 exactly along the opposite side at the 2nd eye (point 4). Insert the needle in point 5 and pull it out point 6 (skip sc 1 from point 1). Pull thread until required result and fix thread.
Step 2.
Insert the needle in point 1, pull it out point 2 to the right from the right eye. Insert the needle in point 3 and pull it out next to point 1 (point 4). Pull thread and fix it. Do the same action for the 2nd eye.
Insert the needle in point 1. pull it out point 5. Insert the
needle in point 6 and pull it out point 4. Pull thread and fix it. Make sure the eye contraction is the same for both eyes.
Embroider the eyelids by main thread. You can embroider the whites of the eyes by white thread.
Sew the nose.
Sew the head to the body.
That’s it!
To provide the best experiences, we use technologies like cookies to store and/or access device information. Consenting to these technologies will allow us to process data such as browsing behavior or unique IDs on this site. Not consenting or withdrawing consent, may adversely affect certain features and functions.
Functional
Always active
The technical storage or access is strictly necessary for the legitimate purpose of enabling the use of a specific service explicitly requested by the subscriber or user, or for the sole purpose of carrying out the transmission of a communication over an electronic communications network.
Preferences
The technical storage or access is necessary for the legitimate purpose of storing preferences that are not requested by the subscriber or user.
Statistics
The technical storage or access that is used exclusively for statistical purposes.The technical storage or access that is used exclusively for anonymous statistical purposes. Without a subpoena, voluntary compliance on the part of your Internet Service Provider, or additional records from a third party, information stored or retrieved for this purpose alone cannot usually be used to identify you.
Marketing
The technical storage or access is required to create user profiles to send advertising, or to track the user on a website or across several websites for similar marketing purposes.