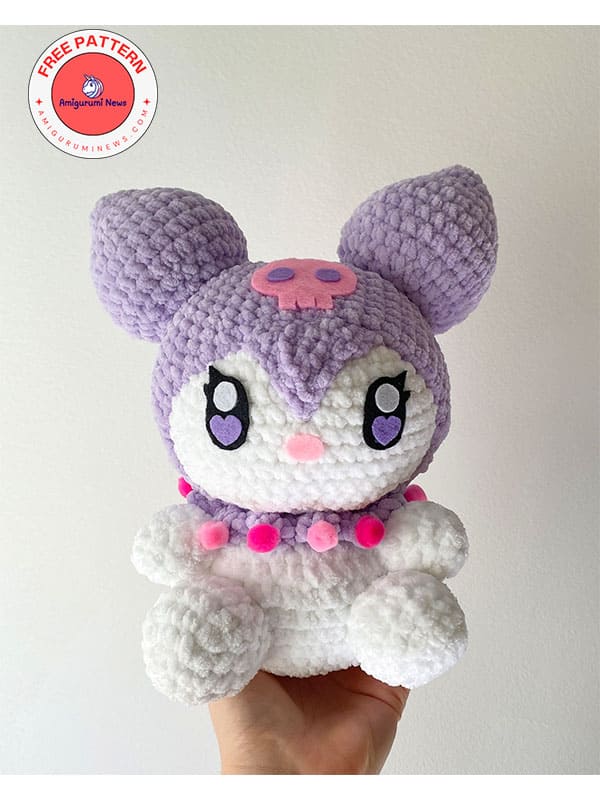
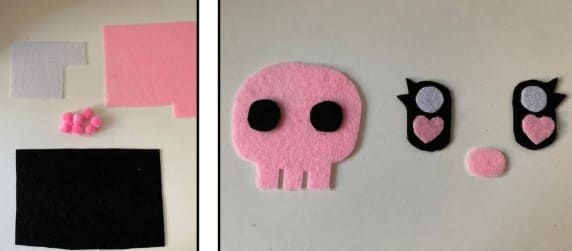
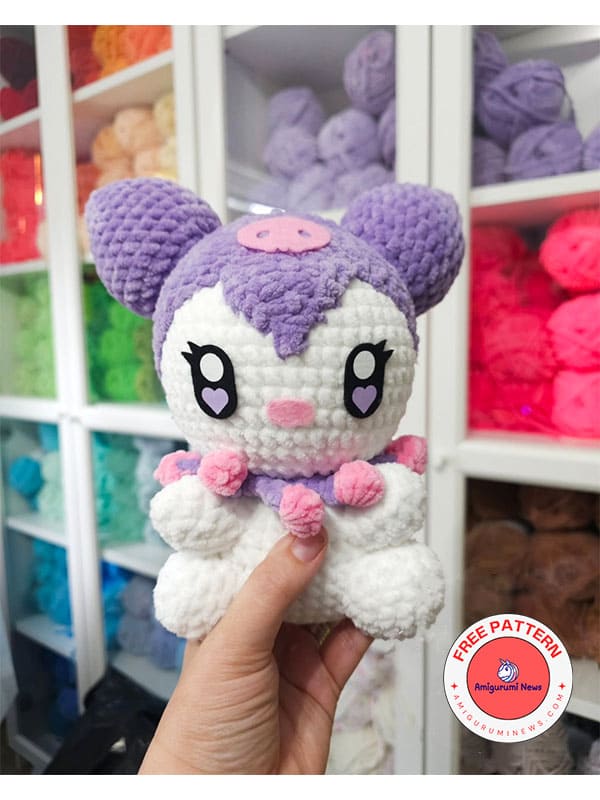
Kuromi, whom we know from the animated series My Melody, comes to our homes as a crochet pattern. My Melody’s rival Kuromi is now waiting for you, our valued readers, for free. Kuromi crochet pattern prepared for those who want to make a sanrio crochet character has been prepared in detail and is quite easy to make. Kuromi is actually a white rabbit. It has a black hat on its head and there is a pink skull on the hat. You will make these small details with felt. It can be a little challenging to make it as a crochet. That’s it, you can continue reading the pattern below for more details and the Kuromi crochet pattern.
White, lilac (or black) yarn.
I used 100% polyester chenille yarn.
Hook (5mm)
Pink, lilac, black and white felt.
Textile glue.
Stuffing.
Rounds marker.
Pink pompom balls.
Scissors and needle.
Abbreviations:
Ch- chain
MR- magic ring
sc- single crochet
inc- increase
dec- decrease
dc- double crochet
slst- slip stitch
st- stitch
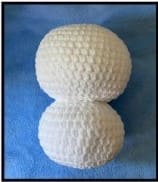
Head
White.
R1. MR 8 sc (8)
R2. 8 inc (16)
R3. (1 sc, 1 inc) x 8 (24)
R4. (2 sc, 1 inc) x 8 (32)
R5. (3 sc, 1 inc) x 8 (40)
R6. (4 sc, 1 inc) x 8 (48)
R7-15. 48 sc (48) – 8 rounds
R16. (4 sc, 1 dec) x 8 (40)
R17. (3 sc, 1 dec) x 8 (32)
R18. (2 sc, 1 dec) x 8 (24)
Start stuffing!
R19. (1 sc, 1 dec) x 8 (16)
R20. Dec x 8 (8)
Finish stuffing, making sure that is firm all over the piece.
Crochet 1 slst, fasten off with the needle and hide the remaining inside the head.
Body
White.
R1. MR 8 sc (8)
R2. 8 inc (16)
R3. (1 sc, 1 inc) x 8 (24)
R4. (2 sc, 1 inc) x 8 (32)
R5. (3 sc, 1 inc) x 8 (40)
R6-11. 36 sc (40) – 4 rounds
R12. (3 sc, 1 dec) x 8 (32)
R13. (2 sc, 1 dec) x 8 (24)
R14. 24 sc (24)
Crochet 1 sl st and leave a long tail of yarn to sew the piece to the head.
Stuff the body.
You can sew the body to the head if you want! You can also leave it for the end, with the rest of the pieces (at the end of the pattern is the assembly section), but I recommend you to do it now because it will be useful to check the rest of the pieces.
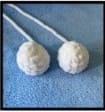
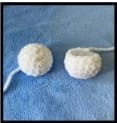
Arms (X2
White.
R1. MR 5 sc (5)
R2. 5 inc (10)
R3. (4sc,1inc)x2 (12)
R4-5. 12 sc (12) – 2 rounds
Crochet 1 sl st and leave some yarn sew to the body.
Stuff lightly.
Legs (X2)
White.
R1. MR 6 sc (6)
R2. 6 inc (12)
R3. (1sc,1inc)x6 (18)
R4-5. 12 sc (18) – 2 rounds
R6. (2sc,1dec)x4, 2 sc (14)
Crochet 1 sl st and leave some yarn to sew to the body. Stuff lightly.
Ears (X2)
Black or lilac.
R1. MR 5 sc (5)
R2. 5 inc (10)
R3. (4 sc, 1 inc) x 2 (12)
R4. (2 sc, 1 inc) x 4 (16)
R5. (1 sc, 1 inc) x 8 (24)
R6. 24 sc (24)
R7. (5 sc, 1 inc) x 4 (28)
R8-10. 28 sc (28) – 3 rounds
R11. (2 sc, 1 dec) x 7 (21)
R12. (1 sc, 1 dec) x 7 (14)
Crochet 1 sl st and leave long tail of yarn to sew them to the head.
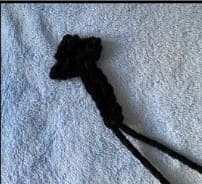
Tail
• Black or lilac.
Crochet this piece in rows.
1. Start with 2 ch
2. Skip 1 ch, 1 inc, 1 ch and turn the piece (2)
3. Skip 1 ch, 1 sc, 1 inc, 1 ch and turn the piece (3)
4. Skip 1 ch and crochet 6 sc back to the tail. Crochet 6 sc black to the tail.
Crochet 1 slst in the same stitch where you started the 7 ch and 1 more sl st in the next stitch.
Leave some yarn to sew to the body. You should end up with an arrow shape.
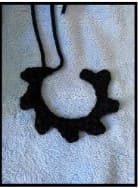
Necklace
• Black or lilac.
This piece is crocheted in two rows.
1. Start with 31 ch.
2. Skip 1 ch and: (3 slst, 3ch: skip 1 st, 1 sc and 1 dc down the next two ch)x7
End the necklace with 1 slst and leave a long tail of yarn to sew it to the body.
Do not sew the collar to the neck yet. First we have to crochet the hat and sew it to the head.
You should have 7 triangles on the necklace, but if you get more or less it doesn’t matter.
It is important that the necklace goes around the neck, so it may be useful if you have already sewn the head to the body, so you can check it.
Add or delete chains if needed.
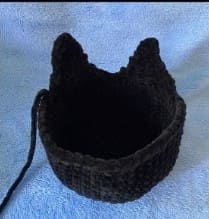
Hat (part 1)
• Black or lilac.
1. MR 8 sc (8)
2. 8 inc (16)
3. (1 sc, 1 inc) x 8 (24)
4. (2 sc, 1 inc) x 8 (32)
5. (3 sc, 1 inc) x 8 (40)
6. (4 sc, 1 inc) x 8 (48)
7-15. 48 sc (48) – 9 rounds
Don’t fasten off, we’ll continue in rows to crochet the fins of the hat:
Crochet 1 ch and turn the piece
• skip 1 ch, (1 sc, 1 dec) x 4, 1 ch and turn (8)
• skip 1 ch, 1 dec, 2 sc, 1 dec, 2 sc and turn [no chain] (6)
• skip 1 st, 5 sc and turn [no chain] (5)
• skip 1 st, 4 sc, 1 ch and turn (4)
• skip 1 ch, 3 sc and turn [no chain] (4)
• skip 1 st, 3 sc and turn [no chain] (3)
• skip 1 st, 2 sc and turn [no chain] (2)
• skip 1 st, 1 sc – don’t turn, we’ll continue down the triangle we crocheted to go back to the base of the hat.
Hat (part 2)
Crochet 10 sl st down to the base of the hat (if you need less stitches to reach the base is fine) and:
(1 sc, 1 dec) x 4, 1 ch and turn (8)
skip 1 ch, 1 dec, 2 sc, 1 dec, 2 sc and turn [no chain] (6)
skip 1 st, 5 sc and turn [no chain] (5)
skip 1 st, 4 sc, 1 ch and turn (4)
skip 1 ch, 3 sc and turn [no chain] (4)
skip 1 st, 3 sc and turn [no chain] (3)
skip 1 st, 2 sc and turn [no chain] (2)
skip 1 st, 1 sc and crochet 10 sl st down to the base of the hat.
Crochet sc all the way around the hat to the first fin (around 26 pb). Cut the yarn and leave a long tail to sew to the head.
Hat triangle
• Black or lilac
This piece is crocheted in rows:
1. Start with 8 ch
2. Skip 1 ch, 7 sc, 1 ch and turn
3. Skip 1 ch, 3 dec, 1 sc, 1 ch and turn
4. Skip 1 ch, 2 dec, 1 ch and turn
5. Skip 1 ch, 1 dec
Next, crochet sc around the whole triangle and leave some yarn to sew to the head.
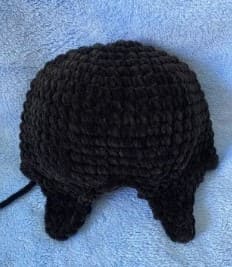
IMPORTANT:
We have finished crocheting all the parts! The hat is, in my opinion, the most complex piece.
I recommend that you try it on Kuromi’s head as you crochet it to make sure it fits on his head (it should fit snugly), but first you must sew the head to the body because we need the neck as reference.
Felt details
If you crochet your kuromi in black, you will need black, white and pink felt.
Lilac kuromi will need black, white and lilac felt (the lilac as close as possible to the shade or yarn you use to crochet the hat).
Kuromi is ready!