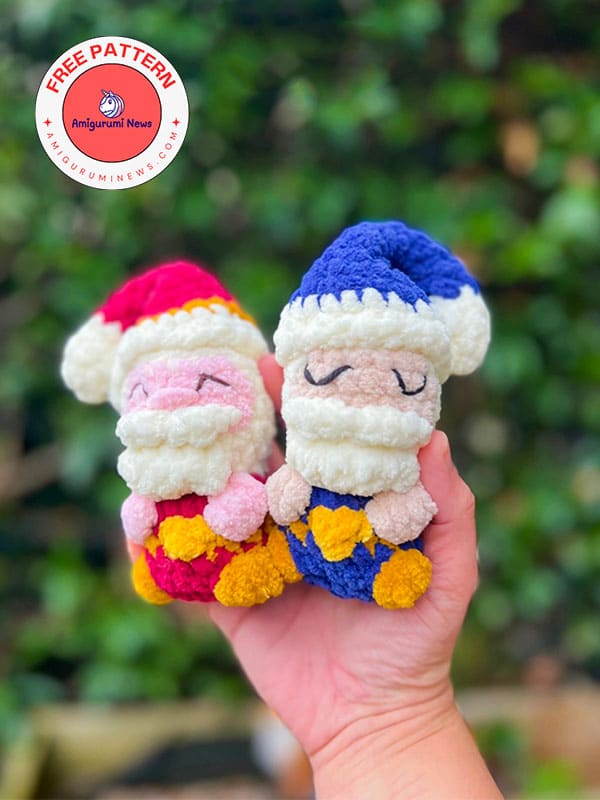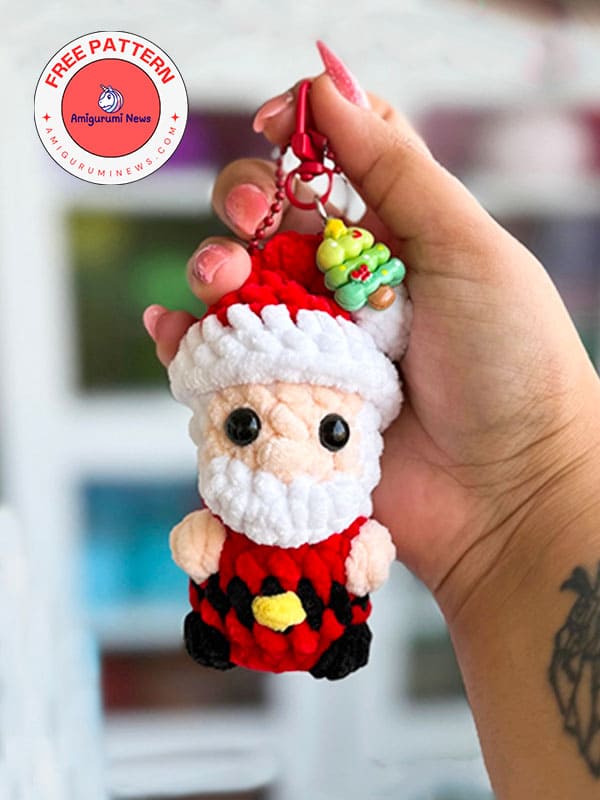
Those looking for a gift for the New Year or considering a crochet xmas keychain should definitely check out this adorable plush crochet santa claus keychain pattern. It’s a super easy pattern that makes a great amigurumi starter project for beginners, as it’s made entirely in one piece. This adorable crochet Santa keychain pattern is now available for free, so you can quickly make it for your loved ones in the new year. Have a wonderful weekend, everyone.
Crochet santa claus keychain
If you’re wondering how to make this plush crochet santa claus keychain, keep reading. After making the head and body in one piece, we add details like the beard, nose, and hat, and it’s finished. You can also make your crochet santa claus keychain in different colors if you like.
Designer: drchoco_crochet
Abbreviations:
MR- magic ring
sc- single crochet
dec- decrease
inc- increase
slst- slip stitch
ch- chain
sts- stitches
blo- back loops only
bo- bobble stitch (Bo4dc)
hdcinc- 2 half double crochets into one stitch
cc- change color
Materials:
Yarn- weight 6 super bulky yarn.
Crochet hook – 5mm (or the recommended size for your chosen yarn)
Safety eyes – I used 9 mm.
Stuffing
Stitch marker, scissors, tapestry needle.
Head and Body
• You may need to use a stitch marker to keep a track number of your stitches.
• The head and the body will be crocheted together starting with the head.
Start with white, make a magic ring,
R1: 6sc into mr (6)
R2: 6inc (12)
R3: (2sc, inc) x 4 (16)
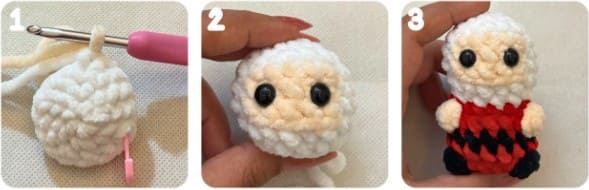
R4: 5sc, cc to tan, Blo; 5sc, cc to white, both loops; 6sc (16) (Pic 1)
R5-6: 5sc, cc to tan, 5sc, cc to white, 6sc for 2 rounds (16)
R7: 5sc, Blo; 5sc, both loops; 6sc (16)
• Insert safety eyes between rounds 5 and 6, 3 sts apart.
• Stuff the head.
R8: (2sc, dec) x 4 (12) (Pic 2)
R9: Cc to red, (2sc, inc) x 4 (16)
• Make Bobble stitches in tan.
R10: 5sc, Bo4dc, 5sc, Bo4dc, 4sc (16)
R11: Cc to black, 16sc around (16)
R12: Cc to red, 16sc around (16)
• Make Bobble stitches in black.
R13: 6sc, Bo4dc, 4sc, Bo4dc, 4sc (16)
• Stuff the body, make sure that the bottom of the body is flat.
R14: 8dec (8)
• Fasten off. Leave a tail. Use a yarn needle to thread through the front loops of remaining stitches. Pull tight to close, weave in the end. (Pic 3)
Beard
Hold your plushie upside down.
• Using white, insert your hook into the 6th front loop of round 6. (Pic 1)
R1: Ch 1, 3sc into next 3 stitches, chain 1, slst into the last stitch. Chain 1, turn your work,
R2: 2sc, hdcinc, 2sc, slst into the first chain of R1.
• Weave in the ends. (Pic 2)
Belt buckle
• Using yellow, embroider the belt buckle between rounds 11 and 12.
• The width of the belt buckle takes up about 1 stitch.
• Weave in the ends.
Nose
• Embroider the nose between rounds 6 and 7 of the head.
• The width of the nose takes up about 1 stitch.
• Weave in the ends. (Pic 3)

Hat
Using white, make a magic ring,
R1: 4sc into magic ring (4)
R2: (Sc, inc) x 2 (6)
R3: 6sc around (6)
R4-5: Cc to red, 6sc around for 2 rounds (6)
R6: (2sc, inc) x 2 (8)
R7: 8sc around (8)
R8: (3sc, inc) x 2 (10)
R9: (Sc, inc) x 5 (15)
R10: (2sc, inc) x 5 (20)
R11: Cc to white, (9sc, inc) x 2 (22)
R12: 22sc around (22)
• Slst into next stitch.
• Fasten off. Weave in the ends.
• You can secure the pompom between rounds 10 and 11 of the hat if you like.
• Sew the hat onto the head.

Congratulations, your Santa Claus keychain is ready. Merry Christmas!