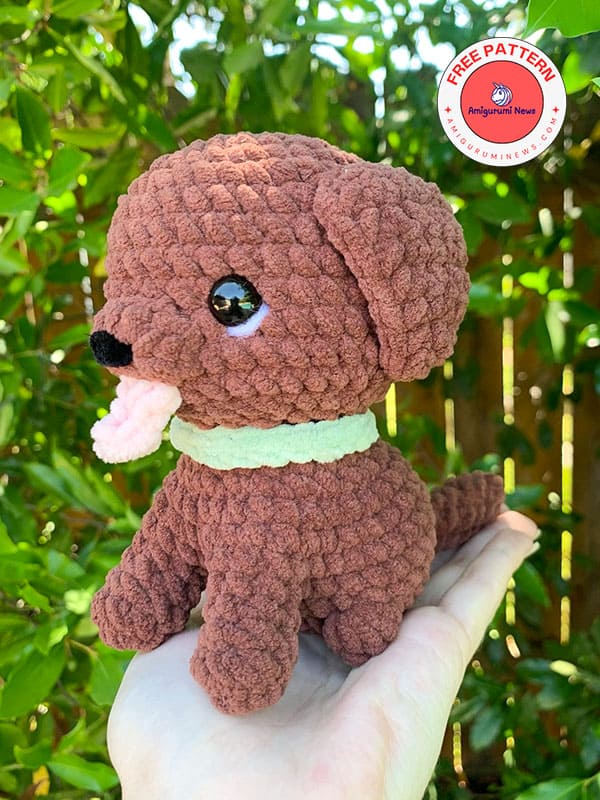
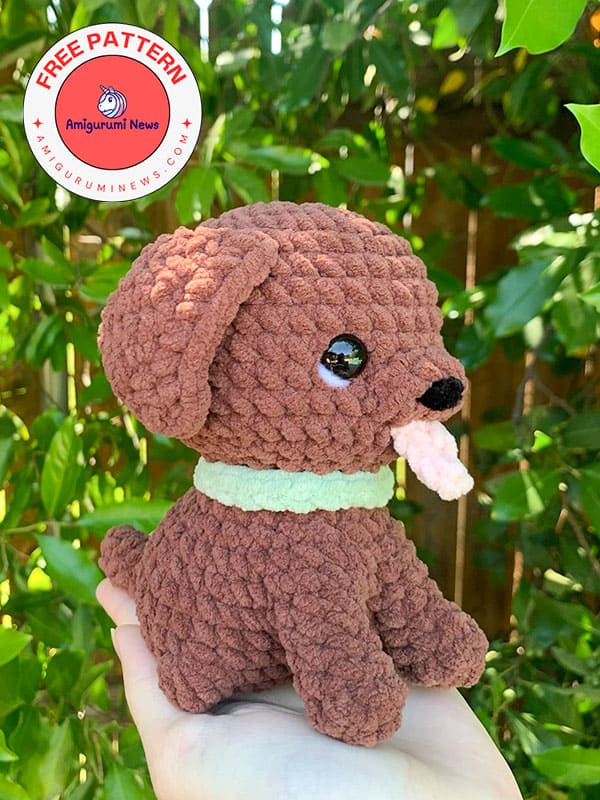
Looking for a heartwarming crochet amigurumi dog pattern? This crocheted golden retriever amigurumi is the perfect blend of cute, soft, and easy to make! Whether you’re a beginner or an experienced crocheter, this free plush amigurumi dog pattern will become one of your favorite amigurumi patterns projects.
Crafted using plush (chenille-style) yarn, this amigurumi dog is irresistibly cuddly. Its large black safety eyes, floppy ears, pink tongue, and wagging tail give it a realistic and playful look. A pastel-colored collar adds a sweet finishing touch. It makes an ideal handmade gift for kids, crochet dog lovers, or anyone who appreciates cuddly plush toys.
Cream plush yarn.
Optional- blue plush yarn for collar.
Strand of #4 weight black yarn.
4.5mm crochet hook
12mm safety eyes.
Scissors
Stuffing
Stitch marker
Yarn needle
Abbreviations
sc- single crochet
inc- increase
dec- decrease
ch- chain
st(s)- stitches
BO- bobble stitch (6 dc or 7 loops in this pattern)
R- round
slst- slip stitch
FO- fasten off
How to crochet the Golden retriever’s head
R1. ch 2, 8 sc in first ch (8)
R2. 8 inc (16)
R3. (sc,inc)x8 (24)
R4. (2sc,inc)x8 (32)
R5. (7sc,inc)x4 (36)
R6-12. sc around (36)
R13. (2sc,dec)x9 (27)
R14. (sc,dec)x9 (18)
FO and leave a short tail.
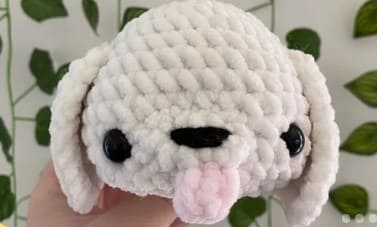
Begin stuffing. Place safety eyes between R10-R11. Do not secure until the nose is sewn on. Finish stuffing.
Nose
R1. Ch 6, starting in the 2nd ch from the hook 5 sc, turn, 5 sc on other side of the ch (10)
FO and leave a tail for sewing.
Sew between the eyes.
With the black yarn, sew 3 lines on the nose.
Tongue
In pink.
R1. Ch 3, starting in the 2nd st from the hook 2 sc (2)
FO and leave a tail for sewing.
Sew underneath the nose.
Ears (make 2)
R1. Ch 2, turn
R2. inc in first ch, ch 1, flip (2)
R3. sc, inc, ch 1, flip (3)
R4. inc, sc, inc, ch 1, flip (5)
R5. inc, 3 sc, inc, ch 1, flip (7)
R6. 7 sc, ch 1, flip (7)
R7. inc, 5 sc, inc, ch 1, flip (9)
R8-9. 9 sc, ch 1, flip (9)
R10. 9 sc, ch 1, 7 sc down the side, inc in the tip, 7 sc down the side, slst in the last stitch.
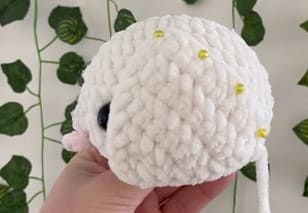
FO and leave a tail for sewing. Sew from R5 on an angle that goes down 4 sts.
I recommended using pins to get the placement you want.
The tail and paws are to be made before the body as they are crocheted in.
Please feel free to adjust the placement of the tail and paws by a few sts so it lines up together.
Tail
R1. Ch 2, 4 sc in first ch (4)
R2. (sc,inc)x2 (6)
R3-6. sc around (6)
R7. (sc,dec)x2 (4)
FO and leave a short tail.
Paws (make 2)
R1. Ch 2, 10 sc in first ch (10)
R2. 2 sc, 2 dec, 4 sc (8)
R3. 2 sc, dec, 4 sc (7)
R4. sc around (7)
FO and leave a short tail.
It will be crocheted into the body later.
Body
R1. Ch 2, 8 sc in first ch (8)
R2. 8 inc (16)
R3. (1sc,inc)x8 (24)
R4. (3sc,inc)x6 (30)
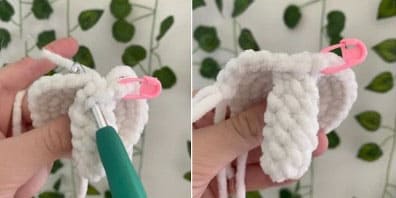
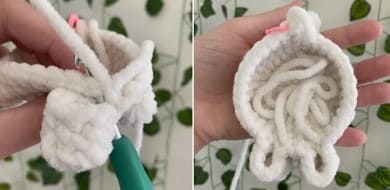
R5. 2 sc with tail (shown in photos 1&2), 7 sc, BO, 10 sc, BO, 9 sc (30)
R6. sc around (30)
When you crochet with the paws, start in the first st or round 4 of the paw (shown in photos 2 & 3).
R7. 13 sc, sc with paw and body, 6 sc around the paw, 2 sc in body, sc with paw and body, 6 sc around the paw, 13 sc (42)
R8. 19 sc, 2 dec, 19 sc (40)
R9. (2sc,dec)x10 (30)
Before you continue, sew any holes shut, and begin stuffing the body including the paws.
R10. sc around (30)
R11. (sc,dec)x10 (20)
R12. sc around (20)
R13. 2 dec, 16 sc (18)
FO and leave a long tail for sewing. Finish stuffing.
Sew it to the head at the position you would like. You could have it facing forwards or to the side.
Collar
R1. 23 ch
R2. Starting in 2nd ch from hook 22 slst.
FO and leave a tail.
Sew the ends of the collar together around the dogs neck and then weave in the ends.
To provide the best experiences, we use technologies like cookies to store and/or access device information. Consenting to these technologies will allow us to process data such as browsing behavior or unique IDs on this site. Not consenting or withdrawing consent, may adversely affect certain features and functions.
Functional
Always active
The technical storage or access is strictly necessary for the legitimate purpose of enabling the use of a specific service explicitly requested by the subscriber or user, or for the sole purpose of carrying out the transmission of a communication over an electronic communications network.
Preferences
The technical storage or access is necessary for the legitimate purpose of storing preferences that are not requested by the subscriber or user.
Statistics
The technical storage or access that is used exclusively for statistical purposes.The technical storage or access that is used exclusively for anonymous statistical purposes. Without a subpoena, voluntary compliance on the part of your Internet Service Provider, or additional records from a third party, information stored or retrieved for this purpose alone cannot usually be used to identify you.
Marketing
The technical storage or access is required to create user profiles to send advertising, or to track the user on a website or across several websites for similar marketing purposes.