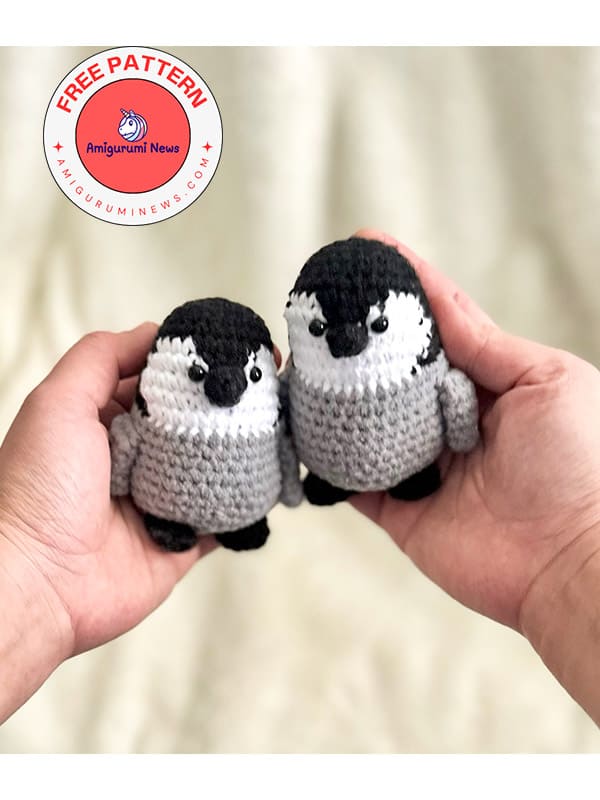
A free pattern of a little amigurumi penguin named Lily is here. This mini amigurumi penguin is very cute and very easy to make. It would be a great idea to give your children an amigurumi as a gift while teaching them about penguins. Just follow this free pattern step by step to make an educational and entertaining amigurumi penguin. When made with the specified materials, the amigurumi penguin will be 9 cm. However, if your yarn and crochet hook change, the penguin will also change in size.
Lily the amigurumi penguin
Via: poppiesandami
Yarn and hook:
Any medium weight/size 4 yarn in gray, black and white and 3.50 mm hook.
You may use a different yarn and hook size of your choice.
Tools and notions:
Stitch marker, 1 pair of 6 mm safety eyes, polyfill stuffing, scissors, tapestry needle.
Abbreviations:
ch- chain
st- stitch
slst- slip stitch
sc- single crochet
inc- increase
dec- decrease
FLO- front loop only
FO- fasten off
Difficulty level: advanced beginner.
Finished items size: 9 cm tall x 6.50 cm wide.
Head and body
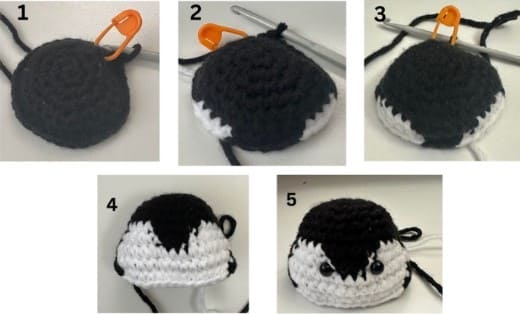
Start with black yarn.
R1. sc 6 in a magic ring (6)
R2. inc in each st around (12)
R3. (sc1,inc)*6 (18)
R4. (sc2,inc)*6 (24)
R5. sc in each st around (24)
R6. (sc3,inc)*6 (30)
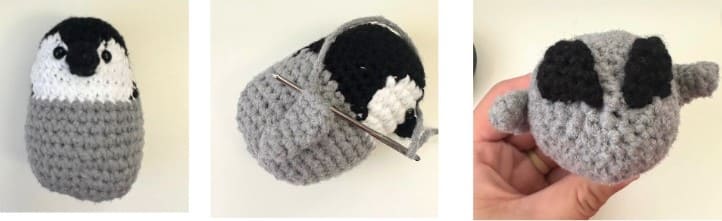
Color change starts here. B-black, W-white followed by the number of stitches.
R7. B sc 8, W sc 4, B sc 5, W sc 4, B sc 9 (30)
R8. B sc 7, W sc 6, B sc 3, W 6, B sc 8 (30)
R9. B sc 7, W inc, sc 13, inc, B sc 8 (32)
R10. B sc 8, W sc 15, B sc 9 (32)
R11. B sc 9, W sc 13, B sc 10 (32)
Place the safety eyes between 8 and 9, 3 sts apart.
R12 In gray yarn only, FLO sc in each st around (32)
R13-14. sc in each st around (32)
R15. (sc7,inc)*4 (36)
R16-17. sc around (36)
R18. (sc4,dec)*6 (30)
R19. sc around (30)
R20. (sc3,dec)*6 (24)
Start stuffing on this round.
R21. sc 2, dec* 6 (18)
R22. (sc1,dec)*6 (12)
R23. (dec)*6 (6)
FO and sew the opening.
Beak
In black yarn:
R1. sc 4 in a magic ring
R2. sc 3, inc (5)
FO and leave a tail.
Feet (make 2)
In black yarn:
R1. sc 6 in a magic ring
R2. (sc 2,inc)*2 (8)
R3-4. sc around (8)
FO and leave a tail.
Wings (make 2)
In gray yarn:
R1. sc 5 in a magic ring
R2-3. sc in each st around (5)
R4. inc, sc 3, inc (7)
R5-6. sc in each st around (7)
FO and a long tail.
Assembly
1. Sew the beak between R8 and R9 or where the ballpins are placed on the photo.
2. Sew the wings on each side of the body, between R13 and R14. Ensure that the curved part of the wing faces the back of the body and the flat part faces the front. Allocate 4 sts in sewing each wing.
3. Sew the feet on the bottom of the body, just in between the last round and position them slightly outward.