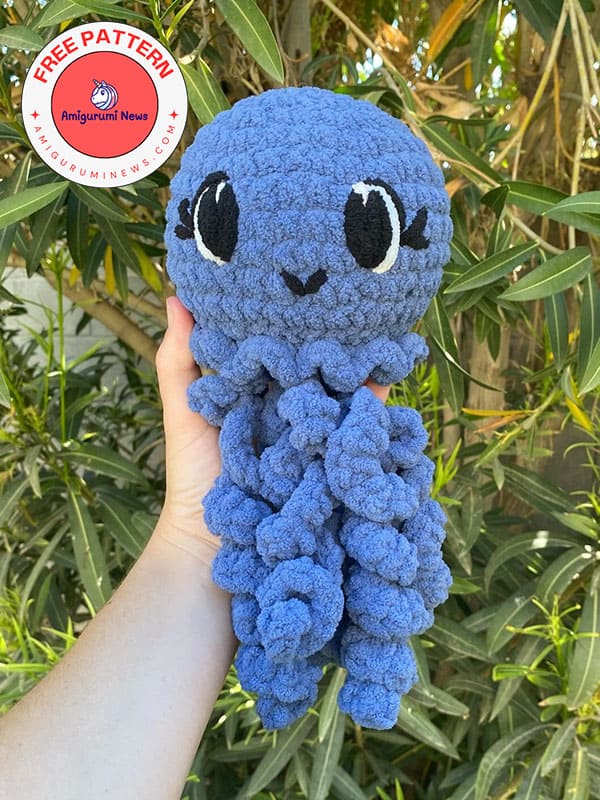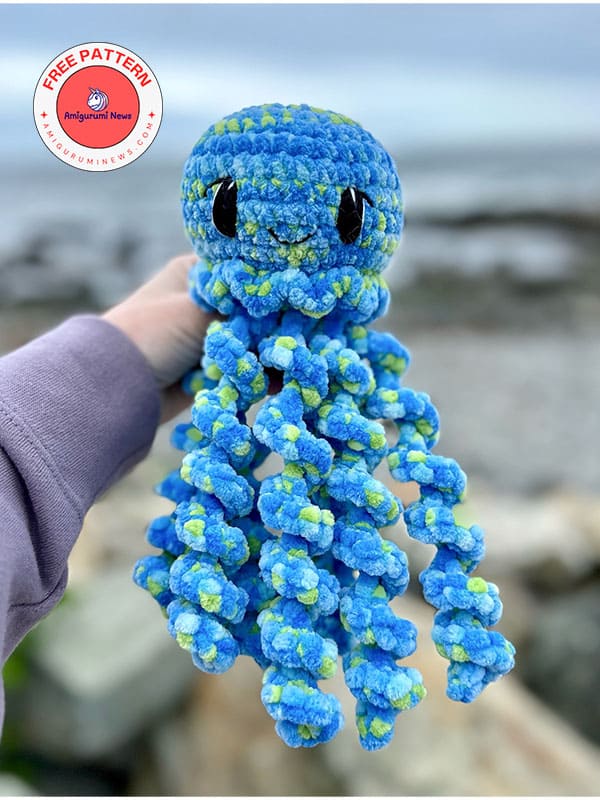
This easy crochet jellyfish pattern for beginners that requires low stitches is here. You can also make two different amigurumi jellyfish with the same crochet jellyfish pattern. I think this is the easiest jellyfish you can make. Because it is made in one piece. We start from the body and finally make the tentacles. We add a spot for the other color and also attach a ready-made eye to the other. Or we embroider the eyes with black yarn. That’s all. Continue to follow me for the most fun crochet sea animals.
2 in 1 crochet jellyfish pattern
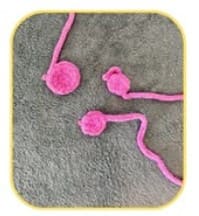
Via: stitchedbysass
Materials:
Yarn in colors of your choice. I used about 100 grams of bernat blanket varieties in seafoam, baby pink, and pixie pink.
Crochet hook in size of your choice. I used 5.5 mm.
Safety eyes in size of your choice.
Acrylic yarn if embroidering eyes or smile.
Stuffing.
Scissors.
Darning needle for sewing.
Optional: glue.
Stitch markers.
Abbreviations:
MR: magic ring
ch: chain
sc: single crochet
inc: increase
dec: decrease
dc: double crochet
hdc: half double crochet
slst: slip stitch
FLO: front loop only
BLO: back loop only
FO: finish off
Jellyfish
Using main color.
R1. 8 sc in a MR (8)
R2. inc around (16)
R3. (sc,inc)x8 (24)
R4. (3sc,inc)x6 (30)
R5. (4sc,inc)x6 (36)
R6-11. sc around (36) *6 rounds.
R12. (4sc,dec)x6 (30)
Mark the 1st front loop of R12
R13. BLO (dec)x14, 2 sc (16)
If using safety eyes, place them between R9-10, about 5 stitches apart. Begin to stuff your jelly and continue as you go.
You will now work into the front loop stitches of R12 to create the frill.
R14. FLO (sc,[hdc,dc,hdc],sc)x10 (60)
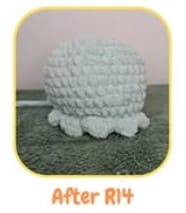
You should have 10 frills.
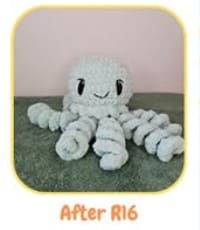
Now we will be working into the front loops of R13 to create the tentacles. Mark the 1st back loop of R13.
R15. FLO ([sc,ch30, inc in each ch, slst],sc)x8
You should have 8 tentacles.
R16. BLO of R13: dec around (8)
FO and close hole.
Spots
Large spot:
Using accent color.
R1. 8 sc in a MR (8)
R2. inc around (16)
Slst into the 1st and FO, leaving a tail for sewing.
Medium spot:
Using accent color.
R1. 8 sc in a MR (8)
Slst into the 1st and FO, leaving a tail for sewing.
Small spot:
Using accent color.
R1. 6 sc in a MR (6)
Slst into the 1st and FO, leaving a tail for sewing.
Tips: I like to use an invisible finish for the spots for a cleaner look.
You can always glue the spots on instead of sewing.
Assembly
There is no exact placement for sewing on the spots.
Just wherever you see fit. I placed the large spot between R4-7, medium R7-9, and small 9-11, each about 2 stitches away from eachother.
For the regular jellyfish, embroider eyes if you didn’t use safety eyes.
Optional: embroider a smile between the eyes.