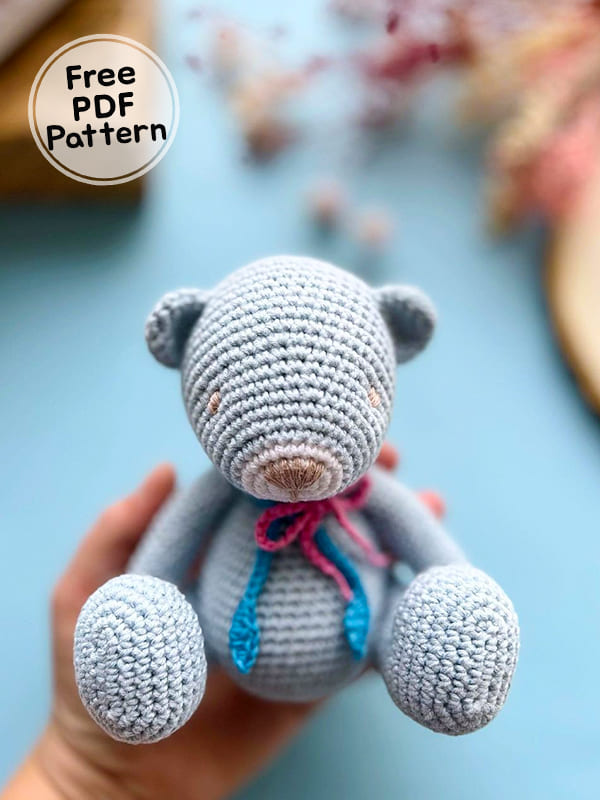
Today we will work with you a pastel color crochet teddy bear pattern. If you wish, you can use a pink yarn as the designer did. The choice is entirely yours, my dears. I am sure you will love it as the cute crochet teddy bear looks so different. We tie a beautiful scarf in the colors of lia and cyclamen around her neck and thus our cute crochet teddy bear looks much cuter. Just follow the free amigurumi pattern instructions step by step and complete the cute crochet teddy bear right now.
Pastel Crochet Teddy Bear Amigurumi Free Pattern
Designer: rnata6744
Materials
• 2.5 mm hook
• Cotton yarn;
– I used Annell “Miami” in white (8943) and pink (8935) color.
• Safety eyes 8.00 mm
• Stuffing
• Yarn needle
• Stitch marker
Abbreviations
MR: Magic ring
Ch: Chain
Sc: Single crochet
Inc: Increase
Dec: Decrease
Hdc: Half double crochet
Slst: Slip stitch
FLO: Front loop only
BLO: Back loop only
Body
Use the pink yarn.
Rnd 1. 6 sc in MR (6)
Rnd 2. (inc)*6 (12)
Rnd 3. (inc,sc)*6 (18)
Rnd 4. (2sc,inc)*6 (24)
Rnd 5. (inc,3sc)*6 (30)
Rnd 6. 2 sc, (inc,4sc)*5, inc, 2sc (36)
Rnd 7. 4 sc, (inc,5sc)*5, inc, sc (42)
Rnd 8. (20sc,inc)*2 (44)
Rnd 9-14. sc around (44), 6 rounds
Rnd 15. (dec,6sc)*3, dec, 18 sc (40)
Rnd 16-17. sc around (40), 2 rounds
Rnd 18. (dec,5sc)*3, dec, 17 sc (36)
Rnd 19-20. sc around (36), 2 rounds
Rnd 21. (dec,4sc)*3, dec, 16 sc (32)
Rnd 22-23. sc around (32), 2 rounds
Rnd 24. (dec,3sc)*3, dec, 15 sc (28)
Rnd 25-26. sc around (28), 2 rounds
Rnd 27. (dec,2sc)*3, dec, 14 sc (24)
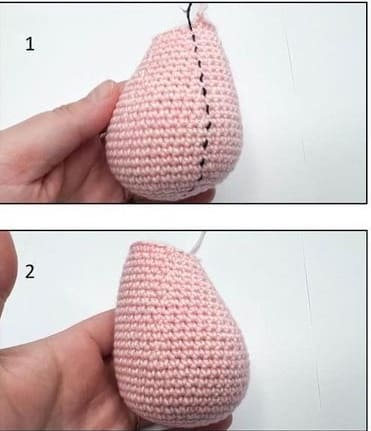
Stuff the body firmly (fig.1,2).
Cut the yarn, leave a tail for sewing.
Arms (Make 2)
Use the pink yarn.
Rnd 1. 6 sc in MR (6)
Rnd 2. (inc)*6 (12)
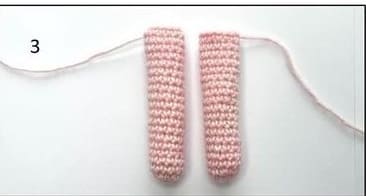
Rnd 3-20. sc around (12), 18 rounds.
Stuff the arms lightly. Cut the yarn, leave a tail for sewing (fig.3).
Legs (Make 2)
Use the pink yarn.
Ch 7. Make sure, that your chains are not twisted.
Rnd 1. Start in second chain from hook: inc this stitch, 4 sc, 3 sc in last chain stitch.
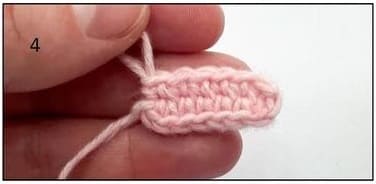
Continue on the other side of the foundation chains: 5 sc, (fig.4) (14)
Rnd 2. 2 inc, 4 sc, 3 inc, 4 sc, inc (20)
Rnd 3. (sc,inc)*2, 4 sc, (sc,inc)*3, 5 sc, inc (26)
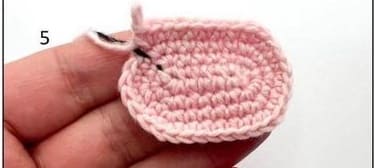
Rnd 4. (2sc,inc)*2, 4 sc, (2sc,inc)*3, 6 sc, inc (fig.5) (32)
Rnd 5-8. sc around (32), 4 rounds.
Rnd 9. 12 sc, (dec,2sc)*3, dec, 6sc (28)
Rnd 10. 12 sc, (dec,sc)*3, dec, 5sc (24)
Rnd 11. 12 sc, 4 dec, 4 sc (20)
Rnd 12. 10 sc, 4 dec, 2 sc (16)
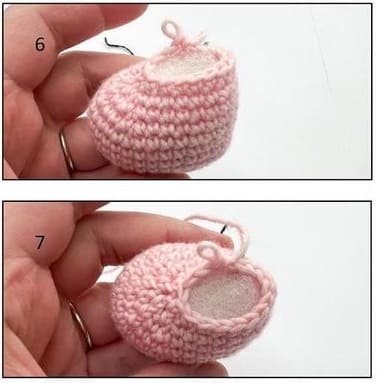
Rnd 13-20. sc around (16), 8 rounds.
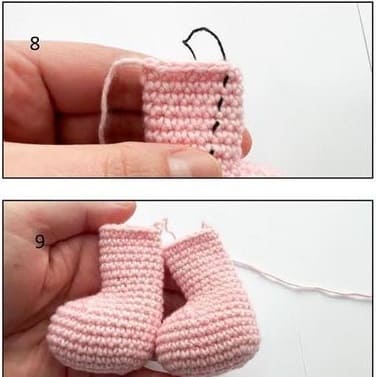
Crochet 7 sc more (fig.8), after round 20 to bring the tail of yarn in the corner of leg.
Cut the yarn, leave a tail for sewing.
Don’t stuff the last of the leg (fig.9).
Head
Use the white yarn.
Rnd 1. 6 sc in MR (6)
Rnd 2. (inc)*6 (12)
Rnd 3. (inc,sc)*6 (18)
Rnd 4. (2sc,inc)*6 (24)
Change the yarn to pink.
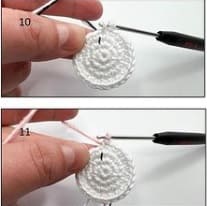
How to change the color of yarn:
With the two loops from the previous yarn on the hook (fig.10), wrap the new yarn around the hook, then pull the new yarn through the two loops of the stitch (fig.11).
Rnd 5. sc around (24)
Rnd 6. (inc,3sc)*6 (30)
Rnd 7. sc around (30)
Rnd 8. 2 sc, (inc,4sc)*5, inc, 2 sc (36)
Rnd 9. sc around (36)
Rnd 10. 4 sc, (inc,5sc)*5, inc, sc (42)
Rnd 11. sc around (42)
Rnd 12. (6sc,inc)*6 (48)
Rnd 13-21. sc around (48), 9 rounds.
You can use safety eyes or embroider the eyes.
First type of eyes: attach the safety eyes between rounds 11 and 12 with 15 st between. Skip 13 st from beginning, attach the first eye, then skip 15 st and attach the second eye (fig.12).

Rnd 22. (dec,6sc)*6 (42)
Rnd 23. (dec,5sc)*6 (36)
Start to stuff the head.
Rnd 24. (dec,4sc)*6 (30)
Rnd 25. (dec,3sc)*6 (24)
Rnd 26. (dec,2sc)*6 (18)
Rnd 27. (dec,sc)*6 (12)
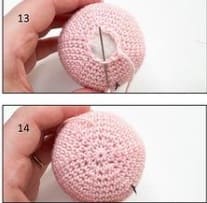
Stuff the head firmly.
Close the head as show on photos 13 and 14.
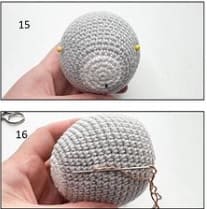
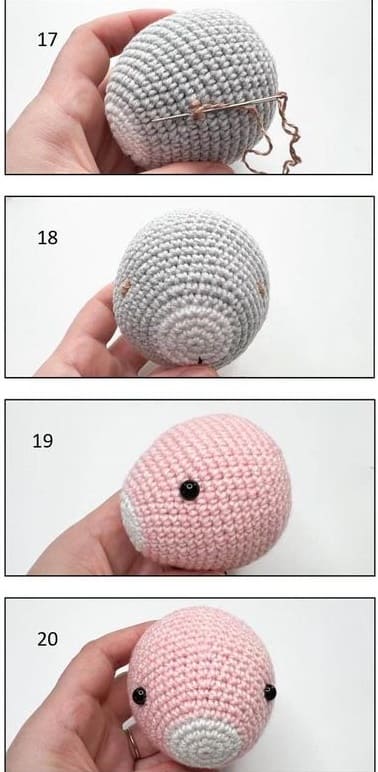
Second type of eyes: embroider the eyes one stitch height and length using the light brown yarn. Use the pins, mark the 13th and 29th stitches of round 11 (fig.15,16,17).
Ears (Make 2)
Use the pink yarn.
Rnd 1. 6 sc in MR (6)
Rnd 2. 6 inc (12)
Rnd 3. (2sc,inc)*4 (16)
Rnd 4-5. sc around (16), 2 rounds.
Cut the yarn, leave a tail for sewing.
Don’t stuff the ears.
Assembling
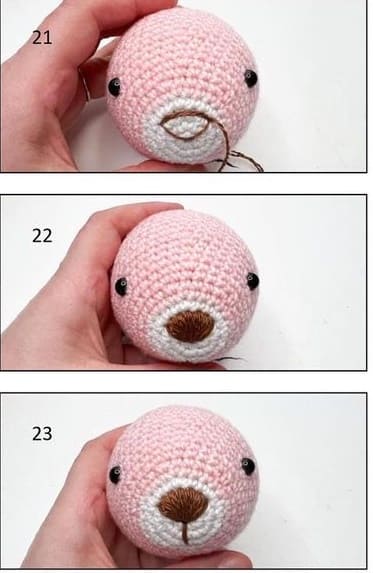
Embroider the nose using the brown yarn (fig. 21, 22 and 23).
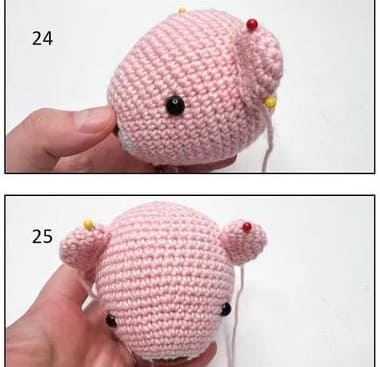
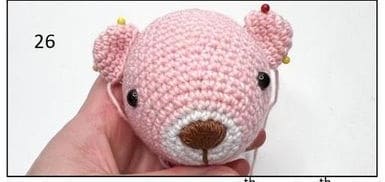
Sew the ears between rounds 17 and 21 with 12 st between. You should sew them in diagonal as show on photo (fig. 24, 25, 26).
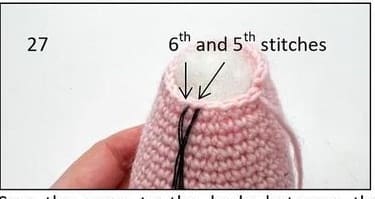
Mark the post between 5th and 6th stitch with black thread (or stitch marker) after finished the last stitch of the last round. We will use it as a marker to point the front side of the body (fig.27).
Sew the arms to the body between the rounds 26 and 27 and 4 st from the marker (fig. 28, 29 and 30).
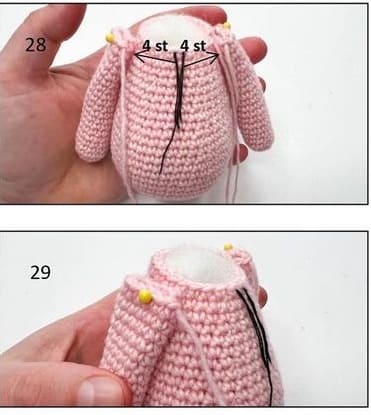
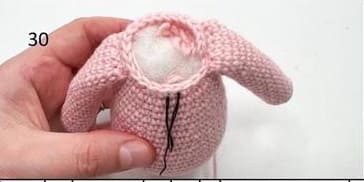
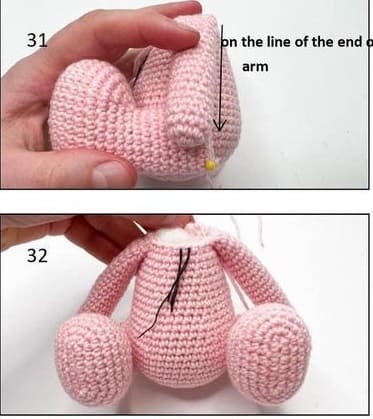
Sew the legs to the body between rounds 5 and 13. You should sew the legs on the line of the arms (fig. 31,32).
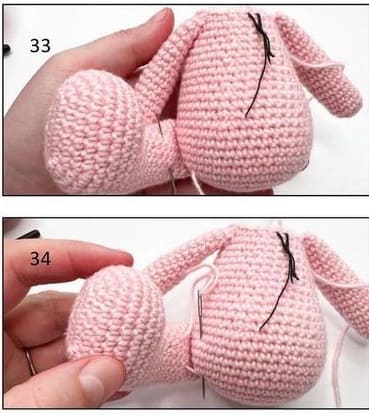
Secure the leg to the body as show on photo 33 and 34.
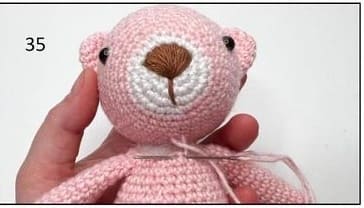
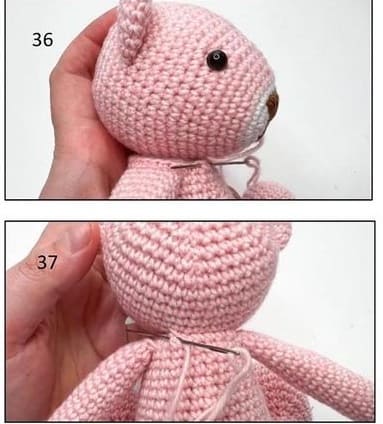
Sew the head to the body. You should start to sew it from the center and go around the head (fig. 35,36,37).
Collar
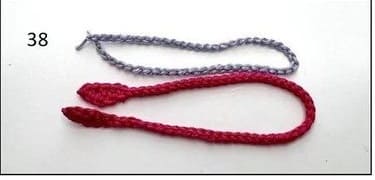
Use the mauve yarn: ch 50. Fasten off.
Use the cyclamen yarn: ch 60. Start in second chain from hook: sc, hdc, dc, hdc, sc, slst in next 49 chain st, sc, hdc, dc, hdc, sc.
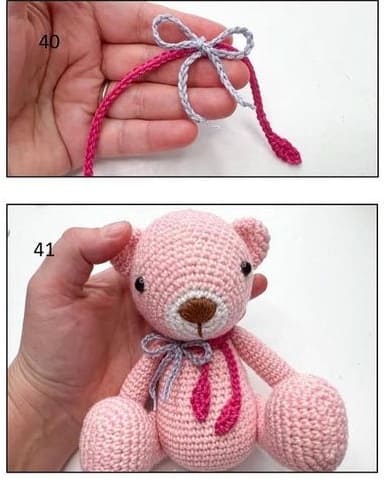
Fasten off (fig.38).
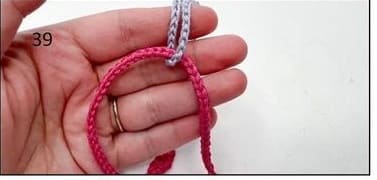
Put the cyclamen lace inside the mauve lace, make the small bow (fig.40), then turn the cyclamen lace around the neck (fig.41).
