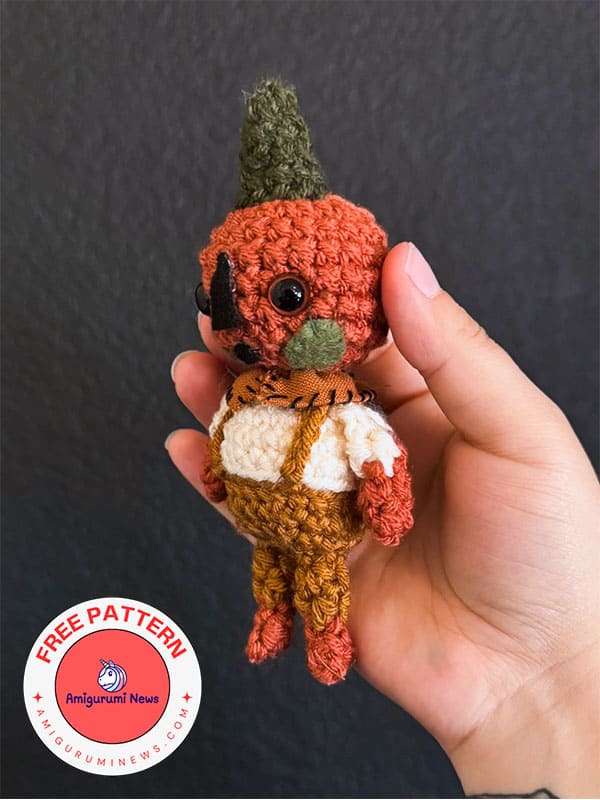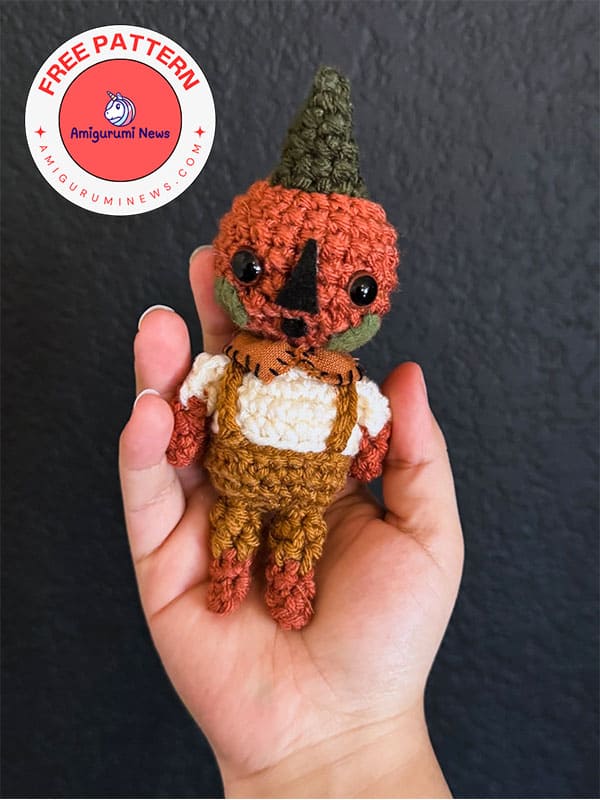
Here’s a crochet pumpkin doll named Percy. This slightly spooky-looking pumpkin amigurumi doll is perfect for Halloween. It’s easy and quick to make. All the doll’s parts are made separately and attached. You’ll choose the body color for the pants, and then we’ll make the suspenders. This is how the pumpkin doll will be created. You can accessorize your pumpkin amigurumi doll with various accessories. A straw hat, for example, wouldn’t be a bad idea!
Percy the pumpkin crochet doll amigurumi
Designer: themagiccirclecrochet
Materials and tools:
Yarn (medium weight)
Crochet hook (3.25mm)
Safety eyes (9mm)
Felt
Tapestry needle
Stitch markers
Stuffing material
Abbreviations:
MC- magic circle aka magic ring
sc- single crochet
dec- decrease
inc- increase
slst- slip stitch
hdc- half double crochet
FL- front loop
ch- chain
CC- color change
FO- fasten off
R- round
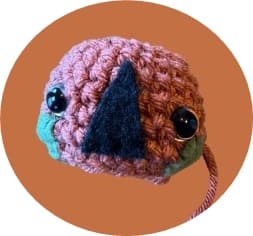
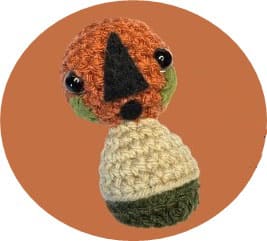
Head
Begin in body color.
R1. 8 MC
R2. 8 inc (16)
R3. (sc,inc)x8 (24)
R4-R8. 24 sc [five rounds]
R9. 12 dec (12)
Add eyes R6-R7, 7 stitches apart.
Sew on felt details.
Firmly stuff the head.
R10. 6 dec (6)
CC to shirt color.
Body
R11. 6 inc (12)
R12. (sc,inc)x6 (18)
R13. (sc,inc,sc)x6 (24)
Stuff gradually.
R14-R15. 24 sc [two rounds]
CC to pant color.
R16. BLO 24 slst
R17. BLO 24 sc
R18. (sc,dec,sc)x6 (18)
R19. BLO 9 dec (9)
Make one more dec (8)
FO, finish stuffing while keeping the bottom flat.
Close the hole. Hide yarn tail.
Glue a mouth on if ya want.
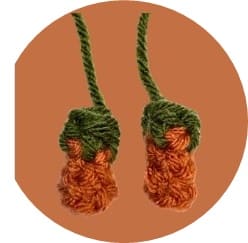
Legs
Make two.
R1. 4 MC in body color.
R2. BLO 4 sc
R3. 4 sc
CC to shorts color.
R4. 4 hdc
FO, leave a tail for sewing.
Flatten the bottom of the feet. No need to stuff.
Sew the legs on, with the outer sides of the legs aligned with where the FL’s are.
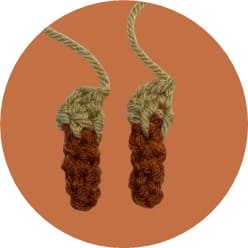
Arms
Make two.
R1. 4 MC in body color.
R2-R4. 4 sc [three color]
CC to shirt color.
R5. 4 hdc
R6. Pinch sides together, 2 hdc through both sides (2)
FO, leave a tail for sewing. No need to stuff.
Sew arms on one round below where the head changes to the shirt color, 3-4 stitches apart in the front.
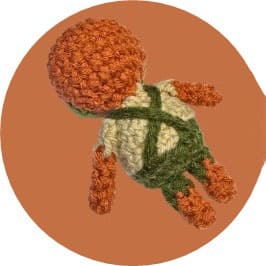
Suspenders
Make two.
With a slip knot on your hook, slst on a FL of R17 to connect the yarn.
Ch 10. Make sure that the ch reaches a FL on the back. Add or remove ch if needed. Slst into a FL on the back, creating an X.
Make sure that the suspender is sitting snuggly above the shoulder before you FO.
FO, hide the yarn tails.
Collar
You will work in turning chains.
Leave a long starting tail (4 inches).
R1. Ch 14. Make sure that the ch (2ch’s) fits around the neck. Add or remove ch if needed.
Make sure to adjust the scs in the rest of the rounds as well. (Ex: if you added a ch, R2 would change to 11sc, R3 would change to 13 sc).
R2. Starting in the 3rd ch from the hook:
hdc-inc, 10sc, hdc-inc. ch1, turn (14)
R3. inc, 12sc, inc (16)
Ch 2, do not turn. Instead, continue around the edge in the same direction: sc in the next stitch up, slst into the top (starting ch) to FO.
Leave a tail similar in size to the starting tail. Put the collar on and tie together both yarn ends, hide yarn tails or tie them in a bow.
Tip: If you’d like, you can make a collar with a piece of fabric. This way, you can achieve a different look.
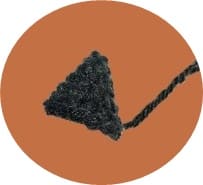
Hat
R1. 3 MC
R2. 3 inc (6)
R3. (sc,inc,sc)x2 (8)
R4. (3sc,inc)x2 (10)
R5. (2sc,inc,2sc)x2 (12)
R6. (5sc,inc)x2 (14)
FO, leave a long tail for sewing.
Stuff lightly, if desired.
Use the front of R2-3 as a guide, and sew the hat on. Hide yarn tail.
Surface crochet with sc’s around the base of the hat to create a brim.
Your pumpkin amigurumi doll is ready, Happy Halloween!