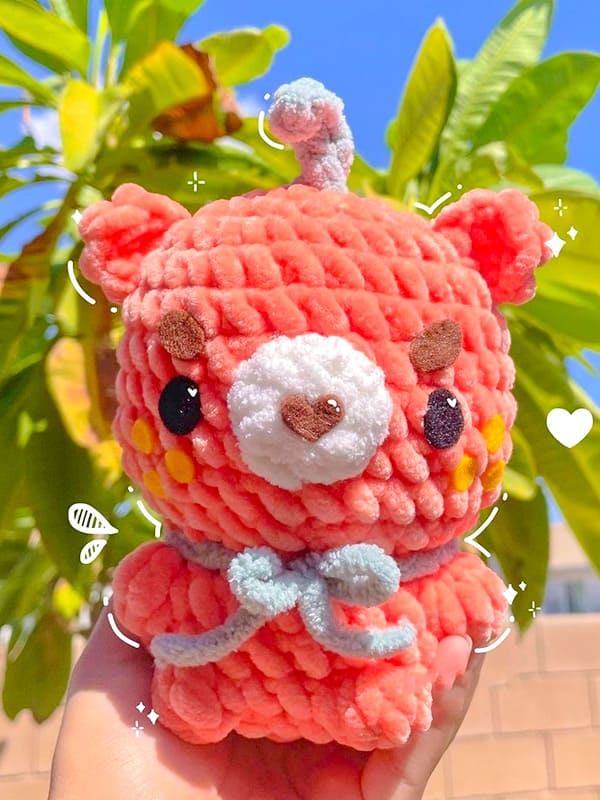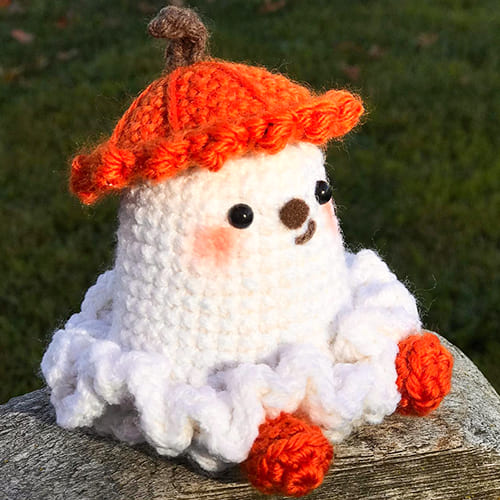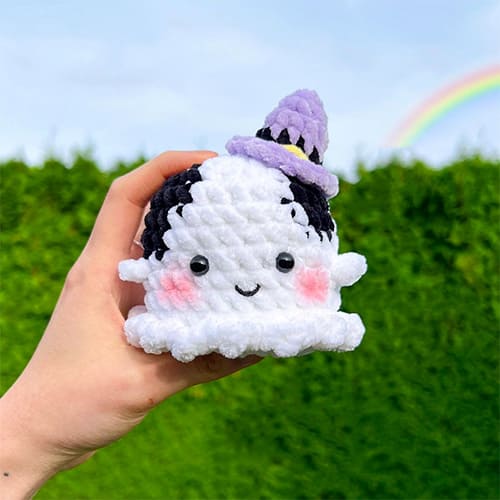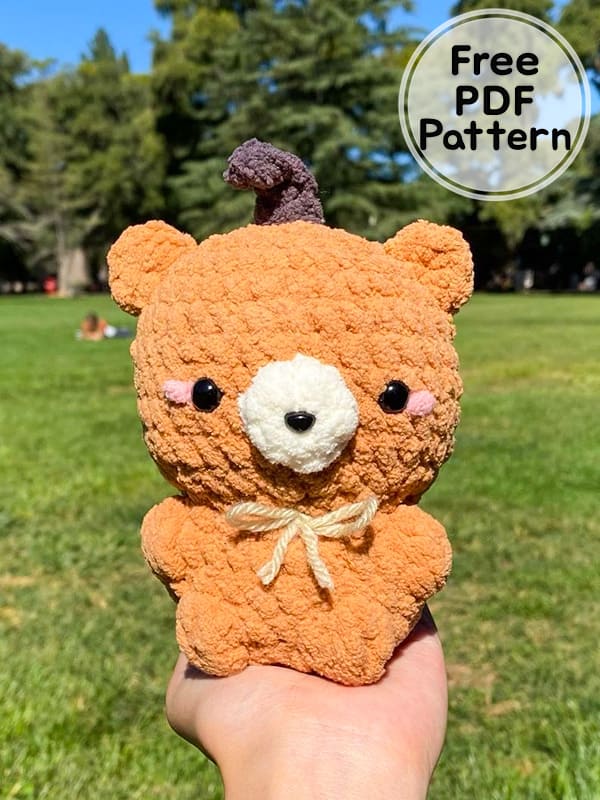
Greetings to all of you, my friends, as we start a good week. Today we will work with you crochet Kawaii bear amigurumi pattern. We would like to thank our designer for the Pupmkin Kawaii crochet bear pattern. Thanks to the step by step detailed and short amigurumi pattern instruction, you can complete the cute Kawaii bear amigurumi toy without difficulty, even if you are a beginner. It can be very creative and fun to make your cute bear like a pumpkin at Halloween time. Now I invite you to the free crochet pattern instruction.
Pumpkin Crochet Kawaii Bear Amigurumi PDF Free Pattern
Designer: wai.crochets
Materials
• Your 3 prefered yarn colours for the main body, snout and stem.
• Matching hook size.
• Yarn needle.
• Stuffing.
• Safety eyes.
• Felt.
Abbreviations
MR: Magic ring
Sc: Single crochet
Inc: Increase
Dec: Decrease
FLO: Front loop only
BLO: Back loop only
Bbl: Bobble stitch
Slst: Slip stitch
Ch: Chain
Head and body
Starting with the main colour.
Rnd 1. 8 sc in MR (8)
Rnd 2. 8 inc (16)
Rnd 3. (1sc,inc)*8 (24)
Rnd 4. (2sc,inc)*8 (32)
Rnd 5-10. 32 sc (32)
Rnd 11. (2sc,dec)*8 (24)
Rnd 12. (1sc,dec)*8 (16)
Rnd 13. in FLO, (1sc,inc)*8 (24)
Rnd 14. 7 sc, 1 bbl, 8 sc, 1 bbl, 7 sc (24)
Insert eyes between rnd 8 and 9, 5sts apart.
You may start stuffing the head here.
Rnd 15. 24 sc (24)
Rnd 16. 9 sc, 1 bbl, 4 sc, 1 bbl, 9 sc (24)
Rnd 17. (2sc,dec)*6 (18)
Start stuffing your bear fully.
Rnd 18. 9 dec (9)
Fasten off and sew the hole closed.
Snout
In the snout colour.
Rnd 1. 8 sc in MR (8)
Slst into the next st, then fasten off.
Leave a long tail for sewing.
Ears (Make 2)
In the main body colour.
Rnd 1. 6 sc in MR (6)
Slst into the next st, then fasten off.
Leave a long tail for sewing.
Stem
Insert hook at the top of the bear, between rnd 1 and 2.
Pull a loop through with the stem coloured yarn.
Rnd 1. ch 5
Rnd 2. starting at 2nd ch from hook, slst 2 and sc 2 down the ch (4)
Slst 1 onto the head.
Same way you first inserted the hook at the top to secure the stem down.
Fasten off then weave in the ends.
Assembly
• Sew the ears across rnd 4 and 5.
• Sew the snout between the eyes.
• Use felt in the colour of your choice to cut out an oval shape for the nose.
• Feel free to use any shape you like for the mouth.
Optional:
• Add cheek blushes using felt, or sew them on with yarn.
• Add pumpkin leaves using green felt.
• Add a matching ribbon around its neck.
