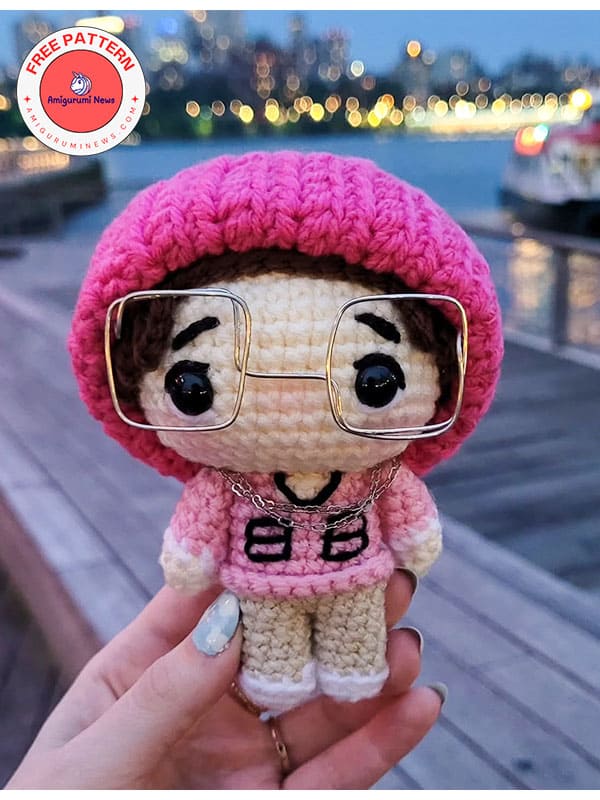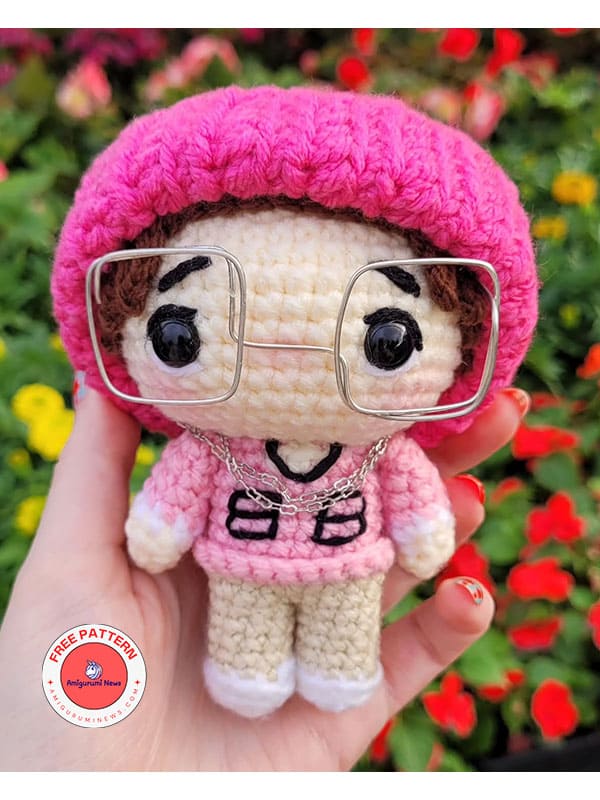
Here I came with a wonderful crochet doll amigurumi pattern for atiny’s voyage fans. This could be the most valuable gift you can give to atiny’s voyage fans. If you want to make a crochet doll, you should definitely check out this amigurumi pattern full of details. Because it looks great with its beret and glasses. If you want to buy its glasses ready-made, you can, but we will explain step by step how to make glasses with a wire. We also explain how to make a crochet beret to decorate your crochet doll atiny’s voyage character. Check out this free crochet doll pattern with plenty of helpful pictures below now.
Atiny’s voyage hongjoong crochet doll pattern
Via: bearyknots
Materials:
Yarn: white, beige, dark brown, pink, wheat, dark pink.
Crochet hook: 2.5 mm.
Safety eyes: 10 mm.
Black, white and pink embroidery thread.
Fiber fill
Yarn needle
Scissors
Stitch marker
Craft glue/hot glue gun
PVC coated aluminium wire
Small square object (ie. lipstick case)
1mm thickness chain (length around 23-24 cm)
Abbreviations:
ch- chain
R- round
MR- magic ring
sc- single crochet
hdc- half double crochet
inc- increase
dec- decrease
st- stitch
slst- slip stitch
BLO- back loop only
sk- skip
When using cotton yarn with the specified materials, the character crochet doll will be 11 cm in size.
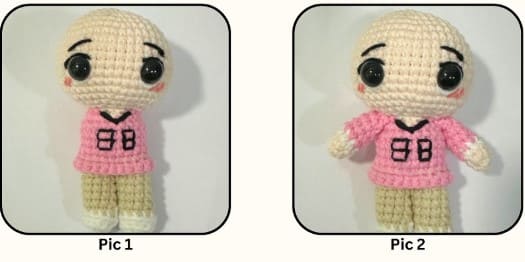
Head
Beige.
R1. 6 sc in MR (6)
R2. inc x6 (12)
R3. (sc,inc)x6 (18)
R4. (2sc,inc)x6 (24)
R5. (3sc,inc)x6 (30)
R6. (4sc,inc)x6 (36)
R7. (5sc,inc)x6 (42)
R8-15. (8 rounds): sc around (42)
R16. (5sc,dec)x6 (36)
R17. (sc,dec)x12 (24)
R18. (2sc,dec)x6 (18)
R19. dec x9 (9)
Fasten off, leaving a tail and stuff firmly.
Using a yarn needle, go through the remaining front loops and pull tight to close the hole.
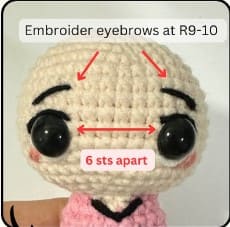
Insert the safety eyes at R12-13, 6 visible sts apart.
Using black yarn, embroider his eyes details.
Embroider blush with pink yarn.
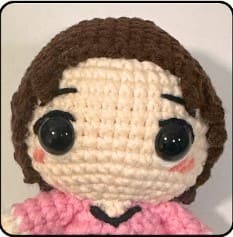
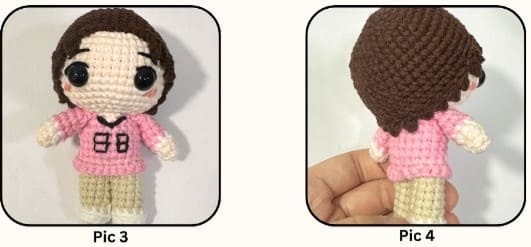
Hair (Dark Brown)
R1: 6sc in MR (6)
R2: inc x6 (12)
R3: (sc, inc) x6 (18)
R4: (2sc, inc) x 6 (24)
R5: (3sc, inc) x 6 (30)
R6: (4sc, inc) x 6 (36)
R7: (5sc, inc) x 6 (42)
R8-13 [6 rounds]: sc around (42)
*decrease/increase 1-2 rounds if too big/small*
R14: 8sc, start working on hair strands:
(ch4, starting from 2nd st from the hook, slst, 2sc, sk1 on the base and slst on the next st) repeat 3 times,
(ch3, starting from 2nd st from the hook, slst, sc, sk1 on the base and slst on the next st) repeat 11 times,
(ch4, starting from 2nd st from the hook, slst, 2sc, sk1 on the base and slst on the next st) repeat 3 times
Fasten off and leave a long tail for sewing.
Beanie (Dark Pink)
Work in rows.
R1: ch25, starting from 3rd st from the hook, 17hdc, 3sc, 3slst, ch1 and turn (23)
R2: BLO 3slst, 3sc, 17hdc, ch2 and turn (23)
R3: BLO 17hdc, 3sc, 3slst, ch1 and turn (23)
Repeat step R2-3 until the bottom of the beanie measured from the hdc part is big enough to cover the head (I did a total of 26 rounds) cut the yarn and leave a long tail.
Using a yarn needle, sew the front loops of the last round to R1 (pic 1 2)
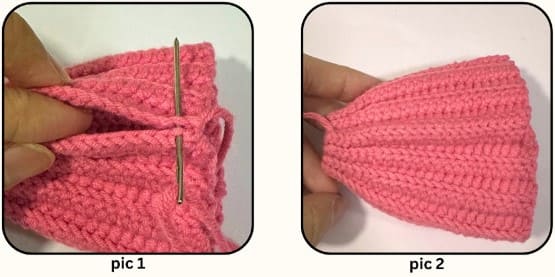
Continue to sew up the top part of the beanie (with the slst ends), inserting the needle through the slip stitches around and pull it close (pic 3-6).
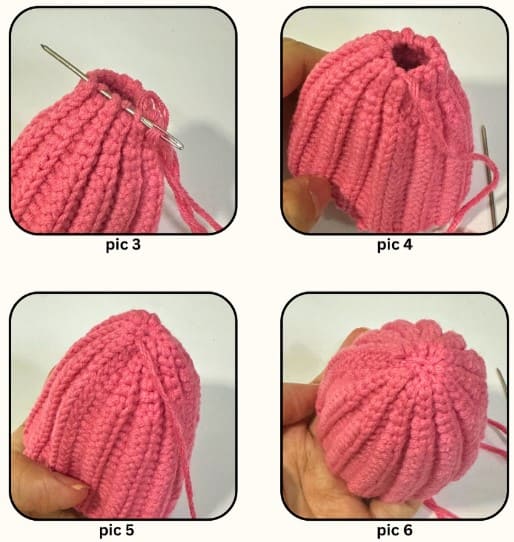
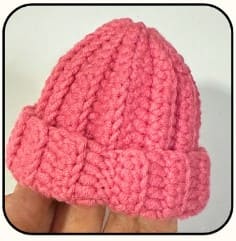
Fold up the bottom part of the beanie and it’s done.
Arms X2
Beige, white, pink.
Starting with beige.
R1. 6 sc in MR (6)
R2. (2sc,inc)x2 (8) change to white.
R3. sc around (8) change to pink.
R4-6. [3 rounds]: sc around (8)
R7. (2sc,dec)x2 (6) slst, fasten off and leave a tail for sewing. Stuff lightly.
Legs and body (White, Wheat, Pink, Beige)
Starting in white.
R1: 6sc in MR (6)
R2: inc x 6 (12)
R3: BLO sc around (12) change to Wheat
R4: BLO (4sc, dec) x 2 (10)
R5-8 [4 rounds]: sc around (10) fasten off and make the 2nd leg but do NOT cut the yarn for 2nd leg! Stuff the legs firmly before joining.
Join both legs together by 1sc, and that’s your first stitch, continue:
R9: 3sc, inc, 9sc, inc, 5sc (22) [1+3+2+9+2+5=22]
**sew the holes close between the legs if any
R10: sc around (22) change to Pink
R11: BLO sc around (22)
R12: 4sc, dec, 9sc, dec, 5sc (20)
R13-15 [3 rounds]: sc around (20)
R16: 4sc, dec, 3sc, change to Beige, 3sc, change to Pink, 2sc, dec, 4sc (18)
Slst, fasten off, leave a tail for sewing and stuff firmly.
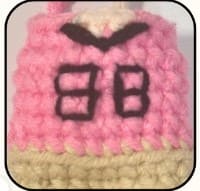
In black, embroider a curvy line on the beige part of the body.
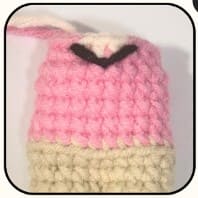
Using black embroidery thread/2 strands of black yarn, embroider “88” on his shirt, around 1.5 st wire for each number.
In pink, insert your hook at the back of the piece at front loop of R10, start with ch 1, 22 sc, finish with a slst, fasten off and weave in all the tails.
Glasses
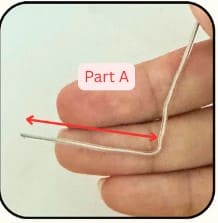
Measure approximately 2-3 cm of wire and bend it 90 degrees. We will call this part A.
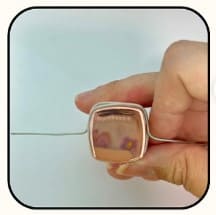
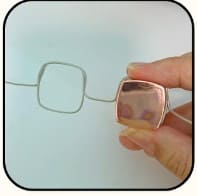
I used a lipstick case for the square shape (or anything that has a small square shape) then wrap the wire around it to make a square frame. Next make a 90 degrees bend to parallel with part A.
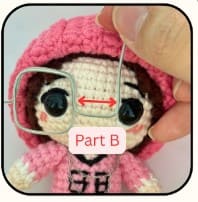
You can put the left frame on his eye to check if the size fits, then make another 90 degrees bend after leaving about 1 cm space for the nose bridge. (Part B).
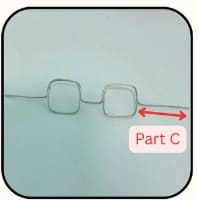
Make a second frame for the right eye, then make a final bend parallel to part A & B.
Leave another 2-3 cm (part C) and finally cut the wire.
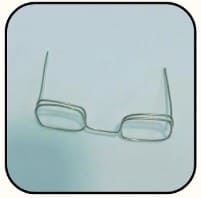
Bend part A and C to make the templess and it’s done!
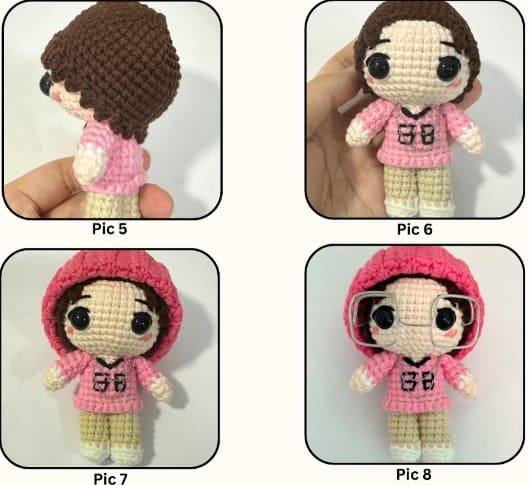
Assembly
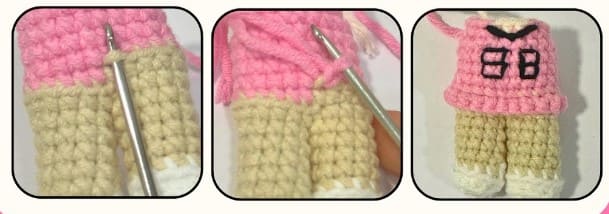
• sew R18 of the head to the back loops of R16 of the body (pic 1)
• sew the arms to both sides of the body (pic 2)
• place the hair diagonally on the head and arrange the hair strands in position before sewing/ gluing them in place (pic 3-5)
• (Optional) Using a 1mm thickness chain, wrap the chain around his neck twice as a necklace and apply some glue at the back of his neck (pic 6)
• Place the beanie on the head (pic 7)
• (Optional) Insert his glasses 2-3 sts apart from both of his eyes, and he’s done! (pic 8)
Here is your wonderful crochet doll! Don’t forget to congratulate yourself for achieving this!