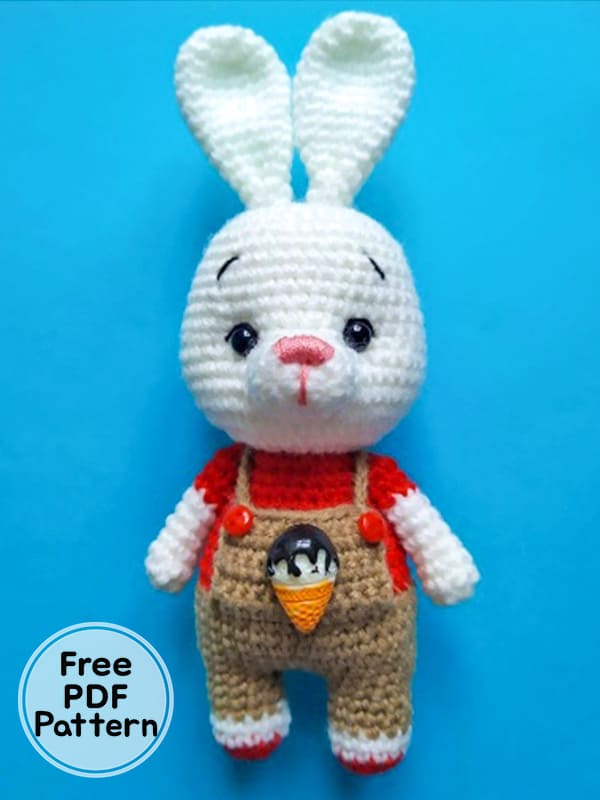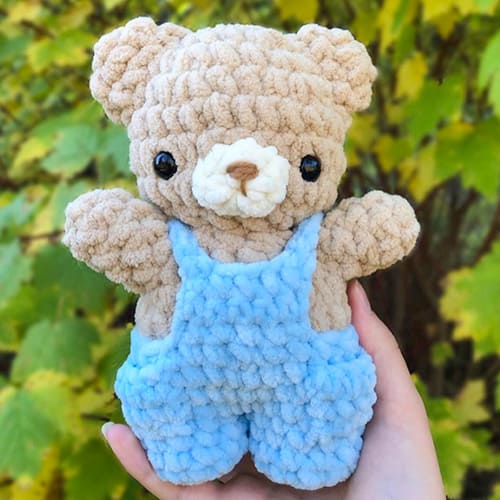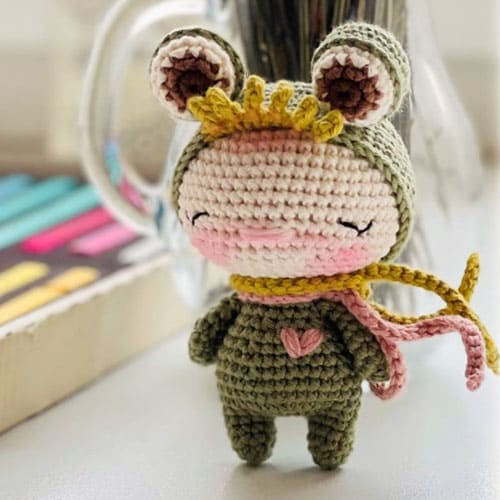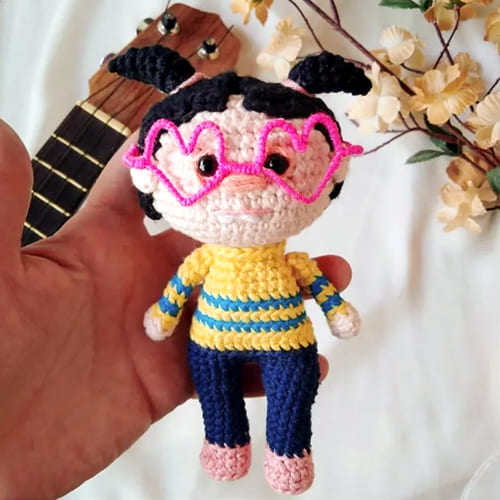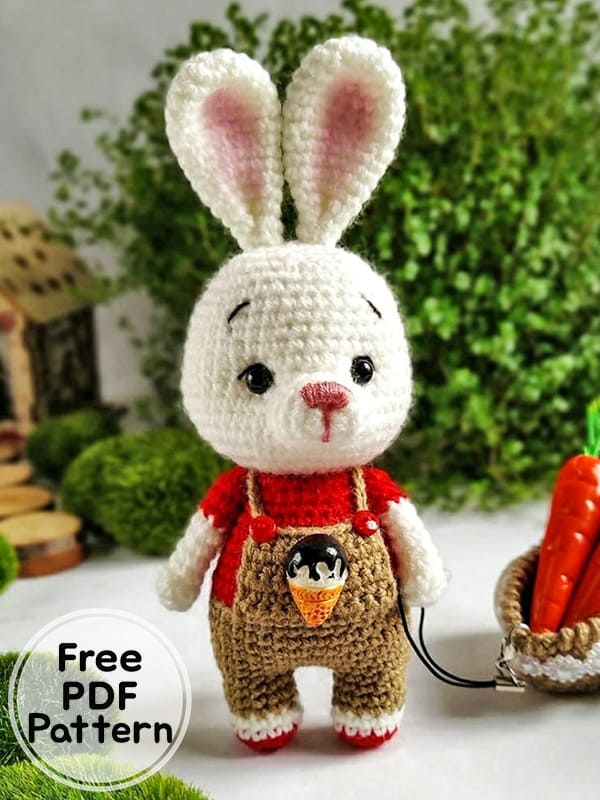
Hello everyone, I am happy to share the crochet toy bunny amigurumi pattern with you today. I would like to thank the owner of the pattern for this cute amigurumi bunny. Thanks to the amigurumi bunny pattern, which is easy to follow step by step, beginners can easily complete the cute crochet bunny. The legs and body of the Amigurumi bunny are made as one piece, while the other parts are fixed. The crochet jumpsuit is embroidered over her body. Now I invite you to the cute bunny amigurumi free pattern. Stay tuned for more animal amigurumi patterns.
Bunny In Overalls Amigurumi Free PDF Pattern
Designer: Galina Pisarenko
Necessary materials:
– Yarn of your choice of the same thickness (acrylic, cotton). Colors: two matching colors for clothes (I have color A – brown, color B – red), as well as white;
– Hook for the selected yarn;
– Filler;
– Glue;
– Half beads for eyes 0.6 – 0.8 cm;
– Some pink yarn for embroidery.
The size of the finished crochet bunny is 15 cm.
Abbreviations
MR: Magic ring
Sc: Single crochet
Ch: Chain
Slst: Slip stitch
Inc: Increase
Dec: Decrease
Ears (Make 2)
Rnd 1. 6 sc in MR
Rnd 2. 6 inc (12)
Rnd 3. (1 sc, inc) х 6 (18)
Rnd 4-7. 18 sc
Rnd 8. (2 sc, dec) х 4, 2 sc (14)
Rnd 9-11. 14 sc
Rnd 12. (2 sc, dec) х 3, 2 sc (11)
Rnd 13-15. 3 sc (11)
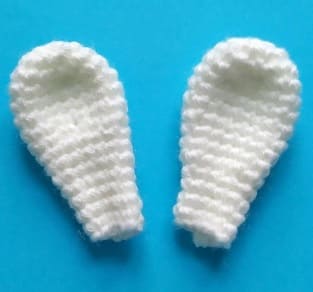
Fasten the thread, cut.
Muzzle
Rnd 1. 6 sc in MR
Rnd 2. 6 inc (12)
Rnd 3. 12 sc
Rnd 4. (1 sc, inc)х6 (18)
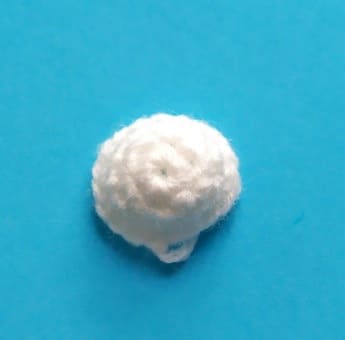
Fasten the thread, cut.
Tail
Rnd 1. 6 sc in MR
Rnd 2. (1 sc, inc)х3 (9)
Rnd 3. 9 sc
Fasten the thread, cut.
Arms (Make 2)
Start with white yarn.
Rnd 1. 8 sc in MR
Rnd 2-7. 6 sc
Change yarn to color B
Rnd 8-10. 6 sc
Add some filler.
Fasten the thread, cut. Pull off the loops.
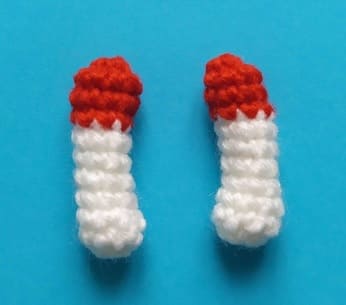
Legs (Make 2)
Start with color B.
Rnd 1. 6 sc in MR
Rnd 2. 6 inc (12)
Change yarn to white
Rnd 3-4. 12 sc
Change yarn to color A
Rnd 5-7. 12 sc
Cut off the yarn at the first leg, do not cut off at the second. Add filler.
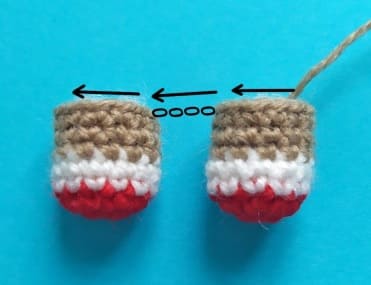
Next we crochet the body. We add filler in the process of crocheting.
Rnd 8. 4 ch, on the loops of the first leg: 12 sc, on the loops of the chain: 4 sc, on the loops of the second leg: 12 sc, on the reverse side of the chain: 4 sc (32)
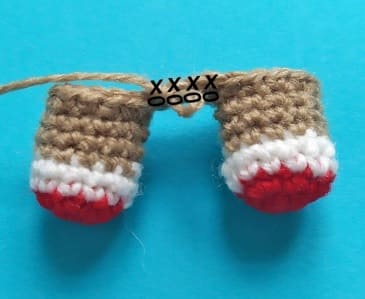
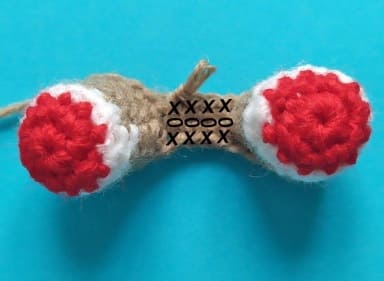
Rnd 9. 6 sc, inc, 15 sc, inc, 9 sc (34)
Rnd 10. 34 sc
Rnd 11. 15 sc, inc, 16 sc, inc, 1 sc (36)
Rnd 12-14. 36 sc
Crochet 8 sc, move the marker to this place. The marker is now on the side.
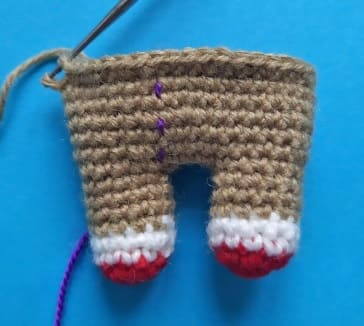
Change yarn to color B.
Rnd 15. for the rear half loops: 36 sc
Rnd 16. 36 sc
Rnd 17. 17 sc, dec, 15 sc, dec (34)
Rnd 18. 8 sc, dec, 14 sc, dec, 8 sc (32)
Rnd 19. (6 sc, dec) х 4 (28)
Rnd 20. 28 sc
Rnd 21. (5 sc, dec) х 4 (24)
Rnd 22. 24 sc
Rnd 23. (2 sc, dec) х 6 (18)
Rnd 24. (1 sc, dec) х 6 (12)
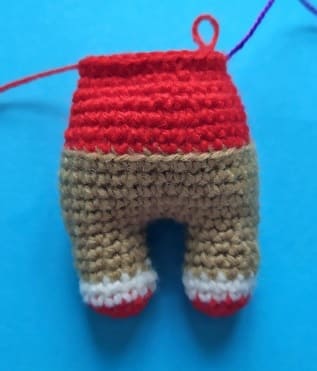
Change yarn to white. Next, we crochet the head.
Rnd 25. (3 sc in 1 loop) х 12 (36)
Rnd 26. (2 sc, inc) х 12 (48)
Rnd 27-31. 48 sc
Rnd 32. (4 sc, dec) х 8 (40)
Rnd 33-39. 40 sc
Rnd 40. (3 sc, dec) х 8 (32)
Rnd 41. 32 sc
Rnd 42. (1 sc, dec) х 10, dec (21)
Rnd 43. Decrease to the end
Fasten the thread, cut. Pull off the loops.
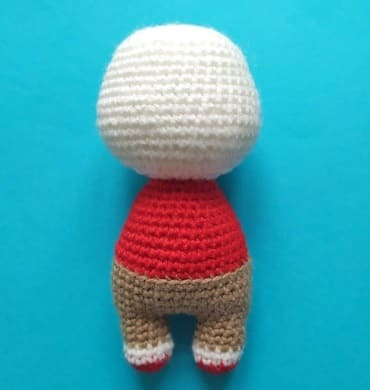
Sew on handles.
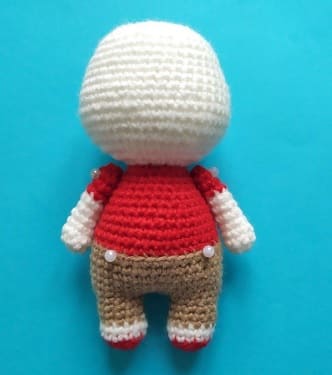
Pants pocket
Return to the 15th row.
Retreat 3 loops from the marker, start with the 4th. Attach yarn color A.
The place for the pocket in the photo is marked with pins.
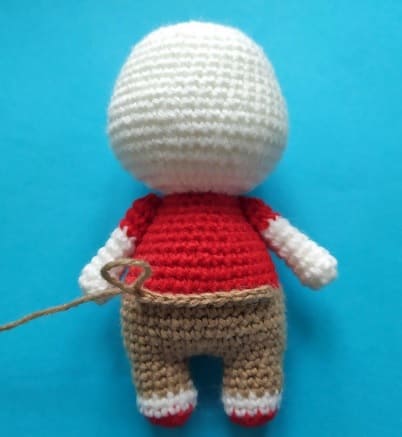
Rnd 1-6. 11 sc, ch, turn (11)
Rnd 7. dec, 7 sc, dec (9)
For straps, make 15 ch on each side. Sew on.
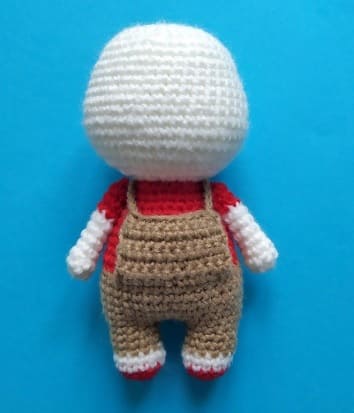
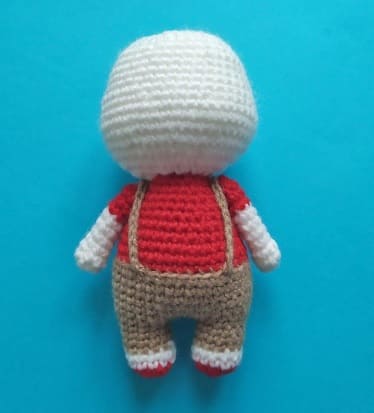
Sew on the tail. Sew on the ears.
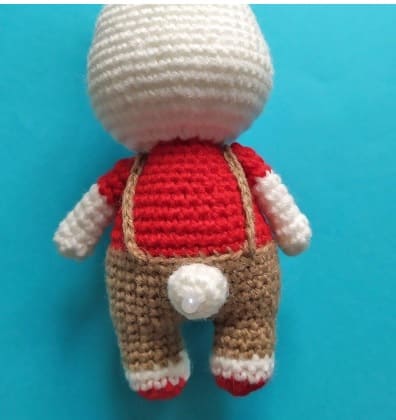
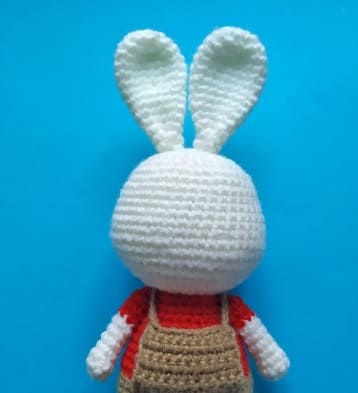
Attach the muzzle so that its upper edge is at the level of the 31st row of the head.
Sew on the muzzle, adding a little filler to it.
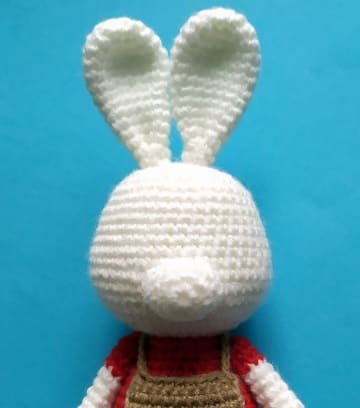
Embroider nose.
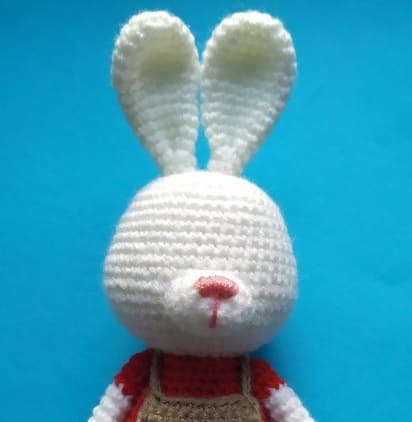
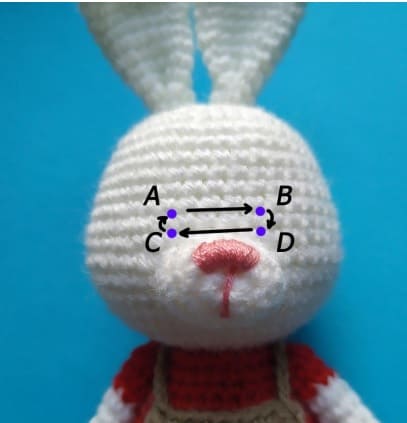
Make a nose bridge between points A-B and C-D (see photo)
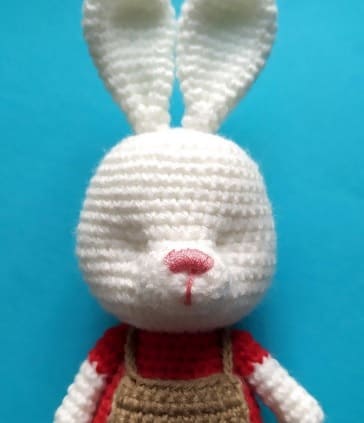
Glue eyes. Embroider eyelids and eyebrows.
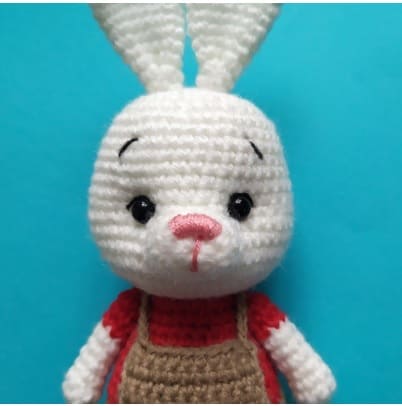
Decorate the jumpsuit as you wish.
