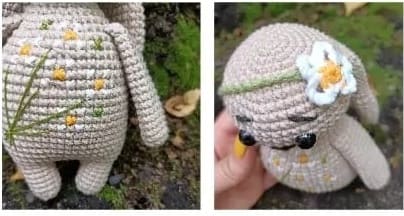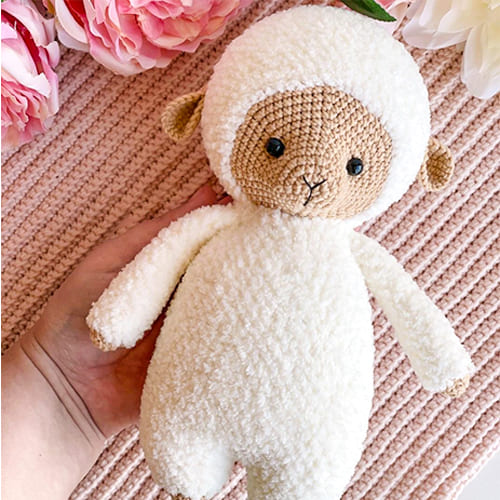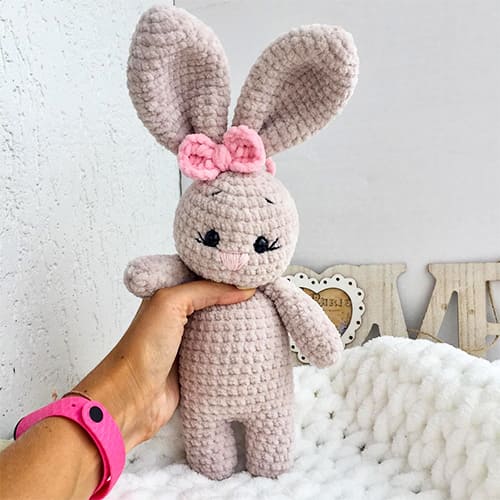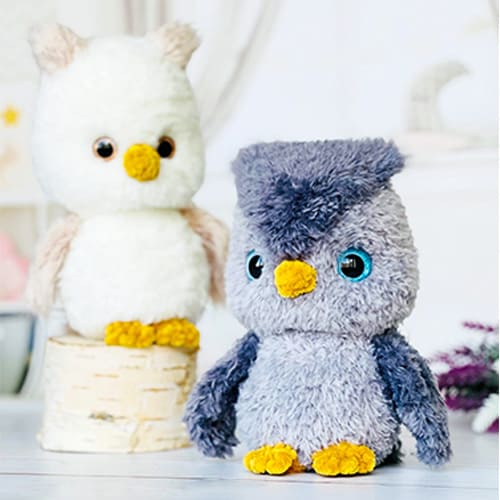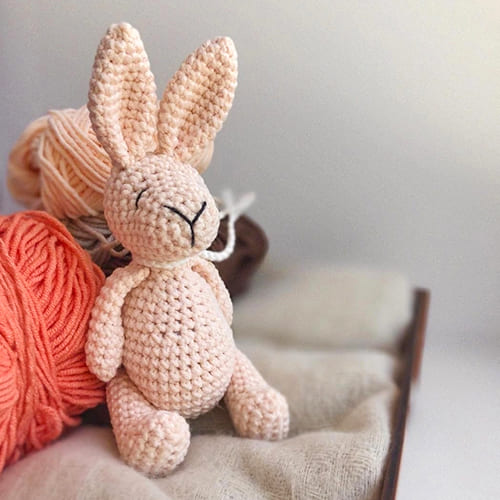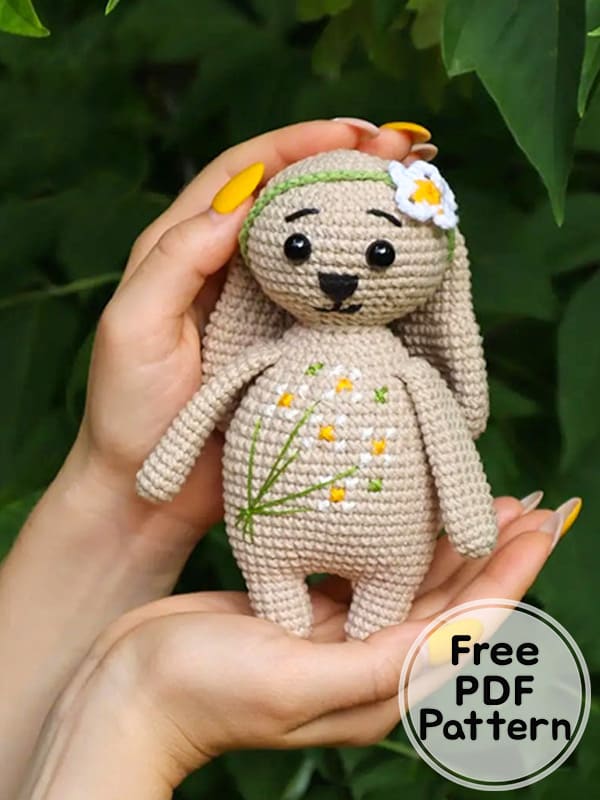
Greetings friends, today we are going to make a cute crochet amigurumi bunny named Ruth with you. I am very grateful to the owner of the pattern. The height of the crocheted toy is about 14 cm. To make such a small bunny, the author used YarnArt Jeans yarn and a 2mm hook. The feet and body of the crocheted amigurumi bunny are crocheted in one piece, the remaining parts are sewn. The step by step description of the amigurumi pattern is detailed, contains many photos and descriptions from the author that will help you in the process of creating a bunny.
Crochet Bunny Ruth PDF Amigurumi Free Pattern
Designer: Marina Larina
Materials
• Main color Yarnart jeans No:05 (50g/160m) or Gazzal jeans no:1114 (50g/170m)
• Yarnart jeans No:53 (black) (50g/160m)
• Yarnart jeans No:01 (white) (50g/160m)
• Gazzal jeans No:69 (green) (50g/160m)
• Gazzal jeans No:1124 (yellow) (50g/170m)
• Hook No: 2.0mm;
• Eyes on a secure mount 8mm (2pcs);
• Mouline threads (white, yellow and green) for embroidering a pattern;
• Fiberfill;
• Marker (I use a regular thread in a contrasting color);
• Wooden stick for stuffing parts;
• Needle for sewing details;
• Scissors;
• Safety pins;
These materials are a recommendation. You can change, for example, the color and density of the yarn, but then the size and appearance of the product will also change.
Abbreviations
MR: Magic ring
Sc: Single crochet
Ch: Chain
Slst: Slip stitch
Inc: Increase
Dec: Decrease
• Finished toy is 14 cm.
Legs (Make 2)
Rnd 1. 6 sc in MR
Rnd 2. 6 inc (12)
Rnd 3-7. 12 sc (12) (5 rnds)
Fasten and cut the thread on one leg. We do not cut on the other.
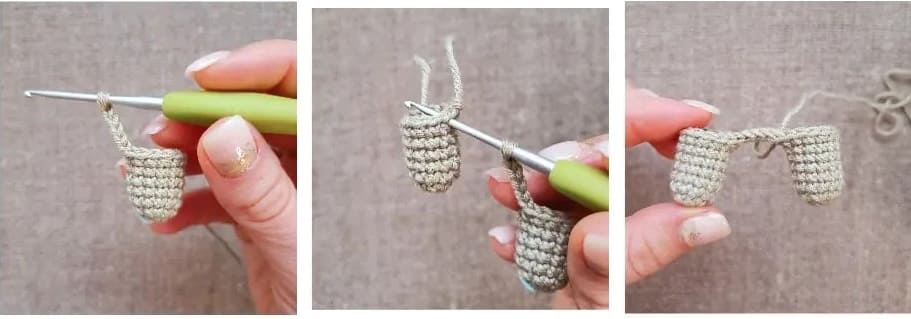
Body
We continue to crochet the body. We make 5 ch from the second leg, then we attach one leg to the other.
Rnd 1. 12 sc on one leg, 5 sc on ch, 12 sc on the other leg, 5 sc on ch (34)
Rnd 2. 6 sc, inc, 15 sc, inc, 11 sc (36)
Rnd 3. (5sc,inc)*6 (42)
Rnd 4. 42 sc (42)
Rnd 5. (6sc,inc)*6 (48)
Rnd 6-14. 48 sc (48) 9 rnds
We begin to fill the legs and body.
Rnd 15. (6sc,dec)*6 (42)
Rnd 16-17. 42 sc (42) 2 rnds
Rnd 18. (5sc,dec)*6 (36)
Rnd 19. 36 sc (36)
Rnd 20. (4sc,dec)*6 (30)
Rnd 21. 30 sc (30)
Rnd 22. (3sc,dec)*6 (24)
Rnd 23. 24 sc (24)
Rnd 24. (2sc,dec)*6 (18)
Stuff the body. Cut the thread. Leave a long tail for sewing.
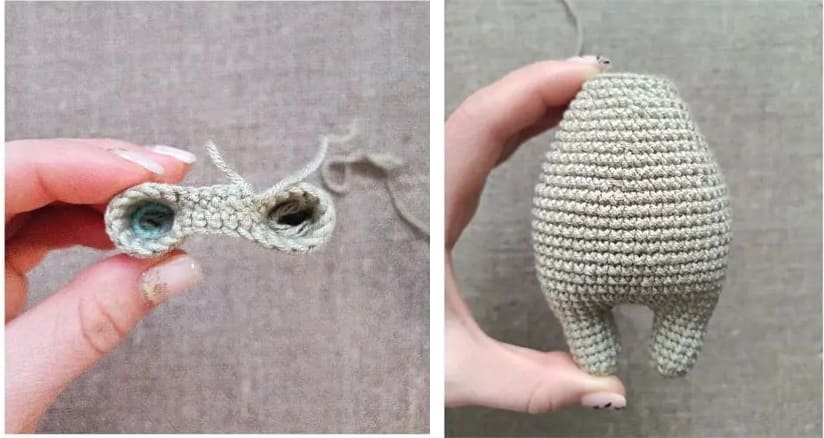
Head
Rnd 1. 6 sc in MR (6)
Rnd 2. 6 inc (12)
Rnd 3. (sc,inc)*6 (18)
Rnd 4. (2sc,inc)*6 (24)
Rnd 5. (3sc,inc)*6 (30)
Rnd 6. (4sc,inc)*6 (36)
Rnd 7. (5sc,inc)*6 (42)
Rnd 8. (6sc,inc)*6 (48)
Rnd 9-15. 48 sc (48) 7 rnds
We insert the eyes between 12 and 13 rows, at a distance of 6 sc.
Rnd 16. (6sc,dec)*6 (42)
Rnd 17. (5sc,dec)*6 (36)
Rnd 18. (4sc,dec)*6 (30)
Rnd 19. (3sc,dec)*6 (24)
We stuffed head.
Rnd 20. (2sc,dec)*6 (18)
Rnd 21. (sc,dec)*6 (12)
Rnd 22. 6 dec (6)
Pull the hole. Fasten the thread and cut.
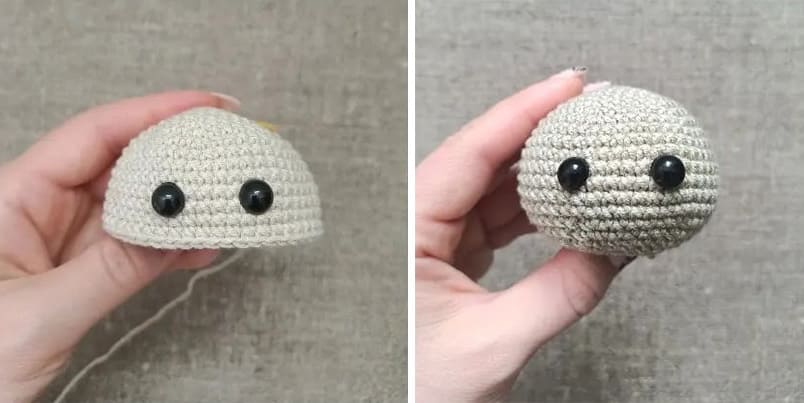
Arms (Make 2)
Rnd 1. 6 sc in MR
Rnd 2. 6 inc (12)
Rnd 3-18. 12 sc (12) 16 rnds
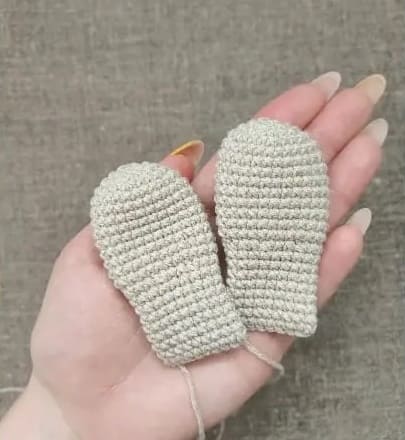
We do not stuff our hands. Fold the piece in half, crochet 6 sc behind both edges. Cut the thread. Leave a long tail for sewing.
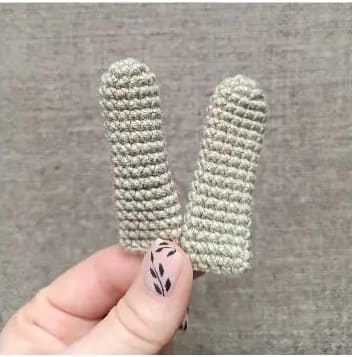
Tail
Rnd 1. 6 sc in MR
Rnd 2. 6 inc (12)
Rnd 3. 12 sc (12)
Cut the thread. Leave a long tail for sewing.

Ears (Make 2)
Rnd 1. 6 sc in MR
Rnd 2. 6 inc (12)
Rnd 3. (sc,inc)*6 (18)
Rnd 4. (2sc,inc)*6 (24)
Rnd 5-13. 24 sc (24) 9 rnds
Rnd 14. (2sc,dec)*6 (18)
Rnd 15-21. 18 sc (18) 7 rnds
Fold the piece in half and crochet 9 sc behind both edges. Cut the thread, leave a long end for sewing.
Assembly
We pin the head to the body with pins and sew. We pin the handles to the 23rd row of the body exactly on the sides and sew.
We pin the ears to the head to the 11th row symmetrically to each other and sew.
We pin the tail between the 6th and 11th rows of the body, sew it on, having previously stuffed it.

We outline the location of the nose with pins and embroider, as shown in the photo.
We outline the location of the eyebrows. Embroider with black thread. We embroider the iris in front of the eyes with a white thread.
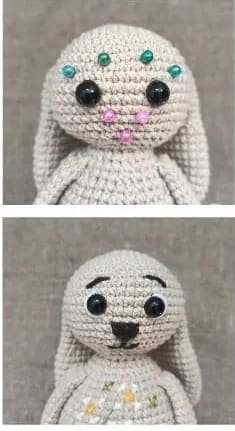
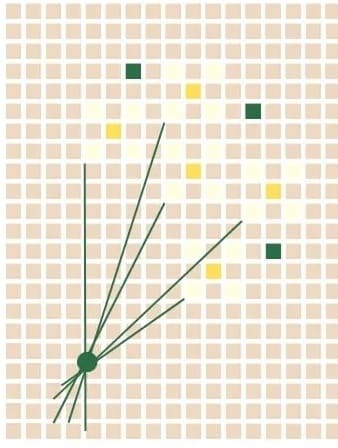
Everything, except for the stems, I embroidered with a thread in 6 additions. Flower stems with a thread in 3 additions.
To make the cross stitch neater, all the top stitches should lie in the same direction.
We make a chain of 46 ch, sl-st in the first loop. You may get a different number of loops, depending on the size of the head of the toy. Fasten the thread and cut.
We start knitting in yellow 6 sc in MR, slst in the first loop. Change the thread to white.
(5 ch, sc in the slip stitch MR) x 5 times Chamomile is sewn at the junction of the rim.
