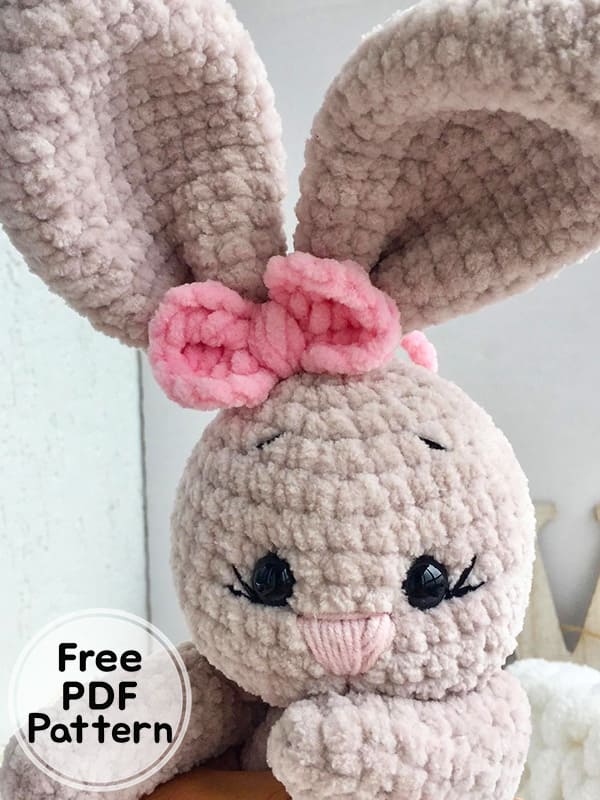
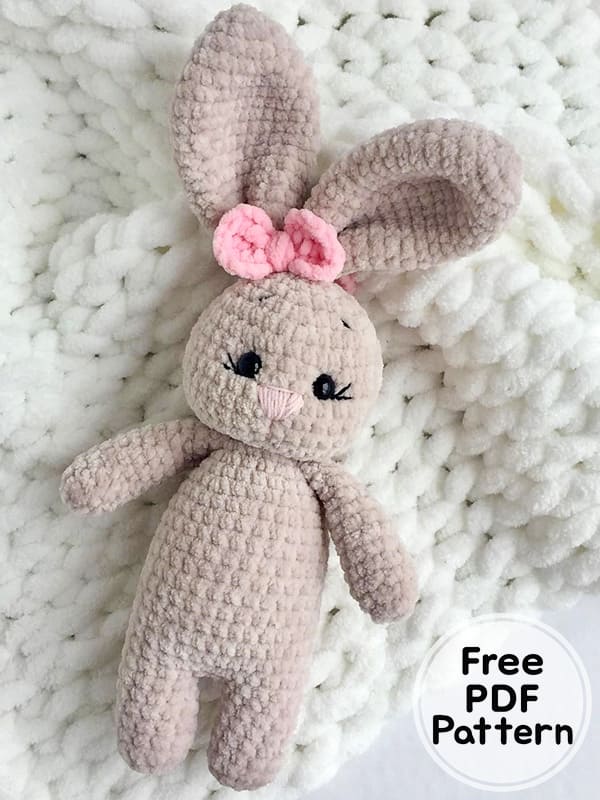
Greetings friends, I am happy to share with you the plush crochet bunny amigurumi pattern called Caramel. First of all, thank you very much to the owner of the pattern. The height of the crochet toy is about 19 cm, excluding the ears. To make such a bunny, the author used Himalayan Dolphin Baby plush yarn and a 4.5 mm hook. The legs, body and head of the toy are crocheted in one piece, the remaining parts are sewn. The description of the free amigurumi pattern is step by step and detailed, with many photos and descriptions from the author that will help you in the process of creating a bunny. Stay tuned for more animal amigurumi patterns.
Crochet Bunny Caramel Amigurumi Free PDF Pattern
Designer: Toys_knit_anny
Materials and tools
1) Himalaya Dolphin Baby plush yarn or YarnArt Dolce (or any other) – 1 skein.
2) Cotton yarn or acrylic (I have Yarnart Jeans) – a little bit for embroidering the mouth.
3) Hook 4.5 mm (for plush yarn) and 2 mm (for cotton yarn).
4) Scissors.
5) Needle for stitching parts and for nose embroidery.
6) Button eyes (others won’t fit here) 11-12mm (or whatever size you like taste).
7) Thread for attaching the eye (I have Iris).
8) Fiberfill stuffing
Abbreviations
MR: Magic ring
Sc: Single crochet
Ch: Chain
Slst: Slip stitch
Inc: Increase
Dec: Decrease
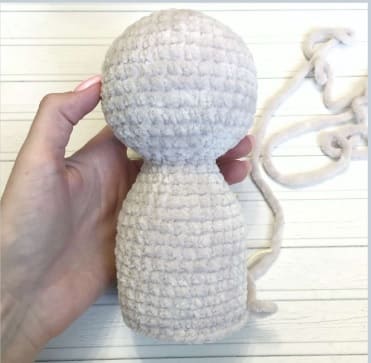
Head, body and legs
Crochet in one piece.
We start crocheting from the head.
Rnd 1. 6 sc in MR (6);
Rnd 2. 6 inc. (12);
Rnd 3. (1 sc, inc) × 6 (18);
Rnd 4. (2 sc, inc) × 6 (24);
Rnd 5. (3 sc, inc) × 6 (30);
Rnd 6. (4 sc, inc) × 6 (36);
Rnd 7 – 12. 36 sc – 6 rows (36);
Rnd 13. (4 sc, dec) × 6 (30);
Rnd 14. (3 sc, dec) × 6 (24);
Rnd 15. (2 sc, dec) × 6 (18);
Rnd 16. (1 sc, dec) × 6 (12);
We fill the head with filler.

Next, we begin to crochet the body:
Rnd 18. (1 sc, inc) × 6 (18);
Rnd 19. 18 sc (18);
Rnd 20. (2 sc, inc) × 6 (24);
Rnd 21. 24 sc (24);
Rnd 22. (3 sc, inc) × 6 (30);
Rnd 23 – 33. 30 sc – 11 rows (30);
We fill the body with fiberfill.
Next, we crochet the legs. We mark the beginning of the series (as usual). I do it with thread. We crochet 12 sc, and then insert the hook into the first column of the same row, as if closing in a ring. This is the first row of the leg – 34 row.
Rnd 35 – 40. 12 sc – 6 rows.
We fill the leg with filler.
Rnd 41. 6 dec
Pull the hole. I leave the thread long and take it to the leg, and then continue to crochet with it until it ends. Then I attach a new thread.
We tied one leg with you. Next, to make the distance between the legs, we connect the front and back with connecting loops. So we need to connect three loops in front and behind.
We have 12 loops for the second leg. If the thread over, attach a new one and knit further.
We mark the beginning of the row and crochet 12 sc – this is the 1st row of the second leg (34th row of the product).
Rnd 35 – 40. 12 sc – 6 rows.
We fill the leg with filler.
Rnd 41. 6 dec
Pull the hole.

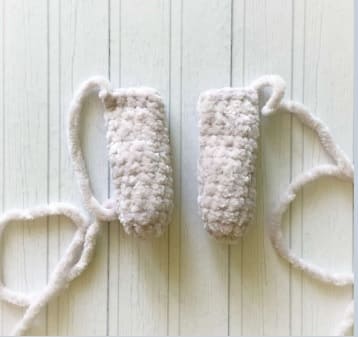
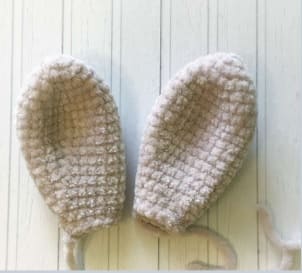
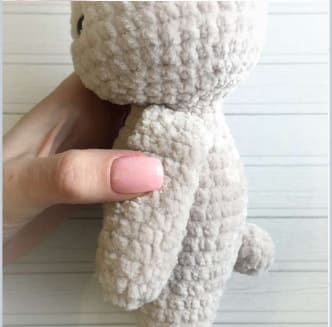
Upper paws (Make 2)
Rnd 1. 5 sc in MR (5);
Rnd 2. 5 inc (10);
Rnd 3 – 9. 10 sc – 7 rows (10);
Rnd 10. 1 dec, 8 sc (9);
Rnd 11 – 12. 9 sc – 2 rows (9)
Fold the foot in half, connect 4 sc.
Leave the thread for sewing.
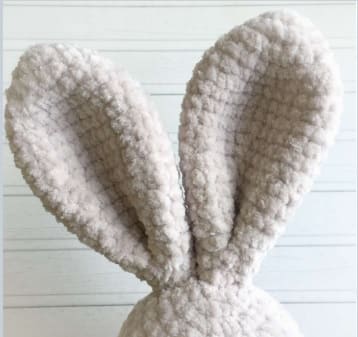
Ears (Make 2)
Rnd 1. 6 sc in MR (6);
Rnd 2. 6 inc (12);
Rnd 3. (1 sc, inc) × 6 (18);
Rnd 4. 18 sc (18);
Rnd 5. (2 sc, inc) × 6 (24);
Rnd 6–9. 24 sc – 4 rows (24);
Rnd 10. (10 sc, dec) × 2 (22);
Rnd 11. 22 sc (22);
Rnd 12. (9 sc, dec) × 2 (20);
Rnd 13. 20 sc (20);
Rnd 14. (8 sc, dec) × 2 (18);
Rnd 15. 18 sc (18);
Rnd 16. (7 sc, dec) × 2 (16);
Rnd 17. (6 sc, dec) × 2 (14);
Rnd 18. (5 sc, dec) × 2 (12);
Rnd 19. 12 sc (12).
Leave a long end of yarn for sewing. Fold the eyelet in half and sew two stitches at the base to give it shape.
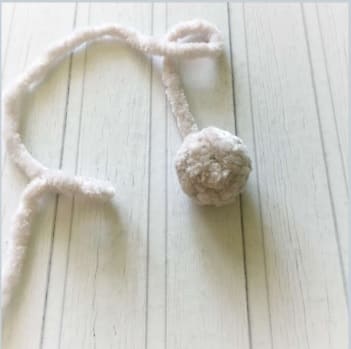
Tail
Rnd 1. 6 sc in MR (6);
Rnd 2. (1 sc, inc) × 3 (9);
Rnd 3. 9 sc (9);
Rnd 4. (1 sc, dec) × 3 (6)
Fill with fiberfiller.
Leave the thread for sewing.
Decoration of the toy
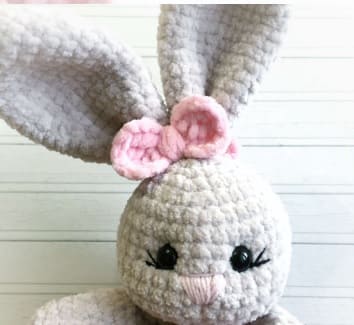
Head.
First, we embroider the nose in the 10-11th row. I capture 3 columns.
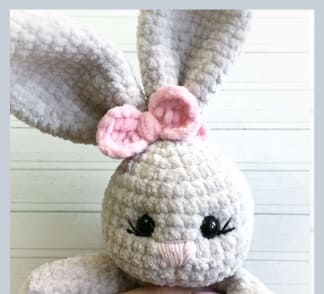
Then we sew the eyes with the help of an iris thread.
I place the eyes between 8 and 9 rows at a distance of about 5 columns. See that they are at the same distance from the nose.
When sewing on the eye, I immediately make a tightening as follows: I insert the needle under the head in front, bring it out already at the intended place between the 8th and 9th rows, grab the eye on the thread, take it into the same loop, back under the head. I make a puff, tie the thread into 3 knots. I repeat the same with the second eye. We hide the threads.
We sew the ears to the first row of the head next to each other.
I sew the handles slightly at an angle. The back of the arms is about the third row from the beginning of the body, the front is the second row.
I crocheted a bow in the ear, you can add accessories as you wish.
Congratulations!
Your crochet bunny toy is ready!