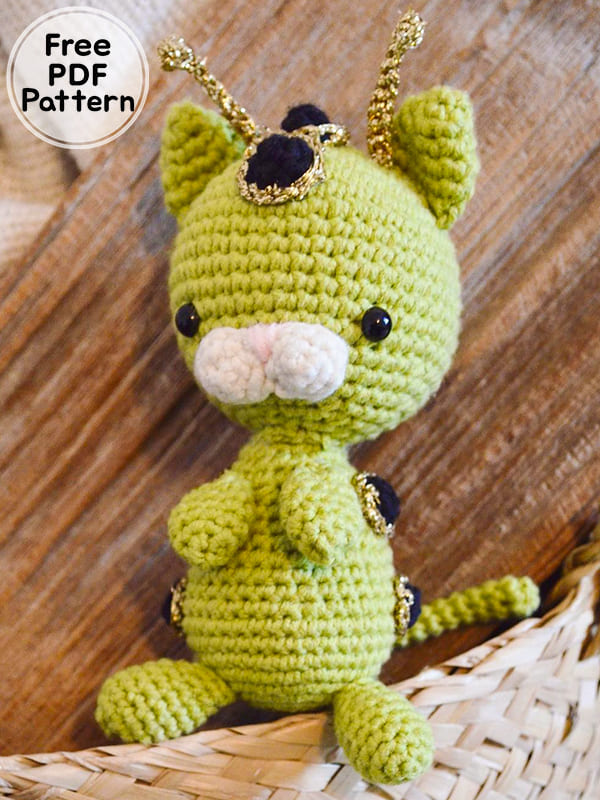
Hello everyone, today I shared the caterpillar-looking amigurumi crochet cat pattern for you. The free cat amigurumi patterns is somewhat detailed. Read the description step by step, you can see how the parts are made by looking at the thumbnails.
The head and back of the caterpillar-looking amigurumi cat pattern are crocheted in detail. Green yarn is used. The antennae are crocheted using golden thread. Amigurumi toys will be the best playmates for children. You can get help from this free amigurumi patterns toy while telling them fairy tales. Thank you to the creator of the free crochet cat pattern amigurumi toy.
Crochet Cat Oliver Amigurumi Patterns Free PDF
Designer: crochet.by.stas
Materials
2,5mm crochet hook
Scheepjes Soft Fun in Olive DF
Scheepjes Soft Fun in Violet DK
Scheepjes Soft Fun in Lace DK
Atinqua gold metallic yarn
Scheepjes Soft Fun in Light Rose DK
Safety eyes
Stuffing
Darning needles
Twist wire (optional)
Terminology
sc- single crochet
inc- increase
dec- decrease
MR- magic ring
slst- slip stitch
hdc- half double crochet
Head (Olive)
Rnd 1. MR 6 (6)
Rnd 2. inc x 6 (12)
Rnd 3. (sc, inc) x 6 (18)
Rnd 4. (2sc, inc) x 6 (24)
Rnd 5. (3sc, inc) x 6 (30)
Rnd 6. (4sc, inc) x 6 (36)
Rnd 7. (5sc, inc) x 6 (42)
Rnd 8-15. sc around (42) 8 rounds
Rnd 16. (5sc, dec) x 6 (36)
Rnd 17. sc around (36) 1 round
Rnd 18. (4sc, dec) x 6 (30)
Rnd 19. (3sc, dec) x 6 (24)
Rnd 20. (2sc, dec) x 6 (18)
Rnd 21. (sc, dec) x 6 (12)
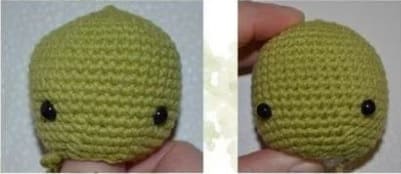
Add safety eyes between rounds 15 and 16, 9 stitches apart. Stuff full and firm
Slst, fasten off and cut.
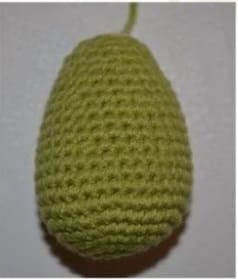
Body (Olive)
Rnd 1. MR 6 (6)
Rnd 2. inc x 6 (12)
Rnd 3. (sc, inc) x 6 (18)
Rnd 4. (2sc, inc) x 6 (24)
Rnd 5. (3sc, inc) x 6 (30)
Rnd 6. (4sc, inc) x 6 (36)
Rnd 7-10. sc around (36) 4 rounds
Rnd 11. (4sc, dec) x 6 (30)
Rnd 12-14. sc around (30) 3 rounds
Rnd 15. (3sc, dec) x 6 (24)
Rnd 16-17. sc around (24) 2 rounds
Rnd 18. (2sc, dec) x 6 (18)
Rnd 19-20. sc around (18) 2 rounds
Rnd 21. (sc, dec) x 6 (12)
Stuff full and firm. Slst, fasten off and cut.
Legs (x2) (Olive)
Rnd 1. MR 6 (6)
Rnd 2. inc x 6 (12)
Rnd 3-7. sc around (12) 5 rounds
Stuff firm up to this point
Rnd 8. (sc, dec) x 4 (8)
Slst, fasten off and cut.
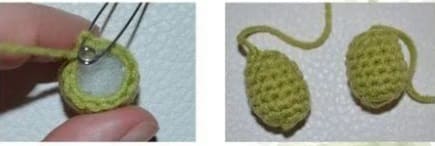
Stuff after round 5.
Finished bottom legs.
Arms (x2) (Olive)
Rnd 1. MR 6 (6)
Rnd 2. (inc, sc) x 3 (9)
Rnd 3-5. sc around (9) 3 rounds
Rnd 6. (sc, dec) x 3 (6)
Slst, fasten off and cut. Insert needle into st from the centre and repeat for all 6.
Pull tight as you go. Pull tight at the end and pull the tail through a part of the arm.
Fold in half and flatten, no need to stuff.
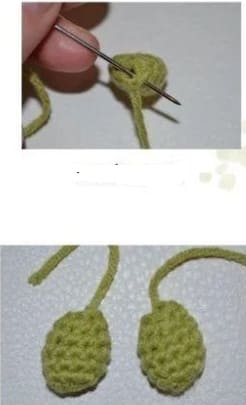
Finishing off.
Finished arms
Ears (x2) (Olive)
Rnd 1. MR 4 (4)
Rnd 2. (inc, sc) x 2 (6)
Rnd 3. (inc, sc) x 3 (9)
Rnd 4. (2sc, inc) x 3 (12)
Rnd 5-7. sc around (12) 3 rounds
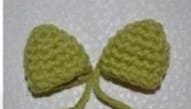
Slst, fasten off and cut. Leave about 15cm to sew. Fold in half and flatten, no need to stuff.
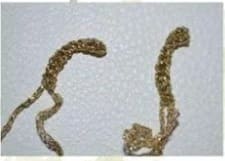
Antenna (Gold)
Rnd 1. Chain 10
Rnd 2. In the second chain from the hook, 2 hdc and slst into the same chain. Slst across the chain
Slst cut and fasten off.
Cheeks (x2) (White)
Rnd 1. MR 4 (4)
Rnd 2. inc x 4 (8)
First cheek, slst cut and fasten off.
Second cheek sc into one of the stitches from the first cheek
Rnd 3. sc around both cheeks (16) 1 round
Slst cut and fasten off.
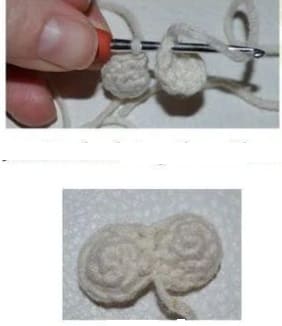
Join the cheeks together with a sc.
Finished.
Spots (x6) (Purple Start)
Rnd 1. MR 6 (6)
Rnd 2. inc x 2, slst (don’t finish round) (8)
Change to gold
Rnd 3. sc around (8) 1 round
Slst cut and fasten off.

2 inc before change to gold
Finished
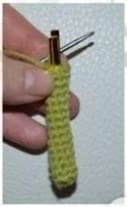
Tail (Green)
Rnd 1. MR 6 (6)
Rnd 2. (2sc, inc) x 2 (8)
Rnd 3-15. sc around (8) 13 rounds
Slst cut and fasten off
Optional; You can place a wire / twist wire to make the tail more stable and moveable.
Assembly
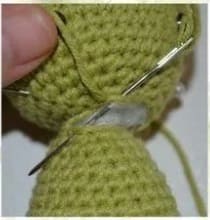
Head to the body
Sew the head to the body by inserting needle in and out of the stitches.
Pull it tight throughout. When you’re finished, pull the needle through the body and hide the tail.
Cheeks to head
Pin and sew the cheeks after round 15.
Either side shold rest 1 or 2 stitches apart from the eyes.

Embroidering the nose
Use pink yarn to embroider the nose. Pull the needle in between the two cheeks

Insert the needle along the 15th round and back into the same spot between the cheeks
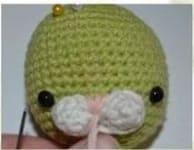
Repeat along the 15th round to make a little triangle nose.
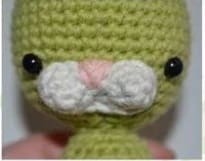
Ears to head
When the ears are flattened, sew along the final round to join the two sides together.
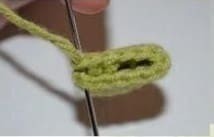
Pin and sew the ears on both sides of the head ater round 4, along rounds 5-9. Make sure they’re symmetrical

Antenna to head
Sew the antenna on roun 6 of the head about 5 stitches apart.
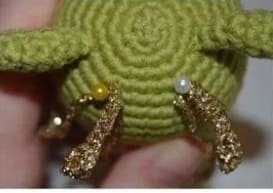
Arms to body
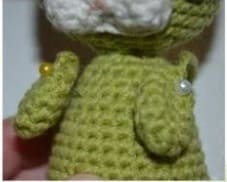
Pin and sew the arms above the 17th round of the body, about 8 stitches apart. Make sure they’re symmetrical
Legs to body
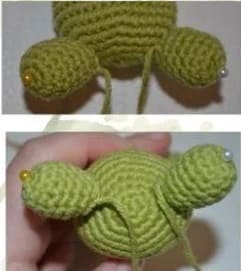
Pin and sew the legs over the 4th and 5th rounds of the body. About 8 stitches apart. Sew around the legs. Make sure they’re symmetrical
Tail to body
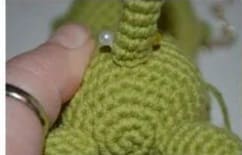
Pin and sew the tail on the 7th and 8th round of the body, directly in the centre. Sew around the tail.
Spots to body and head
You can sew the spots where you would like, or even make more!
I sewed two n the centre of the head, in between the antennas.
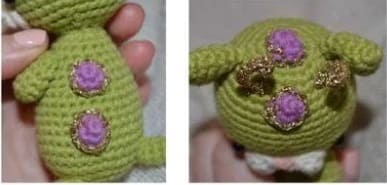
For the other four, I sewed two on each side of the body.


