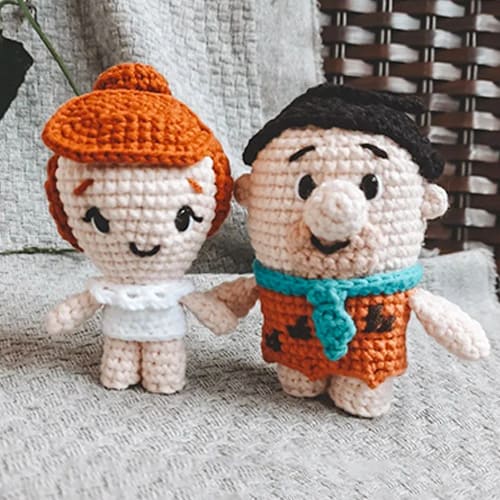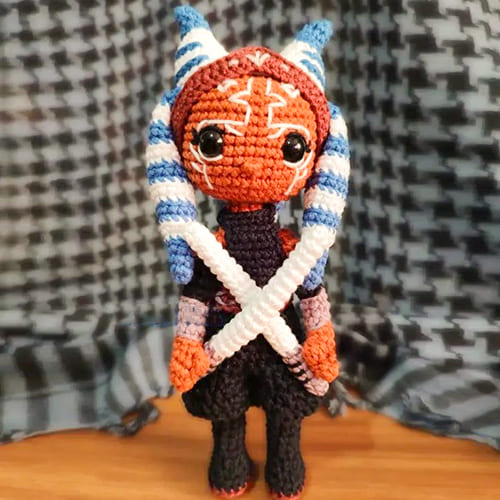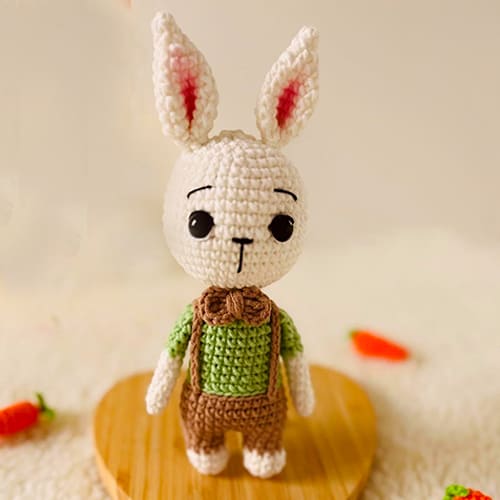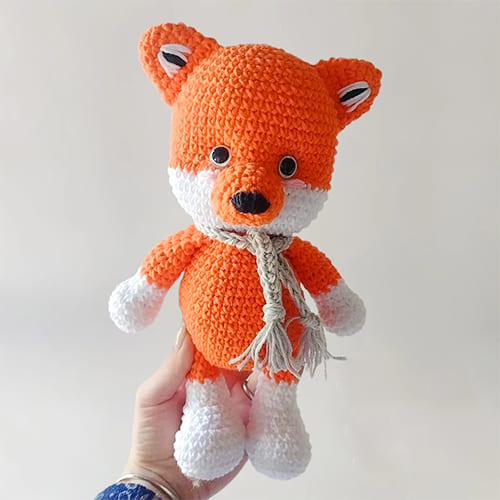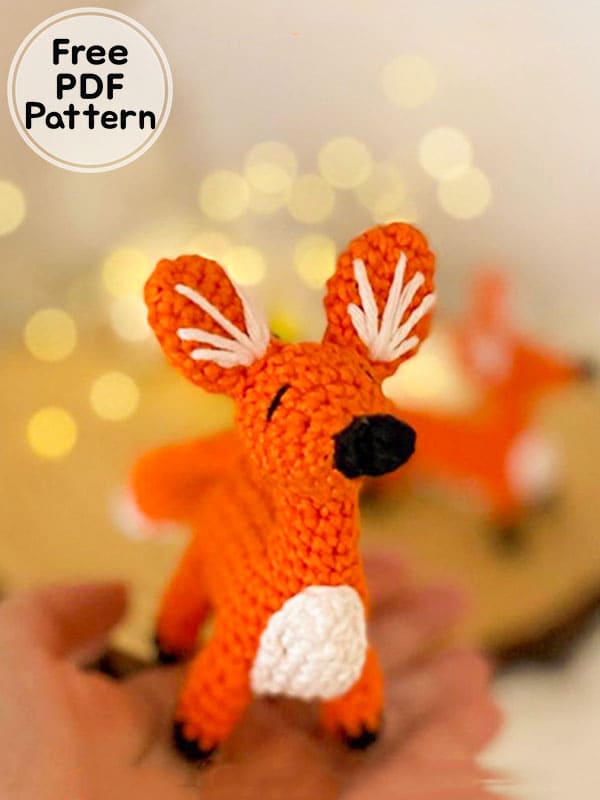
Hello everyone, today I shared the little amigurumi crochet fox pattern for you. Crocheting the free amigurumi crochet fox pattern step by step is intermediate difficulty. You can see how the parts are made by looking at the thumbnails in the description section. It is the cutest toy in the amigurumi keychain pattern category. You can crochet the amigurumi crochet patterns, which is small enough to fit in the palm, using different colors of yarn. You can make designs in colors such as brown, cream color, gray. After preparing the materials to crochet the free amigurumi patterns keychain pattern for your loved ones, let’s crochet together. Are you ready?
Crochet Fox Keychain Free Amigurumi Patterns PDF
Designer: orquideaamigurumis
Materials
2.25 crochet hook (or whatever you prefer)
upholstery needle
Filling
Lines in the colors you prefer (here were used: 4456, 8990 and 8001)
Black thread to embroider the eyes
Abbreviation
MR – magic ring
sc – single crochet
slst- Slip Stitch
inc- increase
dec- decrease
ch – chain
Rnd- round
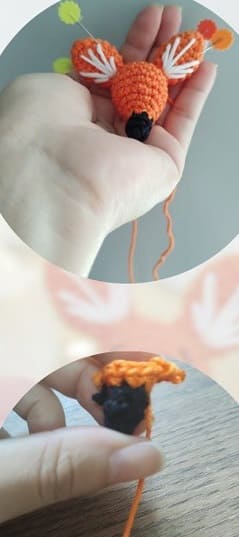
Head
Rnd 1. with the black thread make: 6sc in MR
Rnd 1-3. 6sc
Rnd 4. change to the orange thread and do: inc all around
Rnd 5. 12sc all around
Rnd 6. (1sc + inc) x 5 + 3sc
Rnd 7. 4sc + inc + 1sc + inc+ 6sc
Rnd 8-10. sc on sc
Rnd 11. 3sc+ dec all around
Rnd 12. 2sc+ dec all around
Rnd 13. 1sc+ dec all the way around and finish with reversed MR
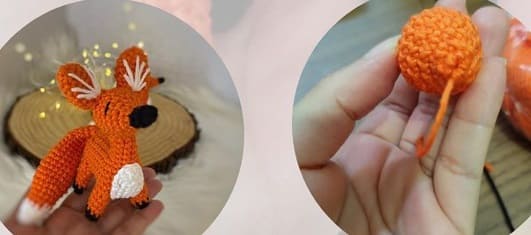
Ears (x2)
Rnd 1. 6sc in MR
Rnd 2. 1sc + inc
Rnd 3. 2sc + inc
Rnd 4-5. sc on sc
Rnd 6. 4sc + dec
Rnd 7. sc on sc leave enough thread for sewing
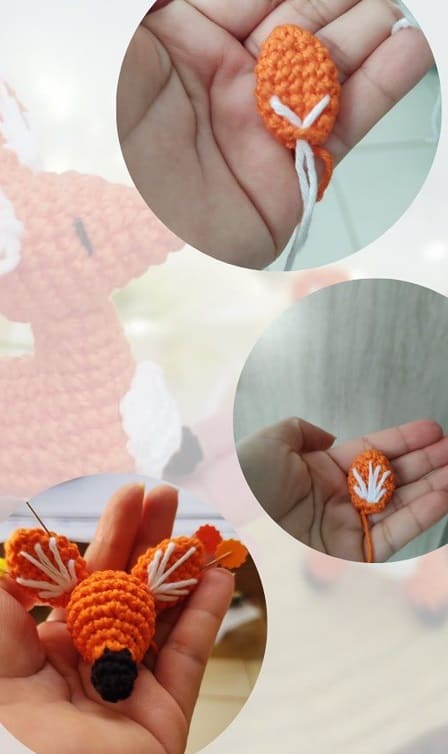
Embroider the ears with white thread and sew on the 11th row. from the head
Embroider the eyes with black thread between the 7th and 8th row. With 3 sc between them
Body
Rnd 1. Make 9 ch, return to the 1st chain and secure with 1 sc
Rnd 2-3. 8sc all around
Rnd 4. From the last sc on row 3 make 8 chs, go back to the 2nd and do 1 sc, this will be the beginning of the body, leave it marked, and continue with 6sc + 8sc in the neck + 7sc + 2 inc in a row
Rnd 5. inc + 7sc + 8sc in the neck + inc + 2sc+ 1sc+ inc +4sc
Rnd 6. inc+ 6sc+ inc+ 7sc+ inc+ 8sc+ inc+ 1sc+ 1 inc+ 1sc
Rnd 7-8. sc on sc
Rnd 8-10. sc on sc
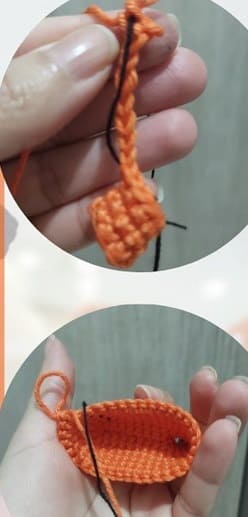
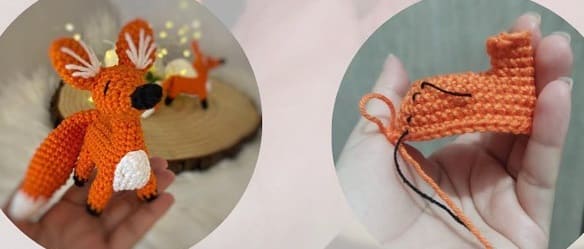
Legs
Rnd 1. (1st hind leg) We will divide the body into 4 parts and start with the legs. From the point that we marked as the beginning of the body, make 3sc + 6 ch, return to the 3rd sc of the body and secure with 1sc, observe that it will form a circle, and in it that the 1st hind leg will be worked
Rnd 2-4. work for 3 rows of sc over sc
Rnd 4-5. put the stuffing. Introduce the black yarn and work for 2nd row on the 3rd row do 1sc and dec all around and finish with inverted MR.
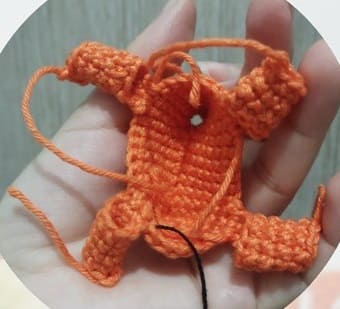
Rnd 1. (1st front leg) From the leg we finished count 5sc towards the neck, insert the needle the 6th sc and make 3sc + 6 ch. Go back to the 1st sc of the three we made and secure with 1 sc
Rnd 2-4. work for 3 rows of sc over sc. So, as we did on the front leg
Rnd 4-5. Put the stuffing. Introduce the black yarn and work for 2nd row on the 3rd row do 1sc and dec all around and finish with inverted MR
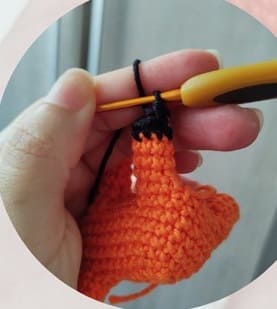
Tummy
Side Belly: 1 row on the side of the body in the space of 5sc. we’ll start with the belly. Insert the hook in the 1st sc after the 1st hind leg, make 5 sc. work for 5 rows back and forth. leave enough thread for sewing
Anterior Belly: In the 5sc space between the front legs, insert the thread and make 5sc + 1 ch, turn your work, work for 5 more rows back and forth, finish with a sl st and leave yarn for sewing
Posterior Belly: Repeat the same process we did earlier
Belly white spot
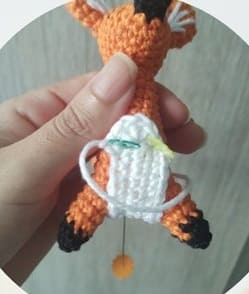
Rnd 1. ch 16 go back to 2nd and do 1sc work 13sc + inc at the end
Rnd 2. inc + 12sc + inc
Rnd 3. inc + 12sc + 3 inc + 12sc + inc+ 1sc and finish with slst. Leave enough thread for sewing
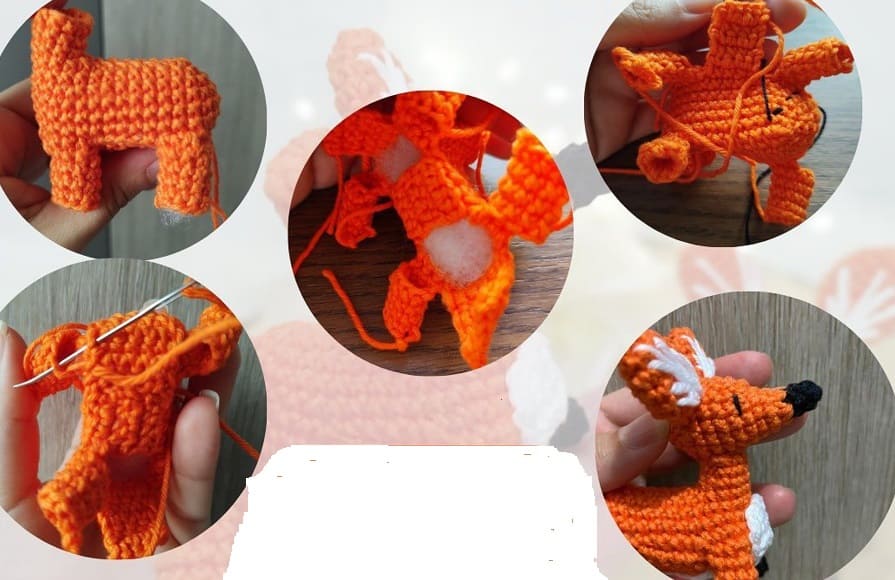
Details of the legs and seams
Position the head to the body
Sew the head to the neck between the 8th and 12th row in a circular fashion
Tail
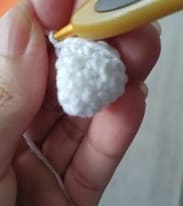
Rnd 1-2. start with white yarn 6 sc in MR
Rnd 2-3. 1sc+ inc all around
Rnd 4. sc on ob
Rnd 5. 2sc+ 1 inc
Rnd 6. sc on sc
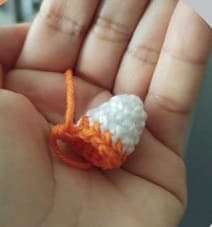
Switch to orange thread
Rnd 7-8. sc on sc
Rnd 9. 4sc+ inc
Rnd 10-13. sc on sc
Rnd 14. 4sc+ dec
Rnd 15-16. sc on sc
Rnd 17. 3sc+ dec
Rnd 18-20. sc on sc
Rnd 21. 2sc+ dec
Rnd 22. sc on sc
Rnd 23. sc on sc
Rnd 23. 1sc+ dec
Rnd 24. sc over sc leave enough yarn for sewing
Congratulations, you have completed the fox amigurumi pattern. 🙂


