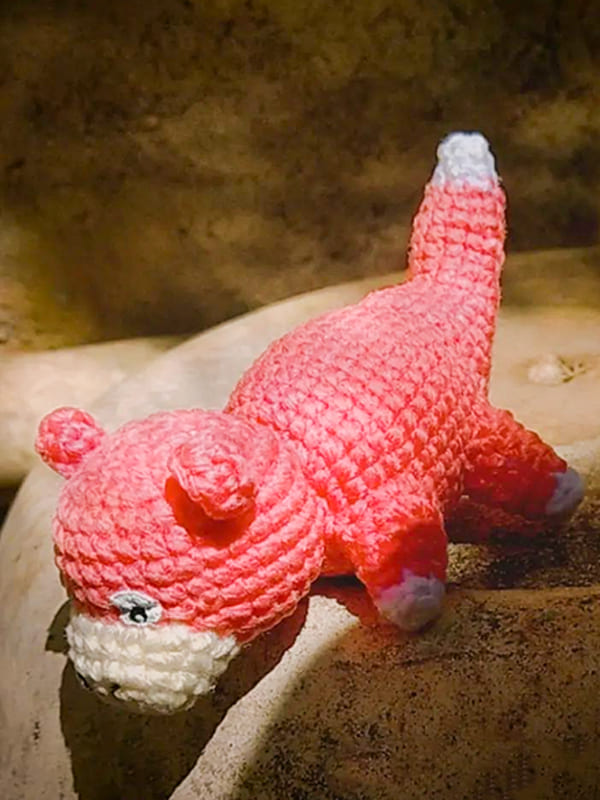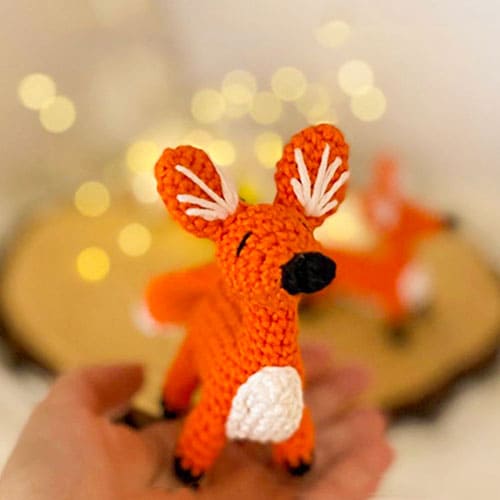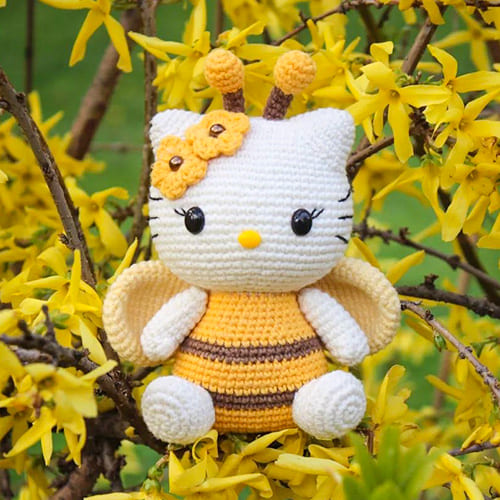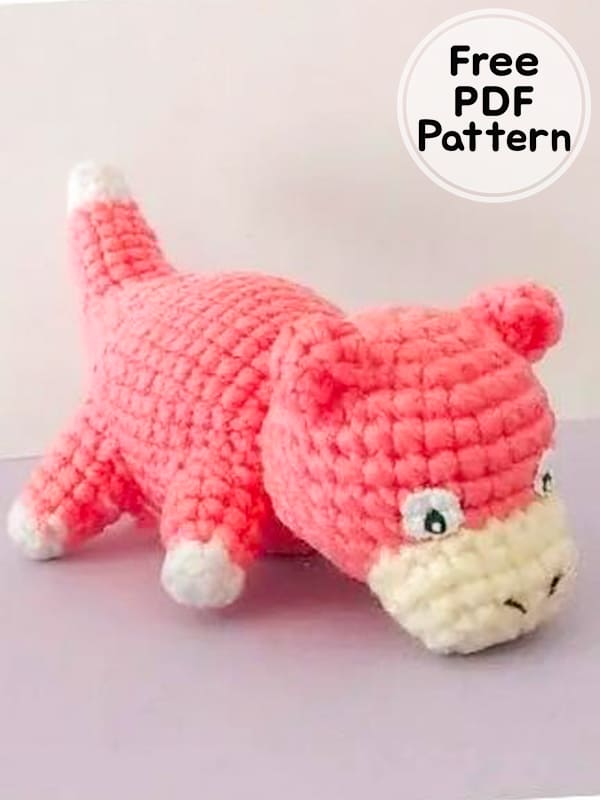
Hello to everyone who loves amigurumi crochet pokemon, today I shared the most popular amigurumi pokemon crochet pattern. The free crochet amigurumi pattern is easy to crochet step by step. The same colors are preferred to make the thread colors resemble the Pokemon character. You can use this cute toy as a keychain.
When completed, it will be 10 cm tall. You can amigurumi crochet keychain pattern, which is small enough to fit in the palm, in different colors. You can sew clothes from fabrics you do not use. Summer is approaching, you can design beach clothes for your amigurumi toy. Thank you to the creator of the free amigurumi patterns. Follow me to see the latest amigurumi crochet keychains. If you like this amigurumi toy, share it with your loved ones.
Crochet Keychain Slowpoke Pokemon Amigurumi Free Pattern PDF
Designer: anyergurumis_
Materials
pale pink wool
white wool
off-white wool
Black and white acrylic/textile paint
Brush
Crochet according to thickness
Stuffed
Needle, scissors, pins
Abbreviations
MR – magic ring
inc- increase
dec- decrease
st(s) – stitch(es)
sc – single crochet
Rnd- round
ch – chain
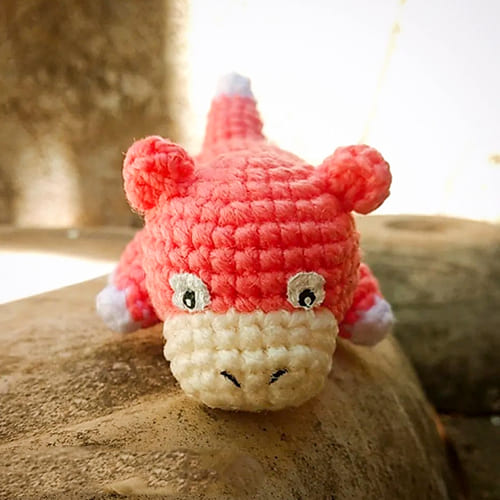
Note: remember that the final size varies depending on the material used, my little slowpoke measures 10cm approx.
If you prefer you can use safety eyes or kerchiefs / felt
Instead of painting the eyes
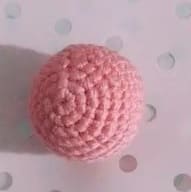
Head
Rnd 1. MR of 6sc
Rnd 2. (1 inc) x 6 (12st)
Rnd 3. (1sc, 1 inc) x 6 (18st)
Rnd 4. (2sc, 1 inc) x 6 (24st)
Rnd 5. (3sc, 1 inc) x 6 (30st)
Rnd 6-10. 1sc in each st (30st)
Rnd 11. (3sc, dec) x 6 (24st)
Rnd 12. (2sc, dec) x 6 (18st)
Fill with fiber
Rnd 13. (1sc, dec) x 6 (12st)
Rnd 14. (1 dec) x 6 (6st)
Fasten off, with needle
Body
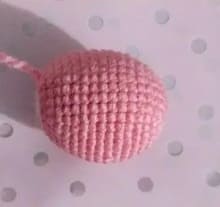
Rnd 1. MR of 6sc
Rnd 2. (1 inc) x 6 (12st)
Rnd 3. (1sc, 1 inc) x 6 (18st)
Rnd 4. (2sc, 1 inc) x 6 (24st)
Rnd 5. (3sc, 1 inc) x 6 (30st)
Rnd 6. 1sc in each st (30st)
Rnd 7. (4sc, 1 inc) x 6 (36st)
Rnd 8-13. 1sc in each st (36st)
Rnd 14. (4sc, 1 dec) x 6 (30st)
Rnd 15-16. 1sc in each st (30st)
Rnd 17. (3sc, 1 dec) x 6 (24st)
Fill with fiber
Rnd 18. (2sc, 1 dec) x 6 (18st)
Rnd 19. (1sc, 1 dec) x 6 (12st)
Rnd 20. (1 dec) x 6 (6st)
Finish filling and closing with needle
Little Legs
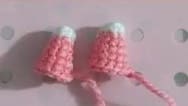
We start with white
Rnd 1. MR of 5sc
Rnd 2. 4sc, 1 inc (6st)
We change to pink
Rnd 3. (1sc, 1 inc) x 3 (9st)
Rnd 4. 1sc in each st (9st)
Rnd 5. 8sc, 1 inc (10st)
For the hind legs add the next 2 rows
Rnd 6. 1sc in each st (10st)
Rnd 7. 9sc, 1 inc (11st)
Fill with fiber
Muzzle (bone color)
Rnd 1. 5 ch
Rnd 2. 1 inc in the penultimate stitch, 2 sc, 3 sc in the next stitch, 3sc (8st)
Rnd 3. 2 inc, 2sc, 3 inc, 2sc, 1 inc (16st)
Rnd 4. 1sc in each st (16st)
Rnd 5. 1sc, 1 inc, 5sc, 1 inc, 1sc, 1 inc, 5sc, 1 inc (20st)
Fill with fiber

Tail
We start with white
Rnd 1. MR of 5sc
Rnd 2. 4sc, 1 inc (6st)
Rnd 3. (1sc, 1 inc) x 3 (9st)
we change to pink
Rnd 4. 1sc in each st (9st)
Rnd 5. (2sc, 1 inc) x 3 (12st)
Rnd 6-8. 1sc in each st (12st)
Rnd 9. (3sc, 1inc) x 3 (15st)
Rnd 10. 1sc in each st (15st)
Rnd 11. (4sc, 1 inc) x 3 (18st)
Rnd 12-13. 1sc in each st (18st)
Rnd 14. (2sc, 1 inc) x 6 (24st)
Rnd 15. 1sc in each st (24st)
Rnd 16. 13sc, 1sc skip
Stuffing (do not overstuff to be able to fold the tail a bit at the end)
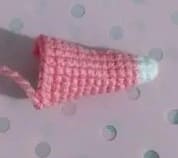
Ears (x2)
We start with 9 chains
A slip stitch in the penultimate stitch
1 sc in each stitch the next 7 sc
Leave a thread to sew
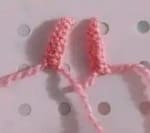
At the end of the ears, roll them up and sew the ends to keep them in that shape (before sewing to the body)
Assembly
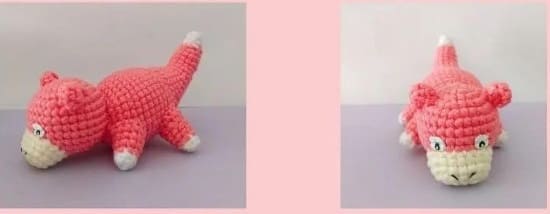
• First we will sew the head to the body
• Then the tail (on round 6)
• The legs go diagonally outwards, as can be seen in the photo
• Remember that the front legs are shorter than the hind legs.
• Place the muzzle on rows 9 to 12
• Place the ears to the sides taking the muzzle as reference (Round 4-5)
• Paint / place the eyes just above the snout leaving 3 sc away (on Round 8 to 9)
• Finally paint the lines of the nose diagonally, as in the photo (Round 2-3)
Recuerda que es un patrón gratuito, se prohíbe su venta no olvides etiquetarme si lorealizas.
