
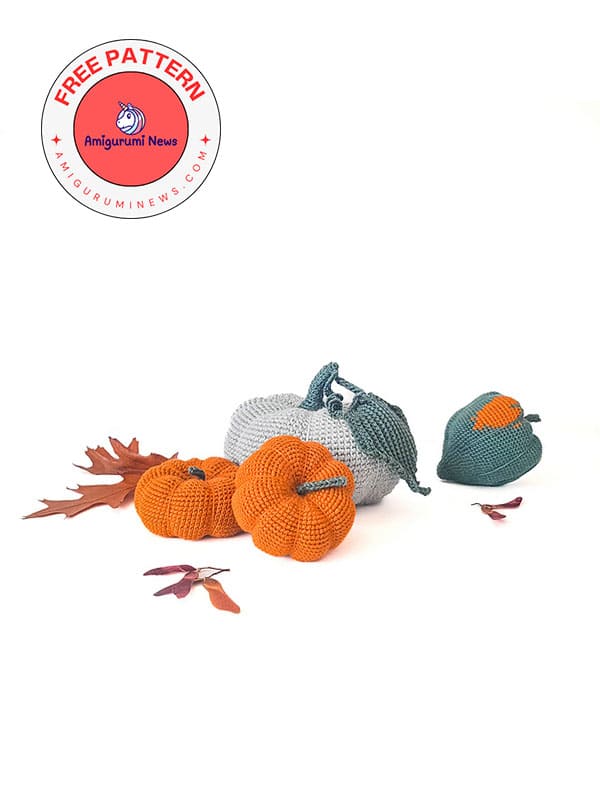
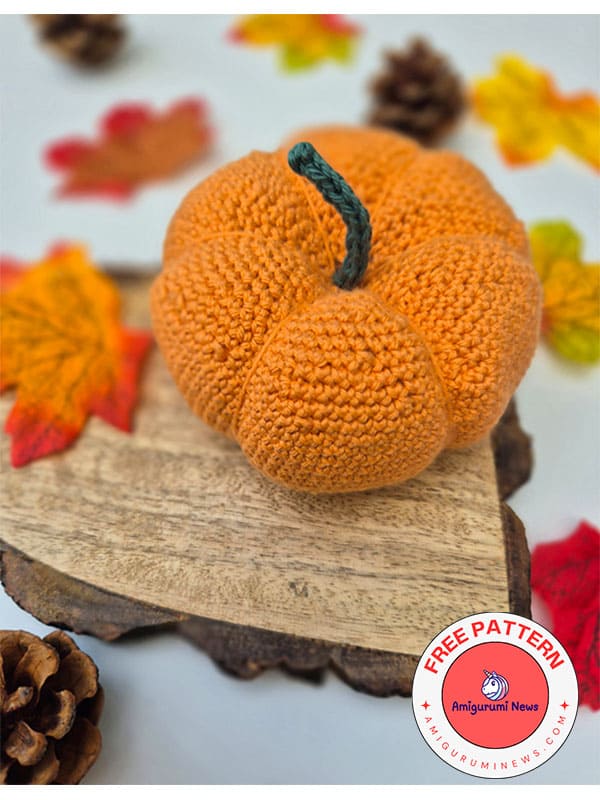
For those who love growing pumpkins and using them to decorate their homes in the fall, I’ve brought you a great crochet pumpkin pattern. These large pumpkins are incredibly easy to make. They’re beginner-friendly, so anyone can easily make them. You’ll even find more step-by-step details in a PDF file. Work this crochet pumpkin in continuous rounds and then complete it by creating the stems. Don’t forget to shape your pumpkin before making the stems. Here’s a crochet pumpkin pattern you can make as many times as you like, waiting for you below. Starting off with a wonderful October, complete these pumpkins now.
Crochet munchkin pumpkins pattern
This is a quick and easy crochet pumpkin pattern suitable for beginners. Because it’s worked in continuous rounds, you’ll need to place a stitch marker at the beginning of each round to easily track your stitch count. The final step is to shape the pumpkin and then add the stem.
Designer: Bilby & Ben
Hook size: 2.5mm & 3mm.
Skill rating: beginner.
Other requirements: stitch markers; fiberfill; blunt / darning needle.
Yarn weight: sport / light DK.
Abbreviations
YO- yarn over
YU- yarn under
ch- chain
st(s)- stitch(es)
rnd(s)- round(s)
FLO- front loop only – see Special Stitches below
BLO- back loop only
sc- single crochet
xs- ‘x’ or cross st – see Special Stitches below
inc- increase
inv-dec- invisible decrease – see Special Stitches below
Pumpkin
Worked in continuous rnds. Using your 2.5mm hook and orange yarn:
R1: Make a magic ring, 6 xs {6}
R2: inc all round {12}
R3: (inc, xs) x 6 {18}
R4: xs, inc, (2 xs, inc) x 5, xs {24}
R5: (inc, 3 xs) x 6 {30}
R6: 3 xs, inc, (4 xs, inc) x 5, xs {36}
R7: (5 xs, inc) x 6 {42}
R8: 2 xs, inc, (6 xs, inc) x 5, 4 xs {48}
R9: 5 xs, inc, (7 xs, inc) x 5, 2 xs {54}
R10: (inc, 8 xs) x 6 {60}
R11: 5 xs, inc, (9 xs, inc) x 5, 4 xs {66}
R12: 2 xs, inc, (10 xs, inc) x 5, 8 xs {72}
R13: (11 xs, inc) x 6 {78}
R14: 5 xs, inc, (12 xs, inc) x 5, 7 xs {84}
R15: xs, inc, (13 xs, inc) x 5, 12 xs {90}
R16: 10 xs, inc, (14 xs, inc) x 5, 4 xs {96}
R17-26: xs all round {96}
R27: 13 xs, inv-dec, (14 xs, inv-dec) x 5, xs {90}
R28: 8 xs, inv-dec, (13 xs, inv-dec) x 5, 5 xs {84}
R29: (inv-dec, 12 xs) x 6 {78}
R30: 2 xs, inv-dec, (11 xs, inv-dec) x 5, 9 xs {72}
R31: 8 xs, inv-dec, (10 xs, inv-dec) x 5, 2 xs {66}
R32: 3 xs, inv-dec, (9 xs, inv-dec) x 5, 6 xs {60}
R33: 4 xs, inv-dec, (8 xs, inv-dec) x 5, 4 xs {54}
R34: (7 xs, inv-dec) x 6 {48}
R35: 3 xs, inv-dec, (6 xs, inv-dec) x 5, 3 xs {42}
R36: xs, inv-dec, (5 xs, inv-dec) x 5, 4 xs {36}
R37: 3 xs, inv-dec, (4 xs, inv-dec) x 5, xs {30}
R38: (inv-dec, 3 xs) x 6 {24}
Stuff the pumpkin with fiberfill. Be careful not to overstuff, otherwise you’ll find the shaping trickier later!
R39: xs, inv-dec, (2 xs, inv-dec) x 5, xs {18}
R40: (xs, inv-dec) x 6 {12}
R41: inv-dec all round {6}
Make sure that you’ve stuffed the pumpkin sufficiently. Then break yarn, leaving an extra long tail (approx. 50cm) for sewing and shaping.
Using your blunt / darning needle, weave the yarn tail through FLO of each st and pull tight to close.
Shaping
With the end of the long tail from closing the pumpkin still on your blunt / darning needle:
1. Insert the needle through the middle of the pumpkin from top to bottom.
2. Bring your needle out around R2, then draw the yarn tail through tightly.
3. Insert your needle through the top of the pumpkin and out the bottom around R2 again so that the yarn tail runs up the side.
4. Pull the tail really tight to create your 1st rib and an indent in the middle of the pumpkin.
5. Repeat steps 3 & 4 another 6 to 8 more times to create a total of 7 to 9 ribs.
Try to make sure the positioning is a little uneven so that the ribbing looks more natural – some segments should be larger and others smaller.
6. Secure the yarn tail by threading it in and out of the pumpkin a couple more times and knotting carefully, then hide the loose end inside.
Stem
Using dark green yarn and your 3mm hook, make an i-cord 3 sts wide and 12 sts long.
To do this:
1. Ch 3. Insert hook into 2nd ch from hook, YO and pull up a loop. Insert hook into next ch, YO and pull up another loop. You’ll now have 3 loops on your hook.
2. Withdraw your hook from the last 2 loops you made, holding them with your free hand so you don’t lose them.
3. YO, pull up a loop. Insert hook into the next free loop you’re holding, YO and pull up a loop. Insert hook into last free loop you’re holding, YO and pull up a loop. You’ll now have 3 loops on your hook again.
Repeat steps 2 & 3 another 11 times, then YO and pull through all 3 loops to close the cord. Break yarn, leaving a long tail for sewing, then weave end down the length of the cord using your needle and tie both ends together to secure.
Attach the stem to the middle of the top of your pumpkin using the long tail and your blunt darning needle. Then hide the yarn end inside the pumpkin.
Alternative: if you’re finding the i-Cord a little tricky to master, you could try making a ch (about 13 sts long) and then sc in the 2nd ch from hook and each successive ch instead. Fasten off and follow the same steps for attaching the stem.
Variations
You can customise your pumpkins in a number of ways:
1. Make multiple squash and add some natural variation by adding a couple of rnds of xs all round before the decrease section.
2. You could also reduce / increase the width of your pumpkins by subtracting / increasing the number of inc and dec rnds (you’ll need to keep them both equal!).
3. Swap the usual stem for a more decorative option like a stick of cinnamon. You can either glue a short length to the top of your pumpkin after the shaping using a hot glue gun or insert the stick into the opening before closing the final rnd and adding the shaping.
4. Make your pumpkin bigger or smaller by varying your hook size and / or yarn weight.
5. Turn your pumpkin into a plushie by using some super chunky chenille yarn and a 5mm hook (or a suitable size for the yarn weight).
6. Swap your sport / DK weight yarn for 2 strands of 2- / 3-ply yarn in different shades of orange. Work with your yarn held double and the same hook size to give your pumpkin a more interesting colour.
7. For a thicker, more gnarly stem, try doubling up your green yarn and working the same steps as before, but with a 4mm / 4.5mm hook instead
✨ Check out the PDF for all the details! 📄


