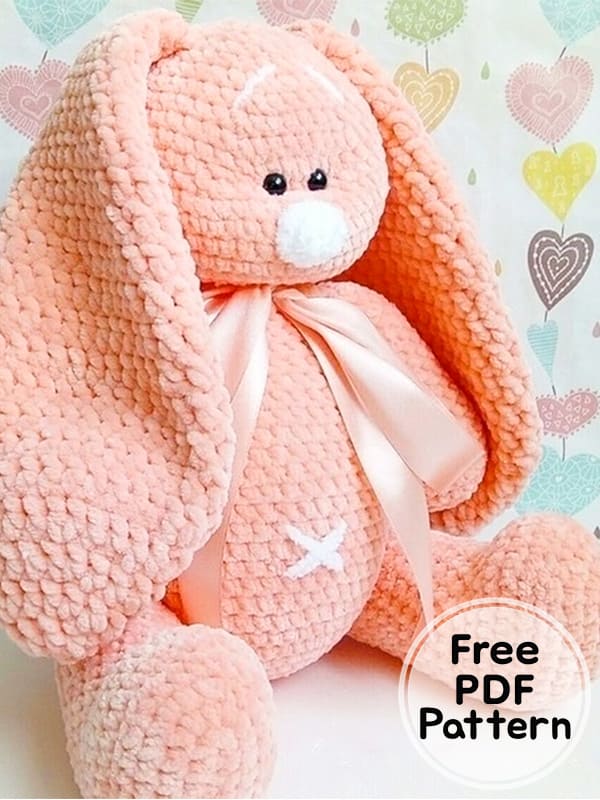
Greetings to all friends, today we will work with you crochet cute plush bunny amigurumi pattern. Thank you very much to the owner of the pattern. If you are wondering how to make a soft and safe plush bunny for your children, you have come to the right place. You can easily make your own plush rabbit thanks to the easy to follow amigurumi pattern instructions and detailed pictures. Now I invite you to the free pattern instruction. Stay tuned for more animal amigurumi patterns.
Crochet Plush Bunny Amigurumi Free Pattern
Designer: yarnart12
Abbreviations
MR: Magic ring
Sc: Single crochet
Inc: Increase
Dec: Decrease
Ch: Chain
Slst: Slip stitch
Hdc: Half double crochet
Dc: Double crochet
BLO: Back loop only
FLO: Front loop only
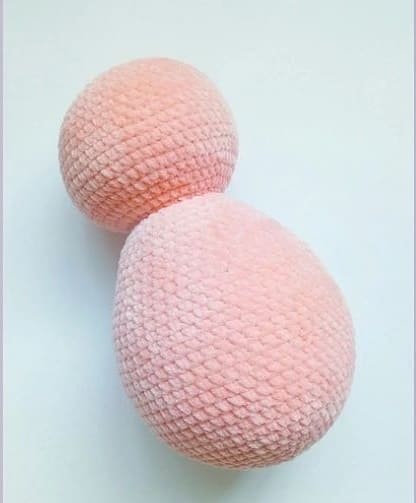
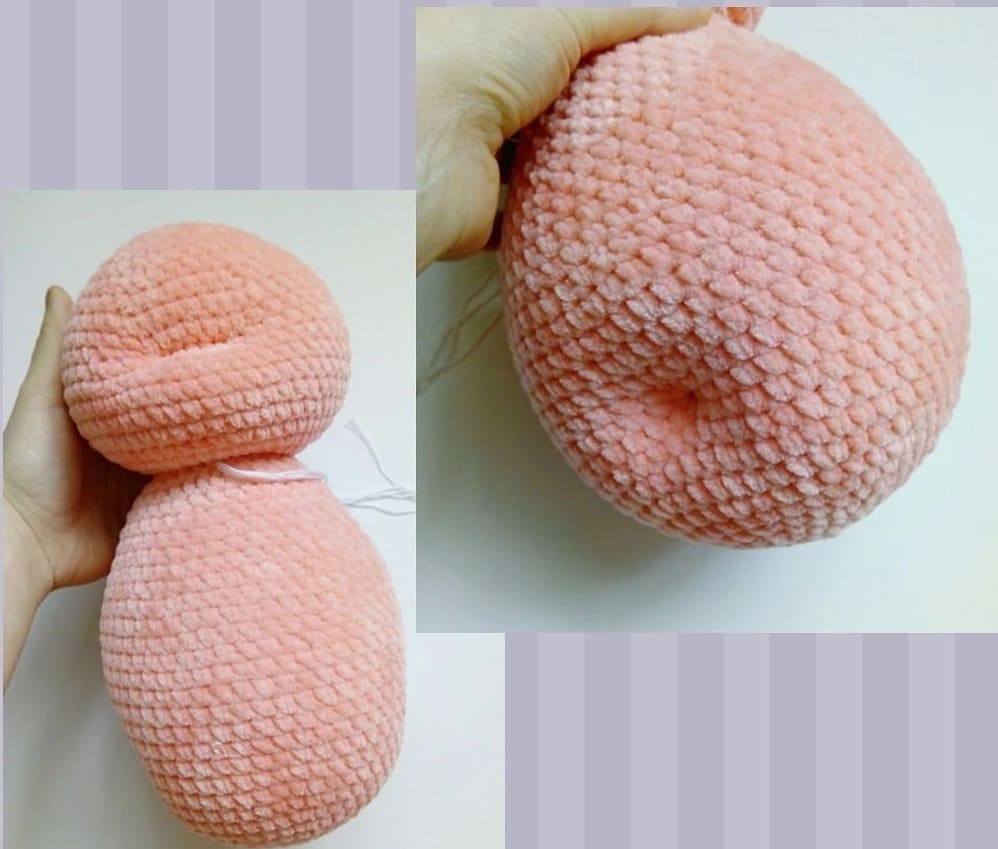
Head and body
We fill it while crocheting.
1) 6 sc in MR
2) 6 inc (12)
3) (1 sc, inc)*6 times (18)
4) (2 sc, inc)*6 times (24)
5) (3 sc, inc)*6 times (30)
6) (4 sc, inc)*6 times (36)
7) (5 sc, inc)*6 times (42)
8) (6 sc, inc)*6 times (48)
9) (7 sc, inc)*6 times (54)
10) (17 sc, inc )*3 times (57)
11-20) 57 sc (57) (10 rows)
21) (17 sc, dec) * 3 times (54)
22-24) 54 sc (54) (3 rows)
25) (7 sc, dec)*6 times (48)
26) 48 sc
27) (6 sc, dec)*6 times (42)
28-29) 42 sc
30) (5 sc, dec)*6 times (36)
31) 36 sc
32) (4 sc, dec)*6 times (30)
33) (3 sc, dec)*6 times (24)
34) (2 sc, dec)*6 times (18)
35) 18 sc
36) 18 inc (crochet two sc in each loop of the row)
37) (5 sc, inc)*6 times (42)
38) (6 sc, inc)*6 times (48)
39) (7 sc, inc)*6 times (54)
40-43) 54 sc (54) (4 rows)
44) (16 sc, dec)*3 times (51)
45) (15 sc, dec)*3 times (48)
46) 48 sc
47) 48 sc
48) (6 sc, dec)*6 times (42)
49) 42 sc
50) (5 sc, dec)*6 times (36)
51) (4 sc, dec)*6 times (30)
52) (3 sc, dec)*6 times (24)
53) (2 sc, dec)*6 times (18)
54) (1 sc, dec)*6 times (12)
55) 6 dec (6)
Pull off the remaining hole.
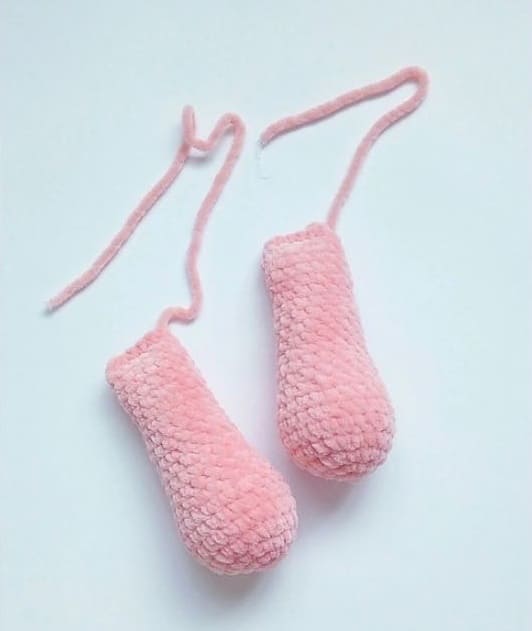
Arms (Make 2)
We stuff in the course of crocheting, not very tight.
1) 6 sc in MR
2) 6 inc (12)
3) (1 sc, inc)*6 times (18)
4) (2 sc, inc)*6 times (24)
5-7) 24 sc (3 rows)
8) (2 sc, dec)*6 times (18)
9-14) 18 sc (6 rows)
11) (4 sc, dec)*3 times (15)
12-20) 15 sc (9 rows)
21) (3 sc, dec)*3 times (12)
Fold the piece in half and crochet 6 sc.
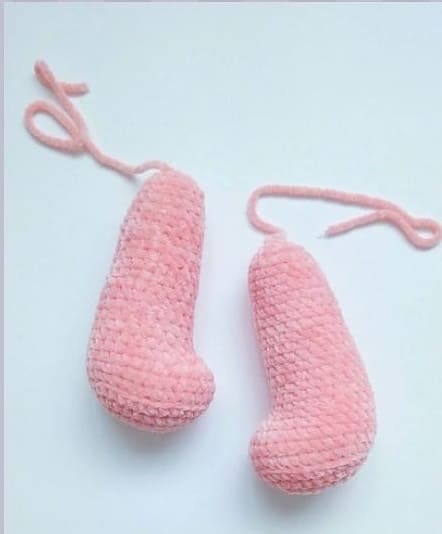
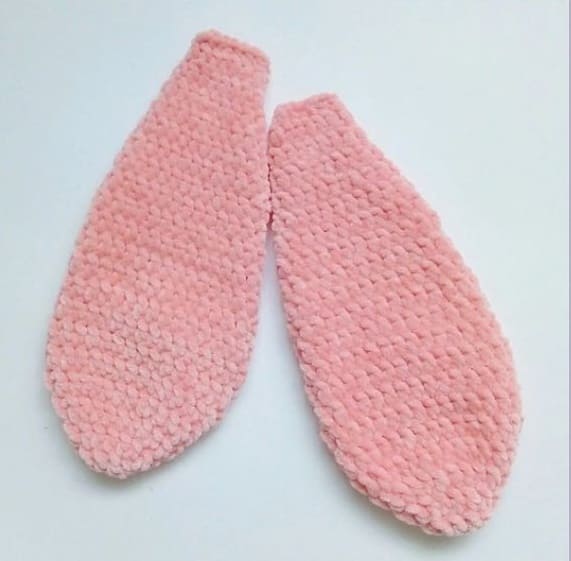
Legs (Make 2)
Fill so that it is not too tight while crocheting.
1) 7 ch, starting in 2nd st from hook, 5 sc, 3 sc in 1 st, 4 sc, inc (14)
2) inc, 4 sc, 3 inc, 4sc, 2 inc (20)
3) 1 sc, inc, 4 sc, (1 sc, inc)*3 times, 4 sc, (1 sc, inc)*2 times (26) 4) 2 sc, inc, 4 sc, (2 sc, inc)*3 times, 4 sc, (2 sc, inc)*2 times (32)
5) BLO- 32 sc
6-7) 32 sc (2 rows)
8) 10 sc, 6 dec, 10 sc (26)
9) 9 sc, 4 dec, 9 sc (22)
10-14) 22 sc (5 rows)
15) dec, 20 sc (21)
16) 21 sc
17) dec, 19 sc (20)
18-21) 20 sc (4 rows)
22) dec, 18 sc (19)
23) 19 sc
24) dec, 17 sc (18)
25) 18 sc 26) (1 sc, dec)*6 times (12)
27) 6 dec
Pull the remaining hole, hide the ends of the threads inside.
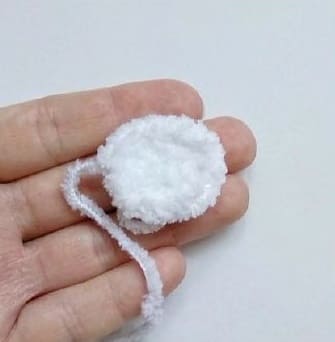
Tail
1) 8 sc in MR
2) 8 inc (16)
3) (1 sc, inc)*8 times (24)
4) 24 sc
5) (2 sc, dec)*6 times (18)
6) (1 sc, dec)*6 times (12)
Break the thread, tuck the end neatly.
Ears (Make 2)
Starting from the 2nd row, we crochet dc.
1) 6 sc in MR
2) 6 inc dc (12)
3) (1 dc, inc)*6 times (18)
4) (2 dc, inc)*6 times (24)
5) (3 dc, inc)*6 times (30)
6-9) 30 dc (4 rows)
10) dec, 28dc (29)
11) 29 dc
12) dec, 27 dc (28)
13) 28 dc
14) (dec, 12 dc)*2 times (26)
15) 26 dc
16) (dec, 11 dc)*2 times (24)
17) (dec, 10 dc)*2 times (22)
18) (dec, 9 dc)*2 times (20)
19) (dec, 8 dc)*2 times (18)
20) (dec, 7 dc)*2 times (16)
21) (dec, 6 dc)*2 times (14)
Fold the piece in half and crochet 7 sc.
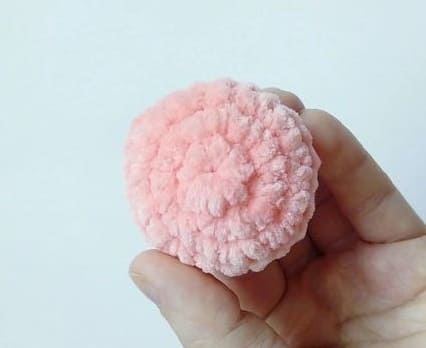
Nose
1) 5 ch, starting in 2nd st from hook, 3 sc, 3 sc in 1 st, 2 sc, inc (10)
2) inc, 2 sc, 3 inc, 2 sc, 2 inc (16)
3) 1 sc, inc, 2 sc, (1 sc, inc)*3 times, 2 sc, (1 sc, inc)*2 times (22)
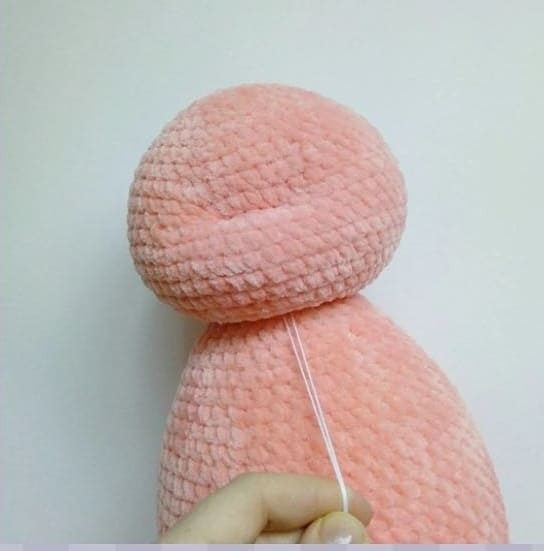
Assembly
For tightening, we take a fairly strong thread and a long needle. We insert the needle in the 35th row, OUTPUT approximately In the 43-44th row, go through 5-6 columns and put the needle back inward, withdraw it in the 35th row, through the column from the place where the needle was inserted for the first time. Pull on the ends and tie tightly. You can repeat it again.
Now we make a tightening in the place where the bunny will have lower legs. We also take a strong thread and a long needle. We insert the needle at the level of the 13th row, bring it out on the opposite side, retreat the column and put the needle back in, bring it out next to the place where the needle was brought in for the first time. Tighten, tie tightly.
Sew the upper paws. We sew the lower paws using a thread insert.
That’s it, you’ve completed the cute plush bunny.