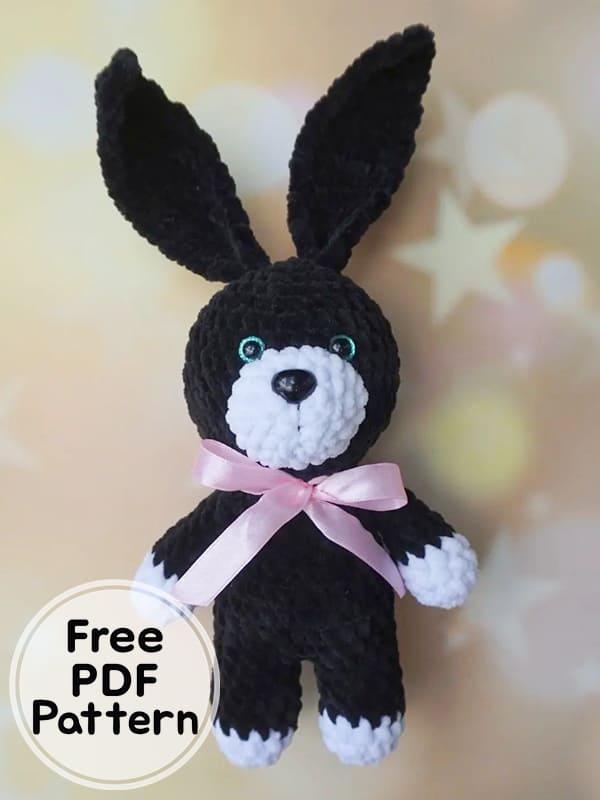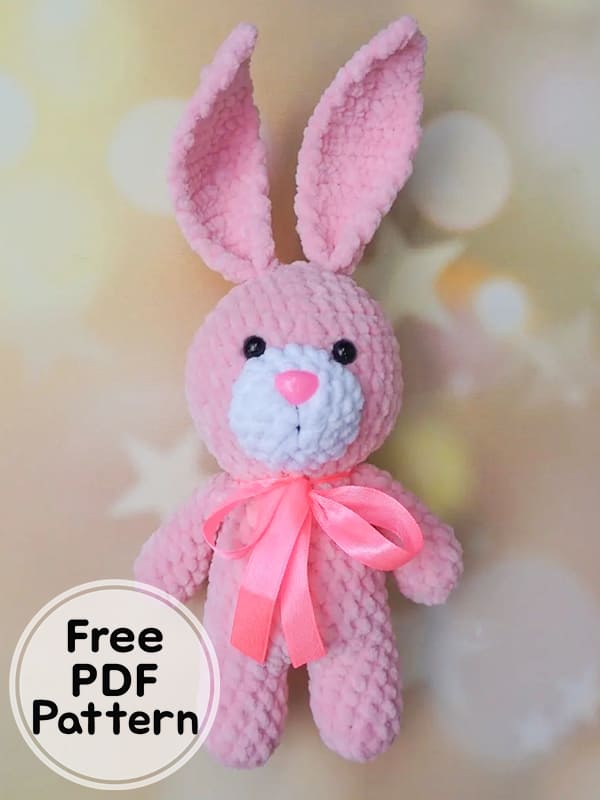
How about making an easy crochet bunny amigurumi toy? Yes, if you’re wondering how to make a crochet bunny pattern, follow the free step by step amigurumi pattern instructions and complete this cute plush bunny. The finished size of the bunny will be approximately 20 cm. Our designer used Himalayan Dolphin Baby plush yarn and a 3.5 mm crochet hook when embroidering the crochet bunny. The legs and body of the bunny consist of a single piece, the remaining parts are processed separately and fixed later. In addition, there are helpful images in the free pattern to give you an idea. Check out the pattern instructions to complete the crochet bunny right now.
Easy Crochet Plush Bunny Amigurumi PDF Free Pattern
Designer: mimi_toys96
Abbreviations
MR: Magic ring
Sc: Single crochet
Ch: Chain
Inc: Increase
Dec: Decrease
Slst: Slip stitch
Materials and tools
• Main color yarn Himalaya Dolphin Baby half skein
• White yarn Himalaya Dolphin Baby a little
• Yarn complementary color Himalaya Dolphin Baby a little
• Eyes on 9mm safety mount
• Spout on a secure mount 12*14mm
• Filler (holofiber)
• Hook 3.5mm
• Stitching game
• Thread for stitching
• Scissors
• Ribbon
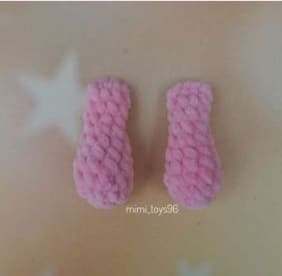
Arm (Make 2)
Start with complementary color yarn.
Stuff only the bottom of the arm until the thread color changes.
1. 5 sc in MR
2. 5 inc =10sc
3-4. 10sc (2 rows)
Change the thread to the main color yarn.
5-6. 10 sc (2 rows)
7. (sc, dec)*3, sc = 7sc
8-10. 7 sc (3 rows)
Fold in half and crochet 3 sc.
Fix and cut the thread.
Legs (Make 2)
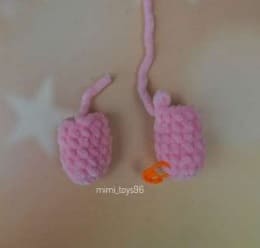
Start with complementary color yarn.
1. 6 sc in MR
2. 6 inc =12 sc
3. 12 sc
Change the thread to the main color yarn.
4-7. 12 sc (4 rows)
Crochet two leg pieces.
On the second leg without cutting the thread, additionally crochet 1 ch and connect legs.
Continue to crochet the body with the main color yarn.
Body
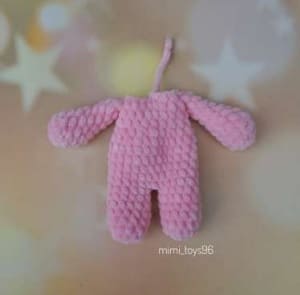
1. 12 sc on the leg + 1 sc on the air loop, 12 sc on the leg, 1 sc on the air loop = 26 sc
2-6. 26 sc (5 rows)
7.(2 sc, dec)*6, 2 sc =20sc
8. dec, 18sc =19sc
9-10. 19 sc (2 rows)
In the 11th row, attach the arms, the distance may differ, so it’s better to mark 3 sc on the sides in advance.
11. 4 sc, 3 sc with the arm, 6 sc, 3 sc with the arm, 2 sc = 18 sc
Fix and cut the thread.
Stuff in the course of crocheting, or at the end.
Head
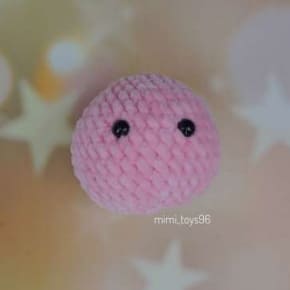
Start crocheting with the main color yarn.
1. 6 sc
2. 6 inc =12 sc
3. (sc, inc)*6 =18sc
4. (2sc, inc)*6 =24sc
5. (3sc, inc)*6 =30sc
6. (4sc, inc)*6 =36sc
7-11. 36sc (5 rows)
11. (4sc, dec)*6 =30sc
12. (3sc, dec)*6 =24 sc
13. (2sc, dec)*6 =18 sc
14. 18 sc
Fix and cut the thread.
Insert eyes 9 mm between 7 and 8 rows at a distance of 5 sc.
Stuff in the course of crocheting, or at the end.
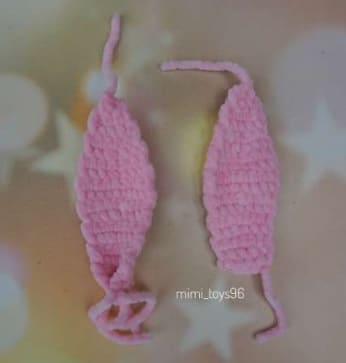
Ears (Make 2)
Start crocheting with the main color yarn.
1. 5ch, ch
2. 5sc, ch =5sc
3. 5sc, ch =5sc
4. 2sc, inc, 2 sc, ch =6sc
5. 6sc, ch =6sc
6. 3sc, inc, 2sc, ch =7sc
7. 7sc, ch =7sc
8. 3sc, inc, 3sc, ch =8sc
9. 4sc, inc, 3sc, ch =9sc
10. 9sc, ch =9sc
11. 4sc, dec, 3sc, ch =8sc
12. 3sc, dec, 3sc, ch =7sc
13. 3sc, dec, 2sc, ch =6sc
14. 2sc, dec, 2sc, ch =5sc
15. 5sc, ch =5sc
16. skip a loop, 4 sc =4sc
17. skip a loop, 3sc =3sc
18. dec
Lower the thread with sc to the beginning of crocheting to 1 row.
Fix and cut the thread.
Fold the part in half and crocheting 2sc.
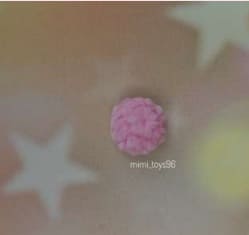
Tail
Start crocheting with the main color yarn.
1. 6 sc in MR
2. 6 inc =12sc
3. 12 sc
4. (sc, dec)*4 =8sc
Fix and cut the thread.
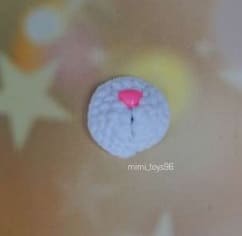
Muzzle
Start with white yarn.
1. 6 sc in MR
2. 6 inc =12sc
3. (sc, inc)*6 =18sc
4. (2sc,inc)*6 =24sc
Fasten and cut the thread.
Insert the nose into the center in the 2nd row.
Sew a strip down 3 rows from the nose with iris thread.
Assembly
Sew the head to the body.
Sew on the ears in row 2.
Sew tail in row 3, stuffing a little.
Fill the muzzle a little and sew between 7 and 14 rows.
Decorate with a ribbon.
