Hello friends, are you ready to design the most beautiful crochet keychain?
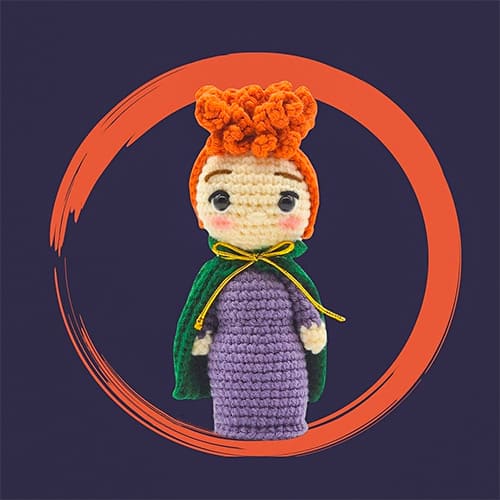
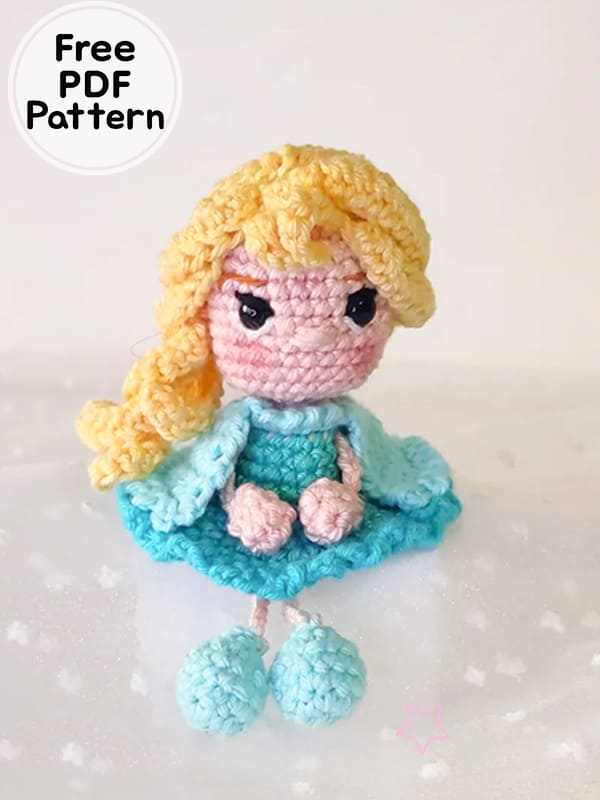
Today I shared the amigurumi crochet doll of the Disney Frozen character for you. Since it is a bit of a detailed work, crocheting step by step is medium difficulty. When you complete it, you will have the most beautiful amigurumi doll.
Crochet the arms and legs of the frozen amigurumi doll as shown in the picture. You don’t need to fill too much. The head part of the free amigurumi patterns doll is detailed. When you’re done crocheting, apply makeup to the baby’s cheeks. Amigurumi doll’s cape is crocheted separately. You can crochet using different colors of yarn. Thank you to the creator of the amigurumi crochet doll patterns. Follow me to see the latest amigurumi patterns toys.
Frozen Elsa Amigurumi Free Crochet Keychain Patterns PDF
Designer: marhila_crochet
Abbreviations
ch – chain
sc – single crochet
slst- Slip Stitch
hdc – half double crochet
inc- increase
dec- decrease
dc – double crochet
st(s) = stitch(es)
Rnd- round
Notes
The arms are sewn at the height where the arms will go, I explain why it depends on how tight hair can be further or further back and the thread is taken out by the head to knot them. The legs are sewn on the inside of the dress and knotted to the head before putting the hair.
Head
Rnd 1. magic ring 6 sc
Rnd 2. 6 inc (12st)
Rnd 3. (1sc, 1 inc 6 times (18st)
Rnd 4. (2sc, 1 inc) 6 times (24st)
Rnd 5. (3sc, 1 inc) 6 times (30st)
Rnd 6-12. 30sc
Rnd 13. (1sc, 1 dec) 10 times (20st)
Rnd 14. (2sc, 1 dec) 5 times (15st)
Rnd 15. (1sc, 1 dec) 5 times (10st)
Rnd 16. 5 dec (5st)
Rnd 17. 5 inc (10st)
we cut thread
The eyes are added on round 8 separated by 6 stitches
Arms
Rnd 1. magic ring 6 sc
Rnd 2. (1sc, 1 inc) 3 times (9st)
Rnd 3. 4 dec, 1sc (5st)
We join two of the points with slst to close and make 10 ch
Legs
The color of the dress
Rnd 1. magic ring 6 sc
Rnd 2. 6 inc (12st)
Rnd 3. (2sc, 1 inc) 4 times (16st)
Rnd 4. 16sc
Rnd 5. (2sc, 1 dec) 4 times (12st)
Rnd 6. 6 dec
We close by joining two stitches to close the foot, cut the thread and add skin color, make 18 ch
Dress
Rnd 1. Skin color (1sc, 1 inc) 5 times (15st)
We will work the dress in 3 colors from lighter green to bluish green
Rnd 2. We change to light green taking interior ch (2sc, 1 inc) 5 times (20st)
Rnd 3-5. 20sc
We change to intermediate green color
Rnd 6. 20sc
Rnd 7. Taking ch exterior (1sc, 1 inc) 10 times (30st)
Rnd 8. (2sc, 1 inc) 10 times (40st)
We change to bluish color
Rnd 9-10. 40sc
Rnd 11. finishing the skirt up (ch 3, 1slst) 40 times
Ruffle and Cape
We change the needle to a larger number so that the layer is looser.
Taking the chains that we left in round 2 starting at point 6
Rnd 1. (2 ch, 1 slst) 15 times
Now we knit back and forth to make the length of the cape
Rnd 2. We add 2 sc in each hole of the 2 ch we make 15 st, ch turn
Rnd 3. (1sc, 1 inc) 8 times (24st)
Rnd 4-7. 24sc
Rnd 8. (2 ch, 1 slst) 24times
Hair
Rnd 1. magic ring 6 sc
Rnd 2. 6 inc (12st)
Rnd 3. (1sc, 1 inc) 6 times (18st)
Rnd 4. (2sc, 1 inc) 6 times (24st)
Taking ch inside
Rnd 5. (3sc, 1 inc) 6 times (30st)
Rnd 6. 29dc, slst ch y girar
Rnd 7. 1sc, 1hdc, 25dc, 1hdc, 1 sc, 1slst
We will make the locks from there
hair strands 1. 30ch, 14sc, 15hdc
hair strands 2. 8sc, 2slst, 6sc
hair strands 3. 30ch, 14sc, 15hdc
hair strands 4. 8sc, 2slst, 6sc
hair strands 5. 30ch, 14sc, 15hdc
You have completed the amigurumi doll


