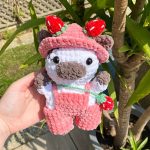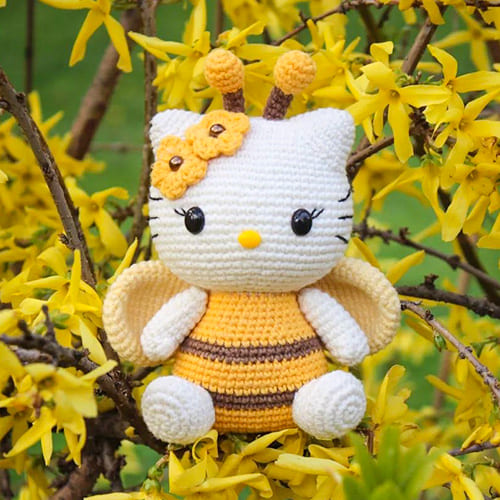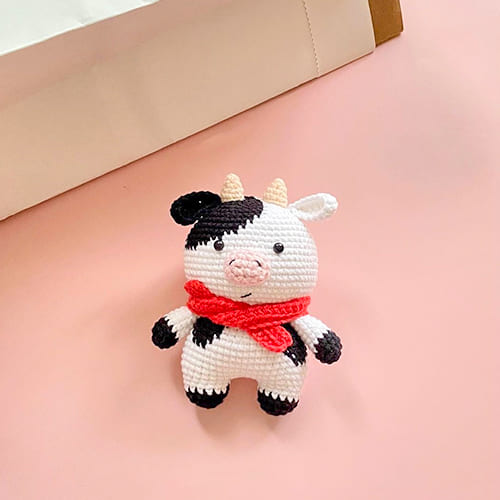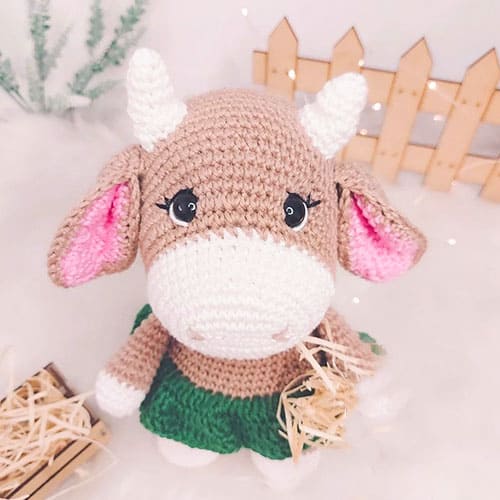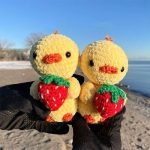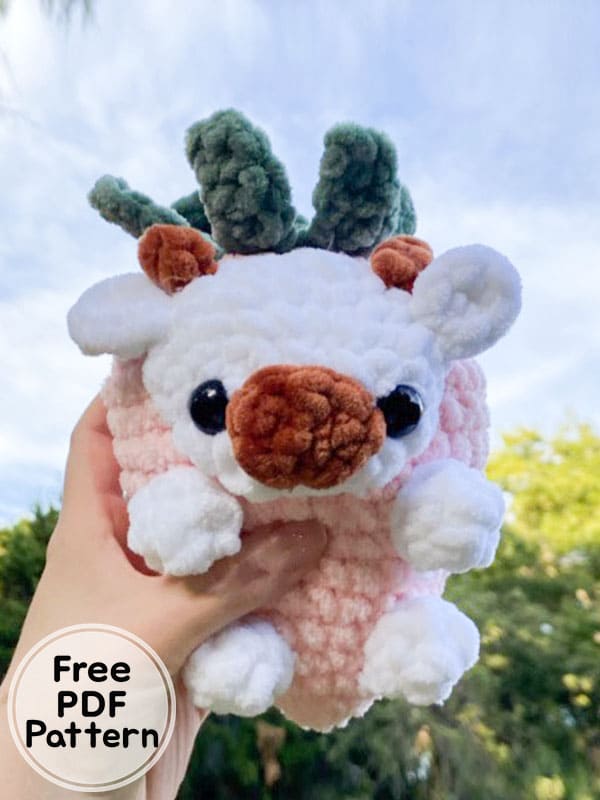
Hello friends, today I shared with you the cutest amigurumi crochet cow pattern. Amigurumi pattern, whose body part looks like a big strawberry, is a kawaii crochet category pattern. Light toned yarn colors are used. This amigurumi made the toy look cuter. After crocheting the large strawberry body part, we will crochet the other parts. Amigurumi cow details are crocheted using white and brown yarns. You can make eyes using plastic accessories. It may not be safe for small children. You can do this by using black thread.
Thank you to the creator of the cow amigurumi free pattern. If you like this amigurumi pattern, share it with your loved ones. You can create new designs by using different color threads. Follow me to see the latest free amigurumi patterns.
Kawaii Crochet Cow Amigurumi Free Pattern PDF
Designer: honeybunscrochet
Materials
4 different colors of yarn (i used sweet snuggles lite in pink, green, white and brown)
Hook size to match your yarn (i used a 5.5 mm)
Yarn needle
Polyfil
Safety eyes / felt
Stitch marker
Abbreviations
sc- single crochet
hdc- half double crochet
dc- double crochet
inc- increase
dec- decrease
slst- slip stitch
MR- magic ring
ch- chain
Strawberry
Strawberry base
In color A
Rnd 1. 6sc in a MR (6)
Rnd 2. inc x 6 (12)
Rnd 3. 1sc, inc x 6 (18)
Rnd 4. sc around (18)
Rnd 5. 2sc, inc x 6 (24)
Rnd 6. sc around (24)
Rnd 7. 3sc, inc x 6 (30)
Rnd 8. sc around (30)
Rnd 9. 4sc, inc x 6 (36)
Rnd 10. sc around (36)
Rnd 11. sc around (36)
Rnd 12. 5sc, inc x 6 (42)
Rnd 13. sc around (42)
Rnd 14. 5sc, dec x 6 (36)
Rnd 15. 4sc, dec x 6 (30)
Rnd 16. 3sc, dec x 6 (24)
Rnd 17. 2sc, dec x 6 (18) Start stuffing
Rnd 18. 1sc, dec x 6 (12)
Fasten off, weave in tail
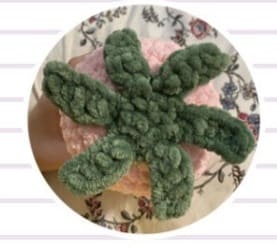
Leaves
In color B
Rnd 1. 6sc in a MR
Rnd 2. sc into next st, ch 6, starting in the second chain from hook sc, hdc, dc, hdc, sc.
Repeat round 2 five more times for a total of six leaves. Once you’ve finished the last leaf, slst and leave a tail for sewing.
Face
In color C
Rnd 1.ch 6 (6)
Starting in 2nd ch from hook sc 4, inc. Continue to the other side of chain, sc 4, inc in last st (12)
Rnd 2. 1sc, inc (18)
Rnd 3. 2sc, inc (24)
Slst and leave a tail for sewing
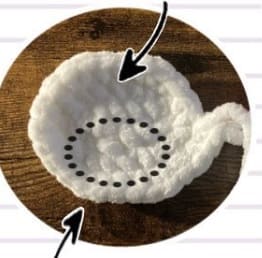
Dotted line represents where the snout should go
Snout
In color D
Rnd 1. ch 4 (4)
Starting in second ch from hook, sc2, inc in last chain, continue on the other side of chain, 2sc, inc (8)
Slst and fasten off, leave a tail for sewing.
Ears (x2)
In color C
Rnd 1. 5sc in MR
Slst, fasten off, leave tail for sewing
Horns (x2)
In color D
Rnd 1. ch 3
Rnd 2. starting at 2nd ch from hook, slst 2 fasten off, leave tail for sewing.
Legs (x4)
In color C
Rnd 1. 6sc in MR
Rnd 2. sc around
Fasten off, leave a tail for sewing.
Assembly
Sew strawberry leaves to the center of the strawberry top.
Sew snout to the bottom middle of face piece.
Place safety eyes/ felt onto face 5-6 st apart (I just put mine on either side of the snout)
Sew ears on the top of the face piece, 8-9 stitches apart.
Sew the horns on directly next to the ears
Once all face pieces are sewn together, sew the complete face onto the strawberry (between rows 10 and 15) being sure to sew around the ears and the horns so that they stick out.
Sew legs underneath the face, with the top legs between rows 8-10, (5 to 6 st apart), and the bottom legs legs between rows 3-5 (3 to 4 st apart). (bottom legs should be slightly closer to each other than the top legs).
Congratulations, you have completed the amigurumi pattern.


