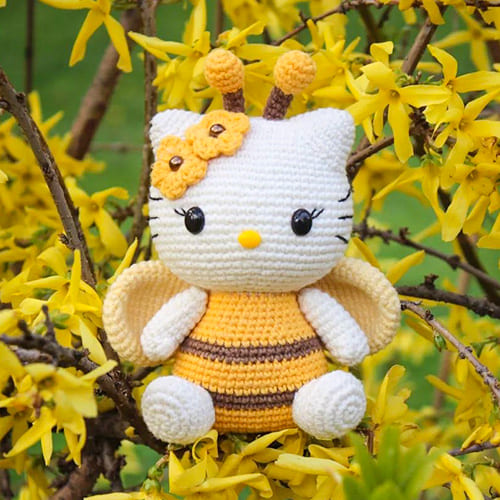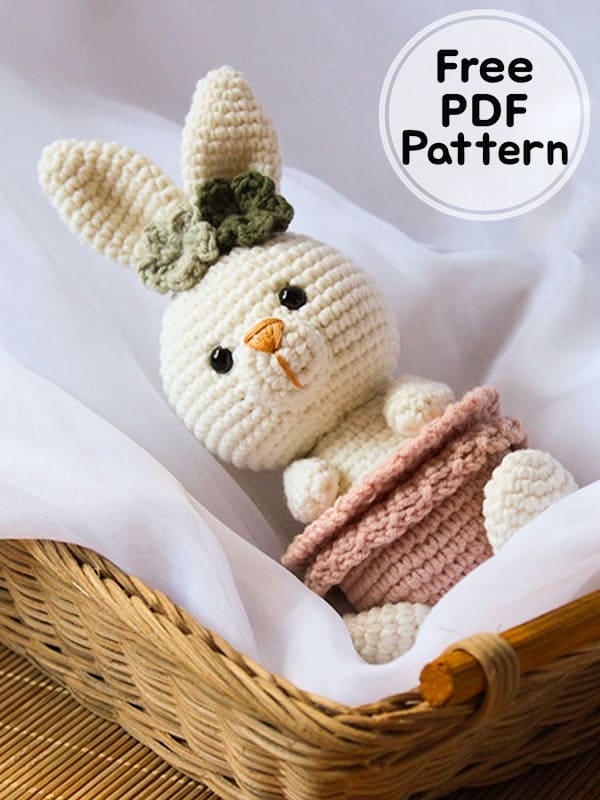
Hello my dears I shared a wonderful crochet bunny model for you for amigurumi day. You will have a lot of fun while crocheting the crochet bunny pattern amigurumi model. This amigurumi toy is easy to crochet and very convenient to decorate using different accessories. You can use different color threads. We will crochet all parts of the free crochet bunny pattern separately. We will sew the completed parts into place on the body part. You can see these processes by looking at the thumbnails.
If you do not want the skirt part of the free amigurumi pattern, you can create different designs. You can sew clothes for the bunny by evaluating the fabrics you do not use. You can crochet hats and scarves. You can decorate your amigurumi patterns bunny by using accessories suitable for all seasons. Thank you to the creator of the amigurumi bunny. Follow me to see the latest amigurumi patterns free.
Lilly Crochet Bunny Amigurumi Patterns Free PDF
Designer: mundo_do_amigurumi
Materials
Soft amigurumi yarn in colors: white (8001), penelope (3112), light green (5072), dark green (5442)
2.5mm crochet hook
upholstery needle
1 pair of eyes on the 8 – black
Scissors
light brown skein thread
Information
Production time: 3 hours
Finished Size: 18cm
Abbreviation
sc – single crochet
Psc– ponto baixo centrado
hdc – half double crochet
slst-Slip Stitch
inc- increase
dec- decrease
Rnd- round
BLO- Back loop only
ch – chain
Let’s start knitting the amigurumi rabbit pattern
Head
White (8001)
Rnd 1. magic ring, 6sc (6)
Rnd 2. 6 inc (12)
Rnd 3. (1 inc, 1sc) x 6 (18)
Rnd 4. (1 inc, 2sc) x 6 (24)
Rnd 5. (1 inc, 3sc) x 6 (30)
Rnd 6. sc all around (30)
Rnd 7. (1 inc, 4sc) x 6 (36)
Rnd 8. (1 inc, 5sc) x 6 (42)
Rnd 9. sc all around (42)
Rnd 10. (1 inc, 6sc) x 6 (48)
Rnd 11-16. sc all around (48) – 6 rnds
Make the application of the eyes between rows 10 and 11 respecting a space of 6sc between them.
Rnd 17. (6sc, 1 dec) x 6 (42)
Rnd 18. (5sc, 1 dec) x 6 (36)
Rnd 19. (4sc, 1 dec) x 6 (30)
Rnd 20. (3sc, 1 dec) x 6 (24)
Rnd 21. (2sc, 1 dec) x 6 (18)
Fasten off, fill and leave long thread to sew
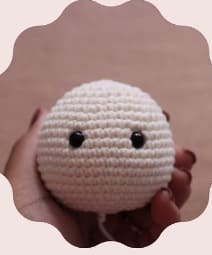
We complete the head part. Now let’s crochet the nose piece.
Snout
White (8001)
Rnd 1. magic ring, 6sc (6)
Rnd 2. 6 inc (12)
Rnd 3. (1 inc, 1 sc) x 6 (18)
Rnd 4. sc all around (18)
Fasten off, leave long thread to sew
Let’s crochet the body part and ears of the amigurumi bunny
Body
Penelope (3112)
Rnd 1. magic ring, 6sc (6)
Rnd 2. 6 inc (12)
Rnd 3. (1 inc, 1sc) x 6 (18)
Rnd 4. (1 inc, 2sc) x 6 (24)
Rnd 5. (1 inc, 3sc) x 6 (30)
Rnd 6. (1 inc, 4sc) x 6 (36)
Rnd 7. (1 inc, 5sc) x 6 (42)
Rnd 8-12. sc all around (42) – 5 rnds
Rnd 13. sc all around (BLO) (42)
Change to white color (8001)
Rnd 14. sc all around (BLO)(42)
Rnd 15. 12sc, (1sc, 1 dec) x 6, 12sc (36)
Rnd 16. sc all around (36)
Rnd 17. (4sc, 1 dec) x 6 (30)
Rnd 18-19. sc all around (30) – 2 rnds
Rnd 20. (3sc, 1 dec) x 6 (24)
Rnd 21. (2sc, 1 dec) x 6 (18)
Put stuffing.
Fasten off, leave long thread to sew
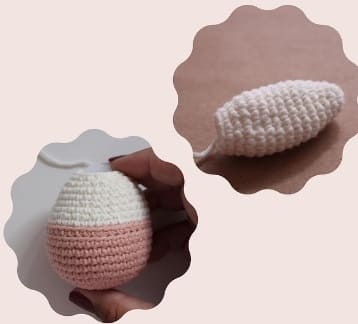
Ear (x2)
White (8001)
Rnd 1. magic ring, 6sc (6)
Rnd 2. (1sc, 1 inc) x 3 (9)
Rnd 3. sc all around (9)
Rnd 4. (2sc, 1 inc) x 3 (12)
Rnd 5. (3sc, 1 inc) x 3 (15)
Rnd 6. (4sc, 1 inc) x 3 (18)
Rnd 7-13. sc all around (18) – 7 rnds
Rnd 14. (1sc, 1 dec) x 6 (12)
Rnd 15. sc all around (12)
Fasten off, leave long thread to sew
Let’s crochet the part of the skirt
Skirt
Penelope (3112)
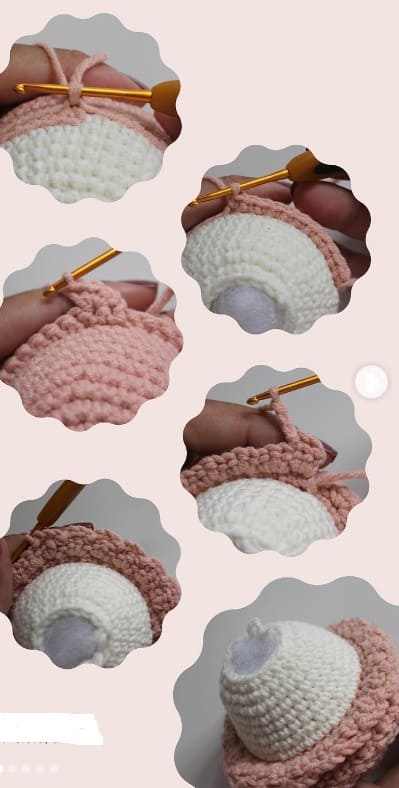
Attach the yarn to the last remaining loop on row 14 (as in the photo beside), we will work the skirt on rows 14 and 13 in a spiral, that is, without closing the row.
Make 1 ch and 1 sc in the same loop, continue making 1 sc in each of the loops on the row (until the end / last loop on row 13)
Make 1 chain turn the work, skip the first stitch and in the following make 3sc together, skip the next stitch again and in the next make 3sc together
Say repeating this process until the last sc.
Make 3 chains turn the work
Skip two base stitches and in the third make 1sl st
Do 3 ch again. Skip two base stitches and in the third make 1sl st.
Repeat this process until the end of the row and finish by tying off the yarn.
Let’s crochet the bunny’s legs and arms
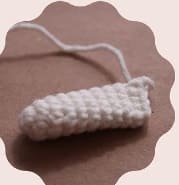
Arm (x2)
White (8001)
Rnd 1. magic ring, 6sc (6)
Rnd 2. (1sc, 1 inc) x 3 (9)
Rnd 3-10. sc all around (9) – 8 rnds
We will not put padding on the arms
Fold the arm in half and close the opening with 4 sc
Fasten off, leave long thread to sew
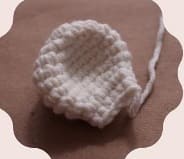
Leg (x2)
White (8001)
Rnd 1. magic ring, 6sc (6)
Rnd 2. 6 inc (12)
Rnd 3. (1 inc, 1sc) x 6 (18)
Rnd 4. (1 inc, 2sc) x 6 (24)
Rnd 5-8. sc all around (24) – 4 rnds
Rnd 9. (2sc, 1 dec) x 6 (18)
We will not stuff the legs.
Fold leg opening in half and close at 5sc
Fasten off, leave long thread to sew
Tail (x1)
White (8001)
Rnd 1. magic ring, 6sc (6)
Rnd 2. 6 inc (12)
Rnd 3-4. sc all around (12)- 2 rnds
Fasten off, leave long thread to sew
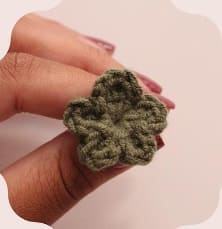
Let’s crochet the bunny head flowers. Then assemble the completed parts into the body part.
Flower (x2)
light green (5072), dark green (5442)
Make a magic ring
1st petal: ch 1, 3 dc, ch 1, 1 sl st inside ring
Repeat the process until you have 5 petals
Make: ch1, 3dc, ch1
Close the magic ring and finish off the thread leaving a thread space for sewing
Assembly
With the skein thread (to embroider) embroider the snout as in the photo on the side
Fold the ears in half, as in the photo on the side, and make a stitch so that it stays in that position.
Sew the arms to the side of the body

Sew the muzzle just below the eyes.
Choose one of the sides on top of the head and sew the ears together.
Sew the legs using rows 4 and 5 of the body as a reference.
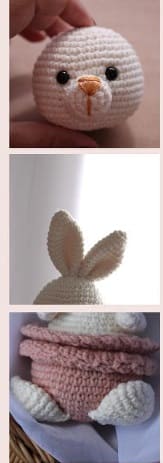
Sew the tail using rows 4 and 10 of the body as a reference
Sew the flowers.
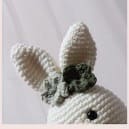
Amigurumi rabbit ready.


