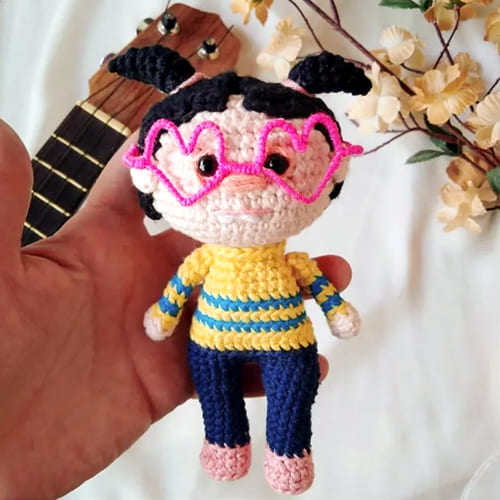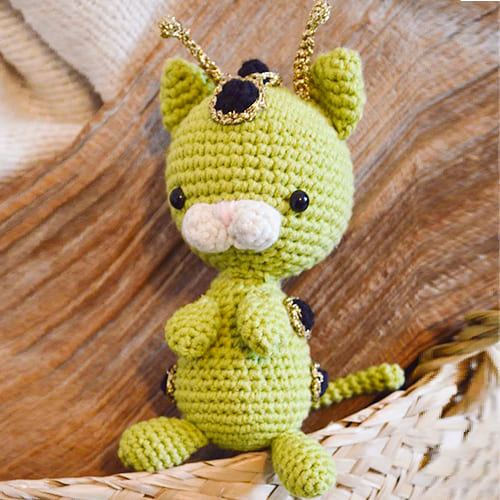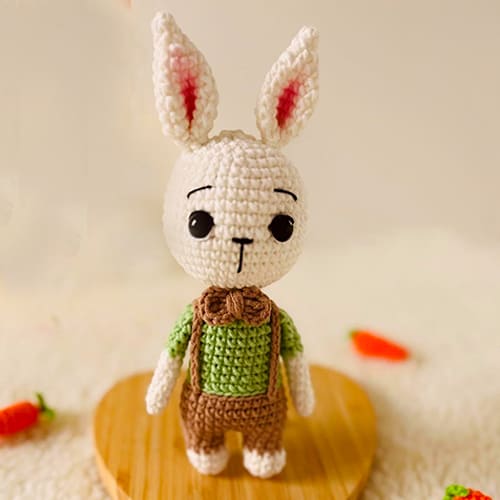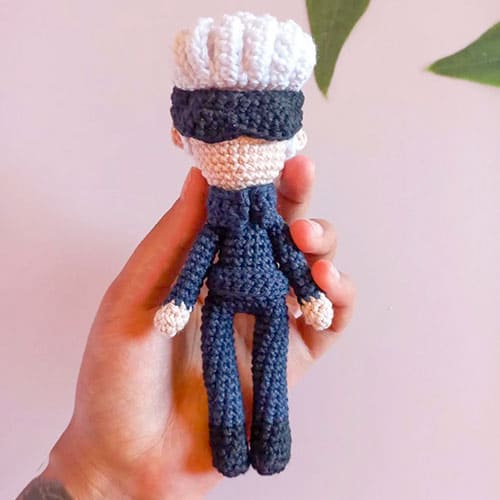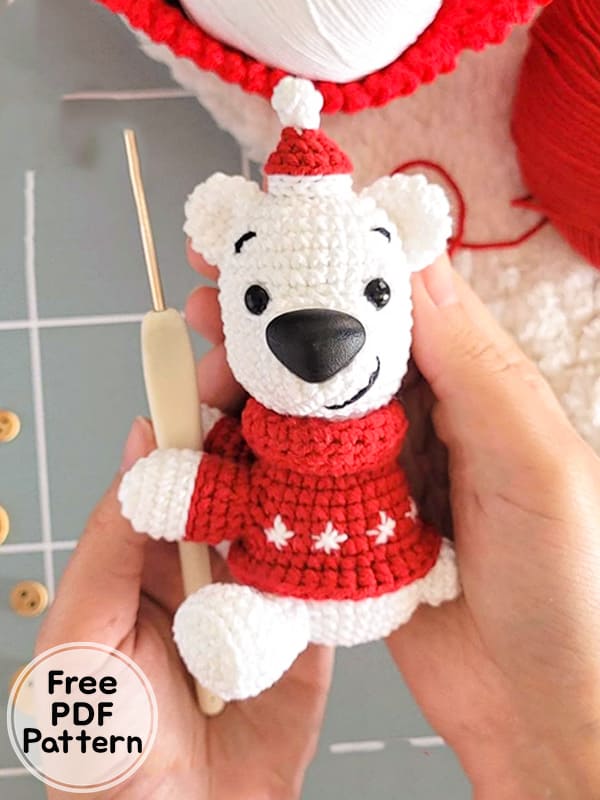
Hello everyone, would you like to welcome the new year with this cute amigurumi crochet bear toy? It is medium difficulty to crochet this cute amigurumi bear free pattern that children will love to play with step by step. You can crochet the polar crochet teddy bear amigurumi free pattern as a gift to your loved ones. It is crocheted using red and white yarn. A plastic part is placed inside to keep the legs stable. You can see this in the thumbnails in the description. We will crochet while making the body part of the red sweater amigurumi bear. You can decorate your cute bear toy using different accessories. Thank you to the creator of the bear amigurumi patterns free. Don’t forget to add it to your favorite list and share it with your loved ones free amigurumi patterns.
Teddy Bear Crochet Noel Free Amigurumi Patterns PDF
Designer: marricriativa
Materials
2.5mm needle
Filling
upholstery needle
9mm locking eyes
Muzzle with lock 20mm
Hug size L
Colors: White 8001, Lipstick 3588
Abbreviation
MR – magic ring
ch – chain
st(s)- stitch(es)
sc – single crochet
slst- Slip Stitch
hdc – half double crochet
inc- increase
dec- decrease
inc hdc- double crochet increase
BLO- Back loop only
FLO- Front loop only
Rnd- round
Height: 11cm
Difficulty level: Intermediate
Front Paws (x2)
With the white thread
Rnd 1. 6sc at the MR (6)
Rnd 2. 6 inc (12)
Rnd 3. (3sc, 1 inc) x 3 (15)
Rnd 4-5. 15sc (15) (2 rnds)
Switch to red yarn
Rnd 6. BLO 15slst (15)
Rnd 7. BLO 15sc (15)
Rnd 8. 15sc (15)
Rnd 9. (3sc, 1 dec) x 3 (12)
Put some stuffing.
Fasten off, make a reverse sc
Back Paws (x2)
With the white thread
Rnd 1. 6sc at the MR (6)
Rnd 2. 6 inc (12)
Rnd 3. inc, 3sc, 4 inc, 3sc, 1 inc (18)
Rnd 4. BLO 18sc (18)
Rnd 5-6. 18sc (18) (2 rnds)
Rnd 7. 3sc, 6 dec, 3sc (12)
Rnd 8-9. 12sc (12) (2 rnds)
Put stuffing.
Fasten off, make a reverse sc
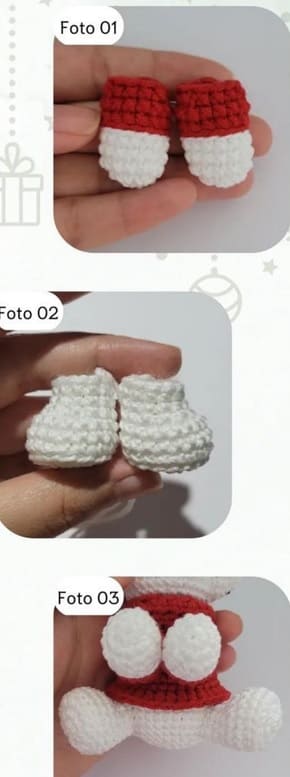
Sew the paws between rows 29 and 33 of the body
Head
With the white thread
Rnd 1. 6sc at the MR (6)
Rnd 2. 6 inc (12)
Rnd 3. (1sc, 1 inc) x 6 (18)
Rnd 4. 1sc, 1 inc, (2sc, 1 inc) x 5, 1sc (24)
Rnd 5. (3sc, 1 inc) x 6 (30)
Rnd 6-7. 30sc (30) (2 rnds)
Rnd 8. (9sc, 1 inc) x 3 (33)
Rnd 9-15. 33sc (33) (7 rnds)
Attach the eyes between rows 9 and 10 with 7 sts between them.
Rnd 16. (9sc, 1 dec) x 3 (30)
Rnd 17. (3sc, 1 dec) x 6 (24)
Rnd 18. 1sc, 1 dec, (2sc, 1 dec) x 5, 1sc (18)
Rnd 19-20. 18sc (18) (2 rnds)
Put stuffing
Switch to red yarn

Body
Rnd 21. BLO 18slst (18)
Rnd 22. BLO (2sc, 1 inc) x 6 (24)
Rnd 23. (3sc, 1 inc) x 6 (30)
In the next 3 rows we will crochet the front legs together with the body.
Rnd 24. 6sc in the body, (3sc in the 1st leg), 2sc in the body, (3sc in the 2nd leg), 16sc in the body (30)
Rnd 25. 6sc in body, (1 dec, ch 2 skip 5pt, 1 dec in 1st leg), 2sc in body, (1 dec, ch 2 skip 5pt, 1 dec in 2nd leg), 16sc in body (32)
Rnd 26. 6sc in the body, (1 dec, 1sc, 1 dec in the 1st leg), 2sc in the body, (1 dec, 1sc, 1 dec in the 2nd leg), 16sc in the body (30)
Fit the grip on the arms
The end of the hook will only go up to the red part of the sleeve of the coat
Rnd 27. (4sc, 1 inc) x 6 (36)
Rnd 28. 36sc (36)
Switch to white yarn
But keep the red yarn to the outside of the piece, we’re still going to work with it.
Rnd 29. BLO 36slst (36)
Rnd 30. BLO 36sc (36)
Rnd 31-33. 36sc (36) (3 rnds)
Rnd 34. 2sc, 1 dec, (4sc, 1 dec) x 5, 2sc (30)
Rnd 35. (3sc, 1 dec) x 6 (24) put stuffing
Rnd 36. 1sc, 1 dec, (2sc, 1 dec) x 5, 1sc (18)
Rnd 37. (1sc, 1 dec) x 6 (12) put stuffing
Rnd 38. 6 dec (6)
Fasten off, make an reverse MR.

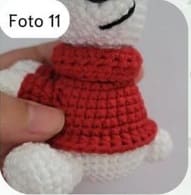
Blouse Hem
With the red thread we left out on row 28 in the body, make:
Rnd 29. FLO 1 ch, 35 hdc (36)
Close the bar with a reverse sc and hide the thread.
Blouse Collar
With the red thread
Insert a new thread into the FLO stitches on row 21 on the neck and do:
Rnd 21. FLO 18sc (18) (2 rnds)
Rnd 22. 1 ch, 17 hdc, close the round with 1slst (18)
Rnd 23. 1 ch, 4 hdc, 1 inc hdc, (5 hdc, 1 inc hdc) x 3, close the round with 1 slst (21)
Rnd 24. 1 ch, 20 hdc, close the round with 1 slst (21)
Close the collar with a reverse sc, hide the yarn and fold the last 3 rows outwards.
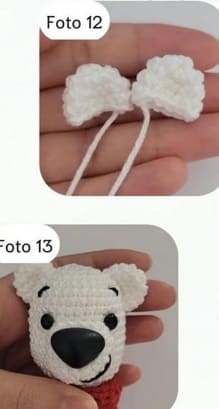
Ears (x2)
Rnd 1. 6sc at the MR (6)
Rnd 2. 6 inc (12)
Rnd 3-4. 12sc (12) (2 rnds)
Flatten the ears
Fasten off, make a reverse sc and leave a thread to sew
Place an ear on each side of the head between rows 3 and 4 and sew
Tail
Rnd 1. 5sc at the MR (5)
Rnd 2. 5 inc (10)
Rnd 3-4. 10sc (10) (2 rnds)
Fasten off, make a reverse sc and leave a thread to sew
Sew the tail between rows 29 and 32 of the butt on teddy bear
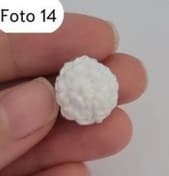
Snout
With the white thread
Rnd 1. 8sc at the MR (8)
Rnd 2. (1 inc, 1sc) x 4 (12)
Rnd 3. 1sc, 1 inc, (2sc, 1 inc) x 3, 1sc (16)
Rnd 4. 6sc, 1 inct, 3sc, 1 inct, 5sc (20)
Rnd 5. 20sc (20)
Fasten off, make a reverse sc and leave a thread to sew
Attach the lock snout between rows 2 and 3 it should be centered between the inct.
With a lighter, burn the inside edge of the snout to make it smaller. Sew the snout between rows 9 and 16 of the head, center between the eyes.
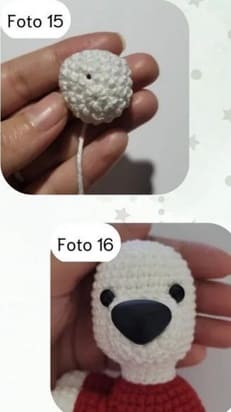
Face Details
With the white thread
Embroider two lines below the eyes
With the black thread
Embroider the eyebrows between rows 5 and 7 of the head with 2 sts wide (they should be crooked) and 8 sts apart.
Embroider the mouth between rows 2 and 3 of the muzzle, 5 sts wide.
It will start at the center of the snout and end at the left corner.

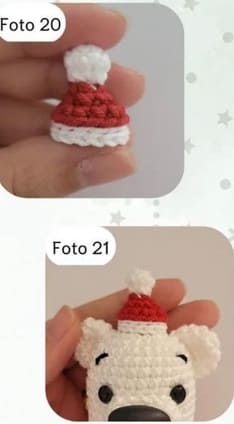
Hat
With the white thread
Rnd 1. 6sc at the MR (6)
Rnd 2. 6sc (6)
Rnd 3. (1sc, 1 dec) x 2 (4)
Switch to red yarn
Rnd 4. FLO (1sc, 1 inc) x 2 (6)
Rnd 5. (1sc, 1 inc) x 3 (9)
Rnd 6. (1sc, 1 inc) x 4, 1 sc (13)
Switch to white yarn
Rnd 7-8. BLO 13 slst (13) (2 rnds)
Fasten off, make a reverse slst.
Glue or sew between teddy bear ears
Coat Embroidery
With the fine white thread
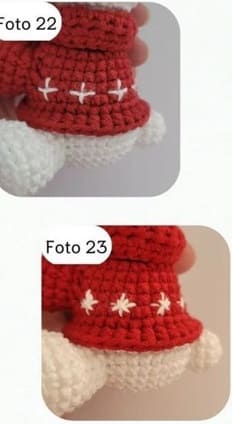
Embroider snowflakes between rows 26 and 27 of teddy bear coat
Start embroidering from the front of the jacket, make small + signs using 2 sts in each row. Skip 2 sts and repeat the process until you run out of coat.
Go back to the 1st + sign you made and make an X in the middle of it. This X needs to be smaller than the + sign, taking the middle of each point.
Repeat the process until you finish the coat and hide the yarn.
Congratulations, you have completed the bear amigurumi pattern. 🙂


