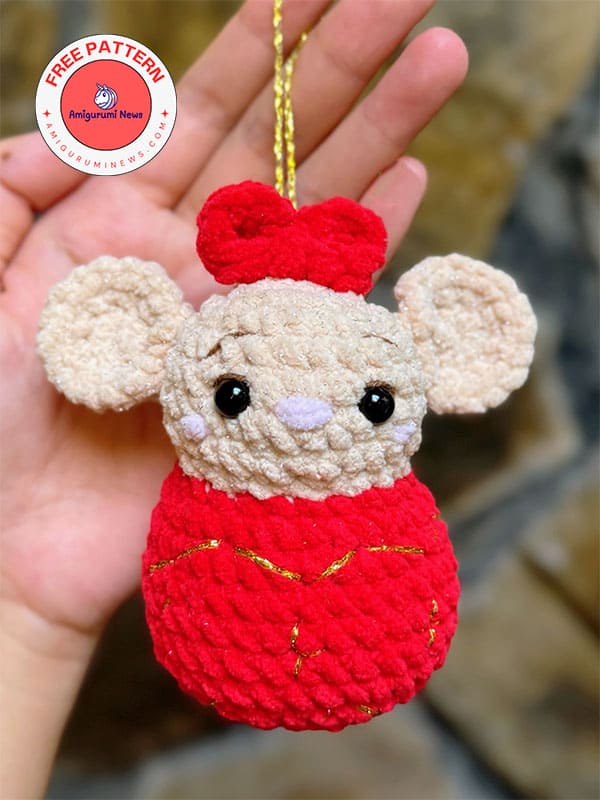
Christmas decorations feel more special when they are handmade, and a crochet Christmas mouse ornament is the perfect example of that warmth and charm. This adorable little mouse, dressed in festive colors and designed as a soft bauble, brings personality to your holiday tree while reflecting the timeless appeal of crochet christmas ornaments. Unlike mass-produced decorations, a crocheted mouse ornament tells a story of patience, creativity, and holiday joy.
Crochet lovers often look for projects that are both decorative and meaningful, and this crochet mouse ornament fits beautifully into that category. Its rounded body works perfectly as a Christmas bauble, while the detailed ears, tiny nose, and soft textures make it instantly eye-catching. Hanging among lights and greenery, it creates a cozy, nostalgic atmosphere that reminds us of handmade traditions passed down through generations.
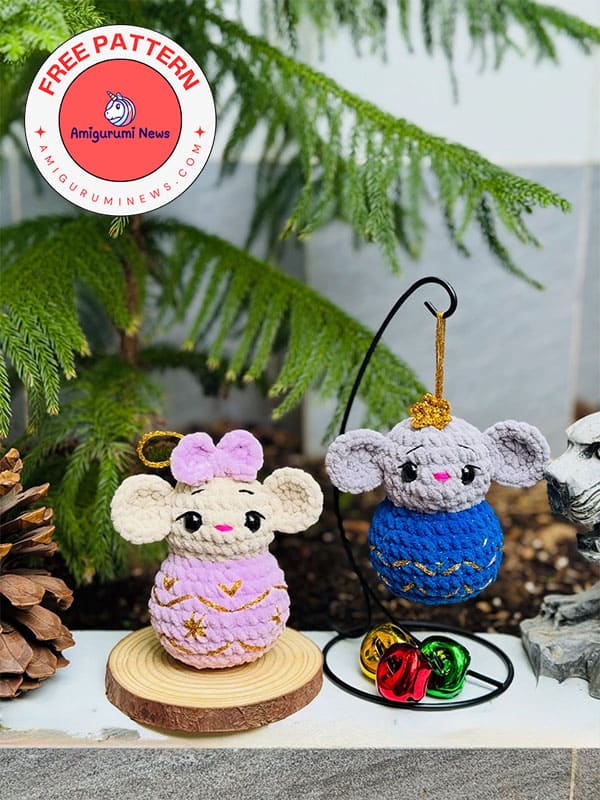
One of the biggest advantages of crochet christmas ornaments is their versatility. This mouse design can be adapted in countless ways — from classic red and gold color palettes to softer neutral tones for a Scandinavian-style tree. Using plush or velvet yarn adds extra softness, making the ornament feel luxurious while remaining lightweight enough to hang securely on branches.
Crochet mouse christmas bauble
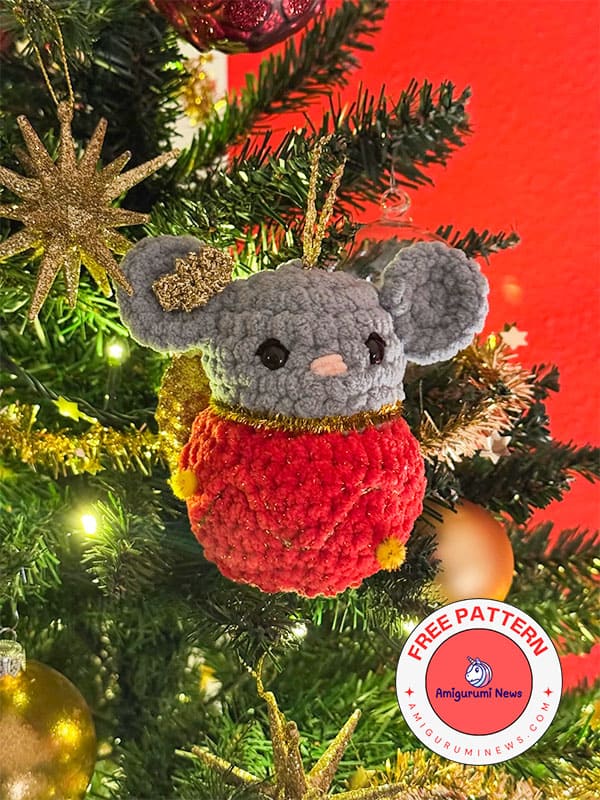
When it comes to crochet christmas baubles patterns, designs that feature animals are especially popular, and the crochet mouse stands out as a charming holiday favorite. Mice symbolize warmth, curiosity, and coziness — qualities that perfectly match the spirit of Christmas. Turning this character into a crochet Christmas ornament elevates traditional bauble patterns into something playful and memorable.
Crochet christmas baubles patterns that incorporate a mouse shape often focus on soft curves, compact construction, and lightweight stuffing. This makes them ideal for decorating trees without weighing down branches. The rounded body acts as the bauble base, while small details like ears, embroidery, and festive accessories bring the mouse to life. Adding a metallic thread or subtle sparkle yarn can enhance the holiday feel without overpowering the handmade look.
Designer: fluffbaellchen
Materials for mouse bauble
Yarn of your choice:
Mouse color, bauble color, contrasting color for bauble details, black and pink for face details.
Safety eyes (8mm)
Stuffing
Stitch markers
Scissors
Yarn needle
Crochet hook matching yarn size
Abbreviations:
MR- magic ring
ch- chain
slst- slip stitch
sc- single crochet
inc- increase
dec- decrease
FLO- front loop only
BLO- back loop only
CC- color change
(xx)- total no. of sts in this round
Christmas mouse bauble
Starting in mouse color:
R1: 8 sc in MR
R2: 8 inc (16)
R3: (sc,inc)x8 (24)
R4: 24 sc
R5: 11sc, (FLO:inc)x2, 11sc (26)
R6: 26 sc
R7: 11sc, 2dec, 11sc (24)
R8: (sc,dec)x8 (16), CC to bauble color
FO mouse color and secure ends.
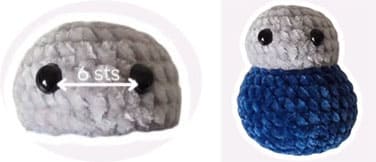
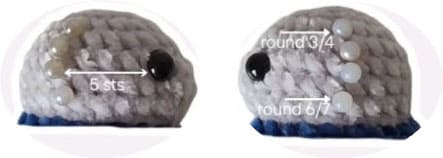
Insert safety eyes into round 5/6, approx. 6 sts apart.
Stuff the head.
R9: FLO: (sc,inc)x8 (24)
R10: (2sc,inc)x8 (32)
R11-15: 32sc (5 rounds)
R16: (2sc,dec)x8 (24)
R17: (sc,dec)x8 (16)
Stuff the body.
R18: 8 dec (8)
FO, weave the yarn tail through the FLs of round 18, pull tight to close, and weave in the end.
Ears (make 2)
The ears will be crocheted onto the head.
To prepare for this step, mark the stitches from round 3/4 to round 6/7, 5 stitches away from the eyes.
In mouse color:
R1: 8 sc in MR
R2: 8 inc (16)
Attach ear to head by making 3 slst going through both the ear and the marked stitches of the head:
Mouse’s right ear: work 3 slst upward, moving from round 6 to round 4.

FO, secure and weave in the yarn tails.
Mouse’s left ear: work 3 slsts downward, moving from round 4 to round 6.
FO, secure and weave in the yarn tails.
If you tend to make loose slst, go down one hook size for this step.
Details
With black and pink yarn:
Embroider nose and eye details.(optional)
Now begins the most fun part:
Make this christmas mouse bauble your own, matching your style and favorite holiday decor.
Embroider stars, stripes, or sparkles add a charm, beads, a bow, or any festive detail… whatever feels right and wonderfully cute to you!
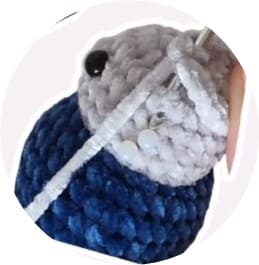
Once you’re done, attach a strand of yarn to the top of the head and tie a knot to form the hanging loop.