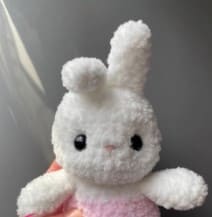
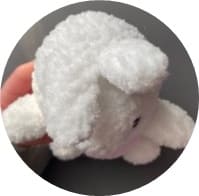
A tiny handmade bunny can bring an unexpected sense of warmth, especially when it’s crafted with soft yarn and a bit of patience. This crochet plush bunny free pattern is a lovely choice for anyone looking to create something gentle, simple, and full of character. The fluffy texture gives the bunny a cozy appearance, while its small size makes it perfect as a gift or a decorative piece.
For those just getting started, an amigurumi plush bunny free pattern for beginners offers an easy and enjoyable introduction to the world of crochet toys. Most of the design relies on basic stitches like single crochet, along with simple shaping techniques. Even if you’re still learning, the forgiving nature of plush yarn helps hide small imperfections, which can boost your confidence as you go.
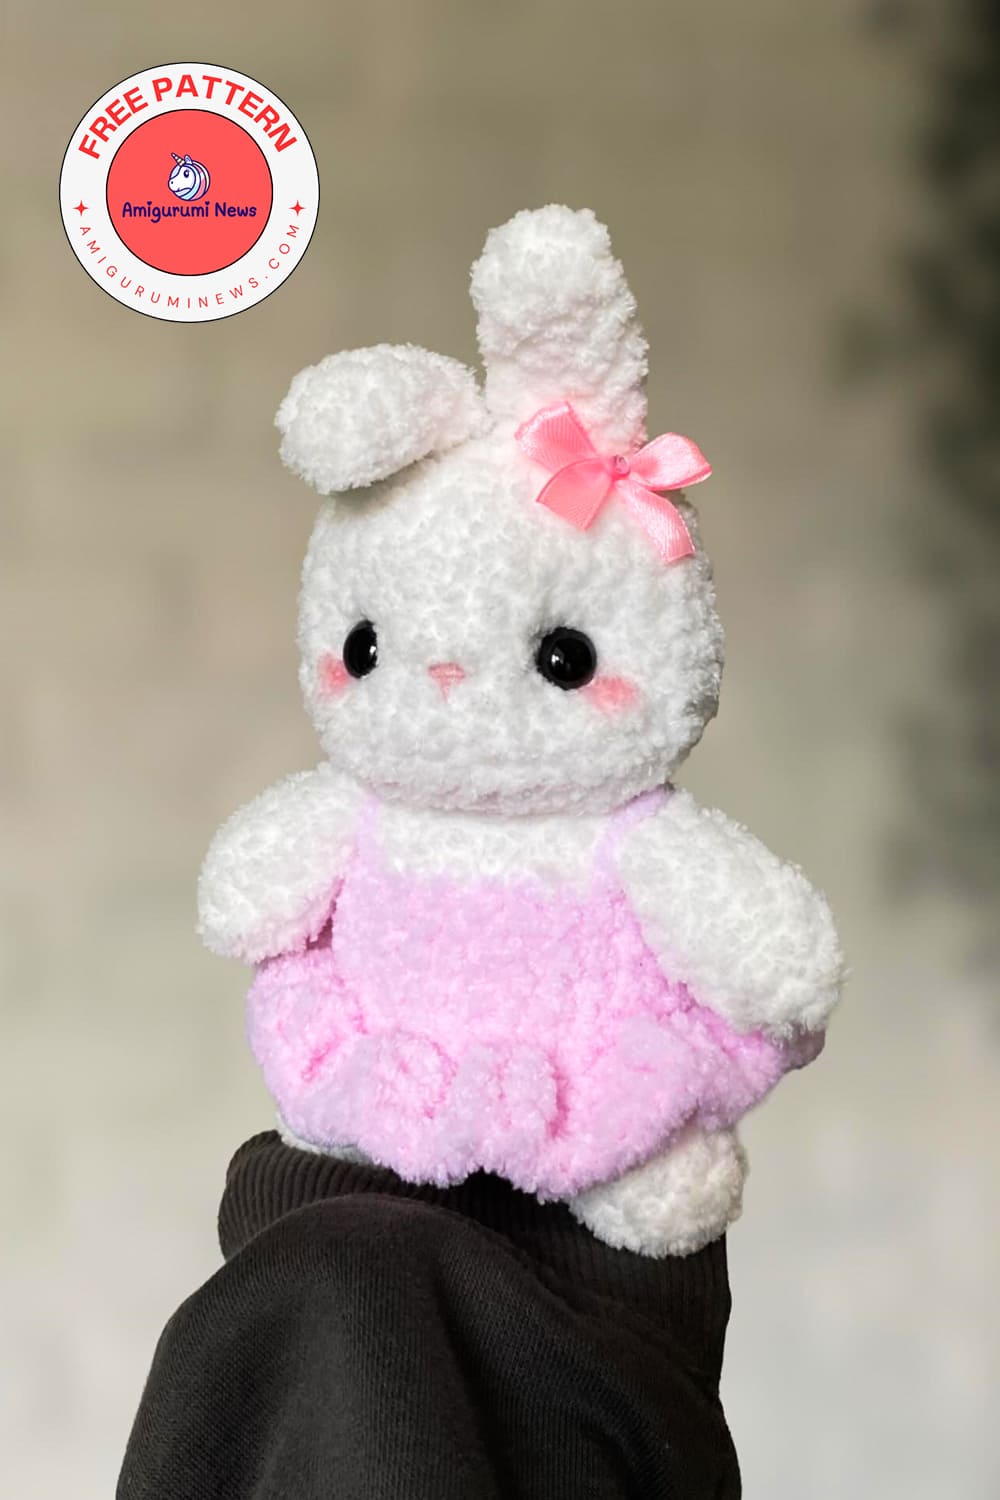
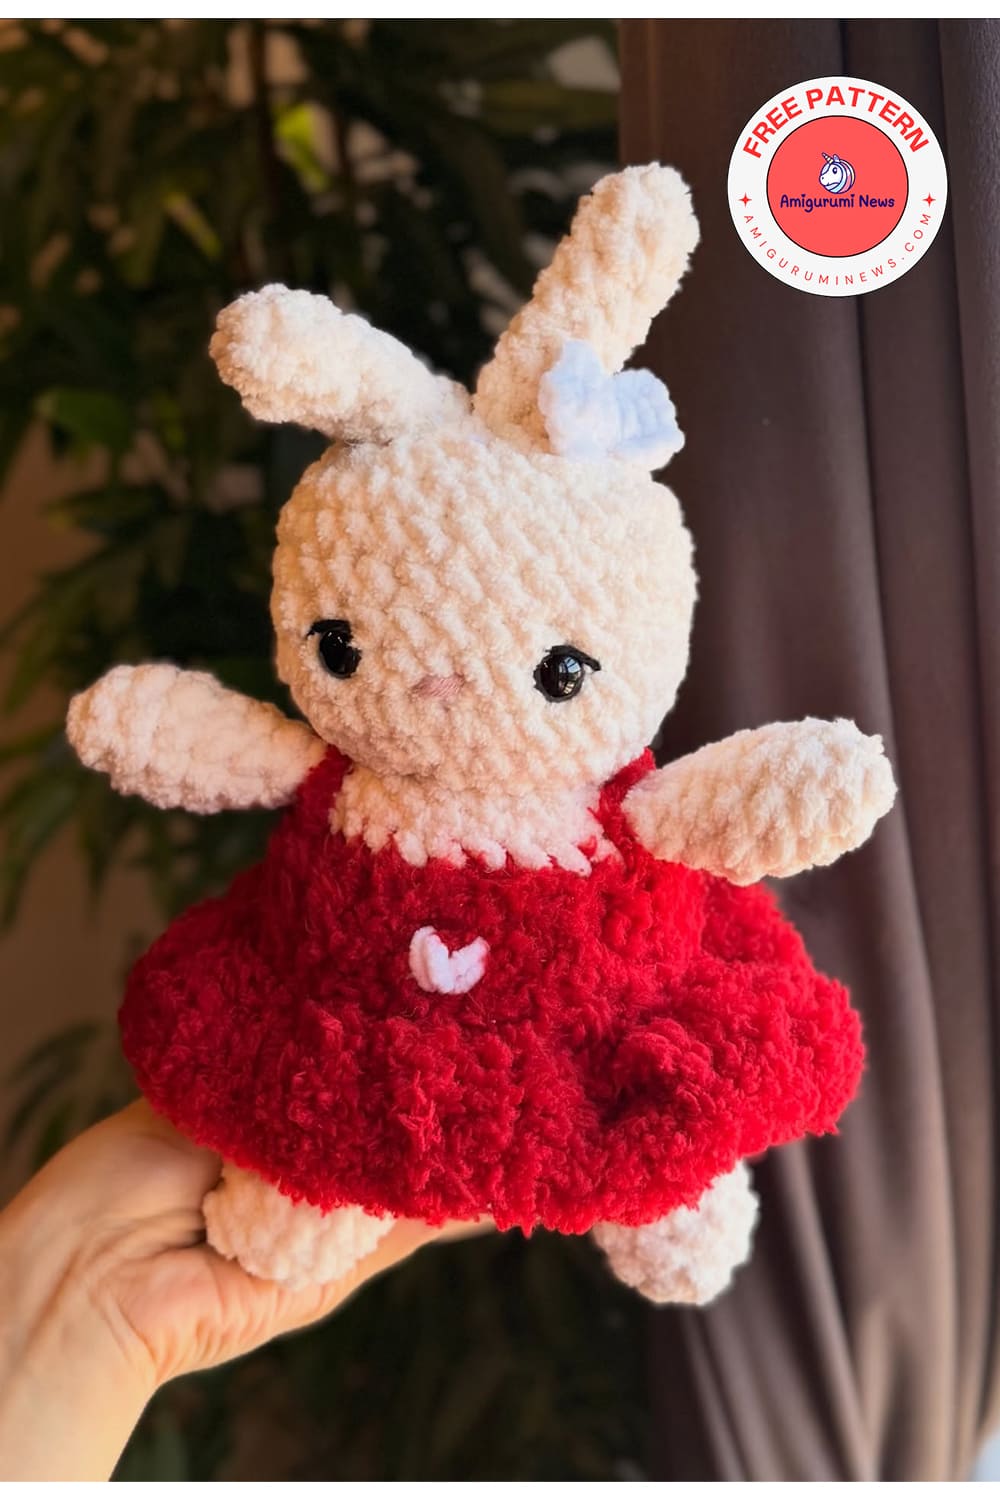
Chubby ballerina crochet plush bunny pattern
One of the best parts of making a bunny like this is adding your own touch. You might choose soft pastel tones, attach a tiny bow, or even experiment with different textures to create a unique look. Each variation tells a slightly different story.
In the end, this amigurumi plush bunny free pattern is more than just a project—it’s a relaxing and creative experience that turns yarn into something truly special.
Designer: littlefluffystitches
Supplies:
Crochet hook (I used 4.5mm)
Yarn needle
Stitch marker
Scissors
Safety eyes (12 mm)
Fiber fill stuffing
2 colours of yarn (you can use whatever yarn you prefer, I used Alize softy plus)
Pink acrylic yarn for embroidering the nose
White acrylic yarn for eye shaping.
Abbreviations:
R- round/ row
MR- magic ring
sc- single crochet
inc- increase
dec- decrease
tr- treble crochet
slst- slip stitch
cc- colour change
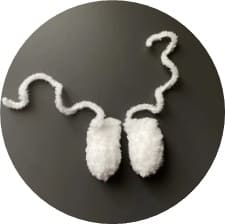
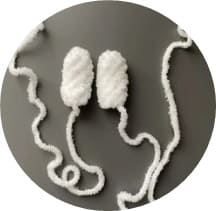
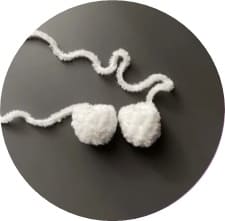
Arms (make them first)
R1. MR 6 (6)
R2. (sc,inc)x3 (9)
R3-5. sc around (9) (3 rounds)
Stuff very lightly or do not stuff.
R6. (2sc,dec)x2, sc (7)
R7. sc around (7)
Fold the top flat and make 3 sc through both sides. FO, no need to leave a tail, the arms will be crocheted onto the body.
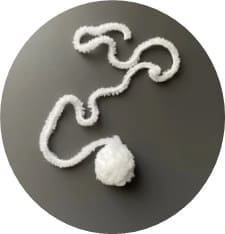
Tail
R1. MR 6 (6)
R2. (2sc,inc)x2 (8)
R3. sc around (8)
R4. (2sc,dec)x2 (6)
Stuff lightly. Slst, FO and leave long tail for sewing.
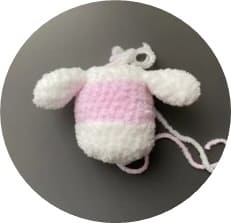
Body and head
Start with your body colour.
R1. MR 6 (6)
R2. 6 inc (12)
R3. (sc,inc)x6 (18)
R4. (2sc,inc)x6 (24)
R5. (3sc,inc)x6 (30)
R6-8. sc around (30) (3 rounds)
CC to dress colour.
R9. BLO: sc around (30)
R10-11. sc around (30) (2 rounds)
R12. (4sc,dec)x5 (25)
R13. sc around (25)
CC to body colour.
R14. sc around (25)
R15. 3sc,dec,3sc with arm, dec, 3sc, dec, sc, 2sc with arm, dec with arm, 3sc, dec (20)
R16. (sc,dec)x6, 2sc (14)
Stuff the body firmly.
R17. FLO: inc x14 (28)
R18. (3sc,inc)x7 (35)
R19-20. sc around (35) (2 rounds)
R21. 13sc, 2dec, 4sc, 2dec, 10 sc (31)
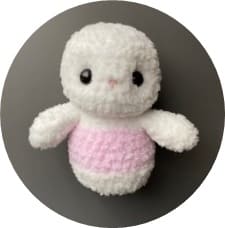
Put safety eyes between rounds 20 and 21, about 5 or 6 stitches apart.
Start stuffing the head.
R22-24. sc around (31) (3 rounds)
R25. (sc,dec)x10, sc (21)
R26. 10dec, sc (11)
Finish stuffing the head. Slst, FO and close the hole. Embroider a nose in between the eyes one row lower.
Shaping the eyes
Note: this step is optional. You can skip it if you are happy with how your bunny looks.
1. Insert the needle at the bottom center of the head, and bring it out at the inner bottom corner of the right eye (from the front view).
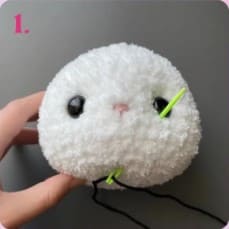
2. Insert the needle in the outer top corner of the same eye and bring it out at the top corner of the left eye.
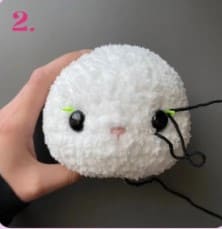
3. Insert the needle at the inner bottom corner of the same eye and bring it out at the bottom center of the head, at the same spot where you first inserted the needle.
4. The yarn should be directed into the inner sides of the eyes before pulling the strands.
5. Pull the two strands of yarn at the bottom of the head gently to shape the eyes, then tie a knot, cut the ends, and hide it inside the plushie.
Ears (make two)
R1. MR 6 (6)
R2-8. sc around (6) (7 rounds)
Slst and FO, leaving a long tail for sewing. Do not stuff.
Note: if you prefer thicker ears you can make 1 or 2 sc more in MR.
Legs (make two)
R1. MR 8 (8)
R2. (3sc,inc)x2 (10)
R3-5. sc around (10) (3 rounds)
Slst and FO, leaving a long tail for sewing. Stuff firmly.
Assembly
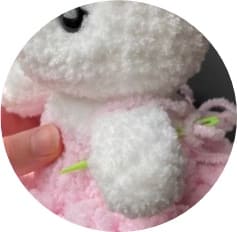
Sew the ears to the top center of the head, right next to each other. Sew one ear flat and the other upright.
Sew the legs to the body between R3-7 about 4 stitches apart. Make sure to not sew on the FLO stitches.
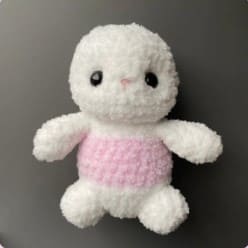
Sew the tail to the center of the bunny’s bottom, between rounds 3-6.
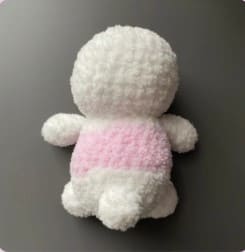
Ears from the top view.
Tutu
Hold the bunny upside down with its back facing you. Insert your hook into the first FLO of R9, ch3 and make 2tr in each stitch around. (60)
Slst to the first tr of the round and FO. Weave in the ends.

Straps for the dress
Take a strand of yarn in the dress colour and insert the needle at the top side of the dress, then bring it to the same point at the back to create a loop around the arm. Secure the ends with a knot and hide them inside the body.
Repeat on the other side.
The crochet plush amigurumi bunny is ready!