Hello everyone, my friends, today we will process a very cute amigurumi mouse toy with you. First of all, thank you to the owner of the pattern. Thanks to the detailed step by step crochet mouse pattern instruction, beginners can quickly complete the amigurumi pattern. To make such a cute crochet amigurumi mouse, the designer used a 3.5mm crochet hook. The yarn thickness was chosen to be 4 mm. Now I invite you to free amigurumi pattern instructions.
Crochet Mouse Amigurumi PDF Free Pattern
Designer: minimo.creates
Materials
• Yarn size 4
• Crochet hook size: e/4-3.5 mm
• Stuffing
• Darning/ yarning/ tapestry needle
• 12 mm safety eyes
Abbreviations
Mr: Magic ring
Sc: Single crochet
Inc: Increase
Dec: Decrease
Dc: Double crochet
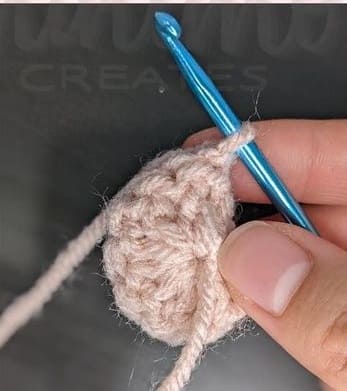
Head
Rnd 1. 8 sc in MR (8)
Rnd 2. 8 inc (16)
Rnd 3. (sc,inc)*8 (24)
Rnd 4. (2sc,inc)*8 (32)
Rnd 5-7. sc in each st (32)
Rnd 8. (sc3,inc)*8 (40)
Rnd 9. sc in each st (40)
Rnd 10. (4sc,inc)*8 (48)
Rnd 11. (4sc,dec)*8 (40)
Rnd 12. (3sc,dec)*8 (32)
Rnd 13. (2sc,dec)*8 (24)
Rnd 14. (1sc,dec)*8 (16)
Fasten off. There is no need to close. Place safety eyes between rnd 9-10 with 8 sts apart.
Embroider nose between rounds 9-10. Stuff the head.
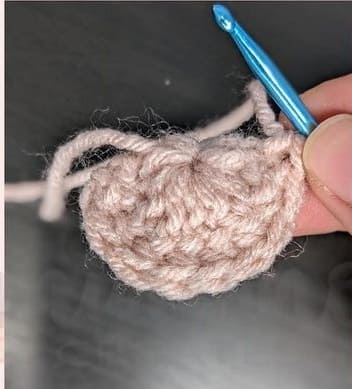
Body
Rnd 1. 6 sc in MR (6)
Rnd 2. 6 inc (12)
Rnd 3. (sc,inc)*6 (18)
Rnd 4. (2sc,inc)*6 (24)
Rnd 5. (3sc,inc)*6 (30)
Rnd 6. (4sc,inc)*6 (36)
Rnd 7. (5sc,inc)*6 (42)
Rnd 8-12. sc in each st (42)
Rnd 13. (5sc,dec)*6 (36)
Rnd 14. (4sc,dec)*6 (30)
Rnd 15. (3sc,dec)*6 (24)
Rnd 16. (2sc,dec)*6 (18)
Rnd 17-18. sc in each st (18)
Stuff and fasten off and leave and long tail for sewing.
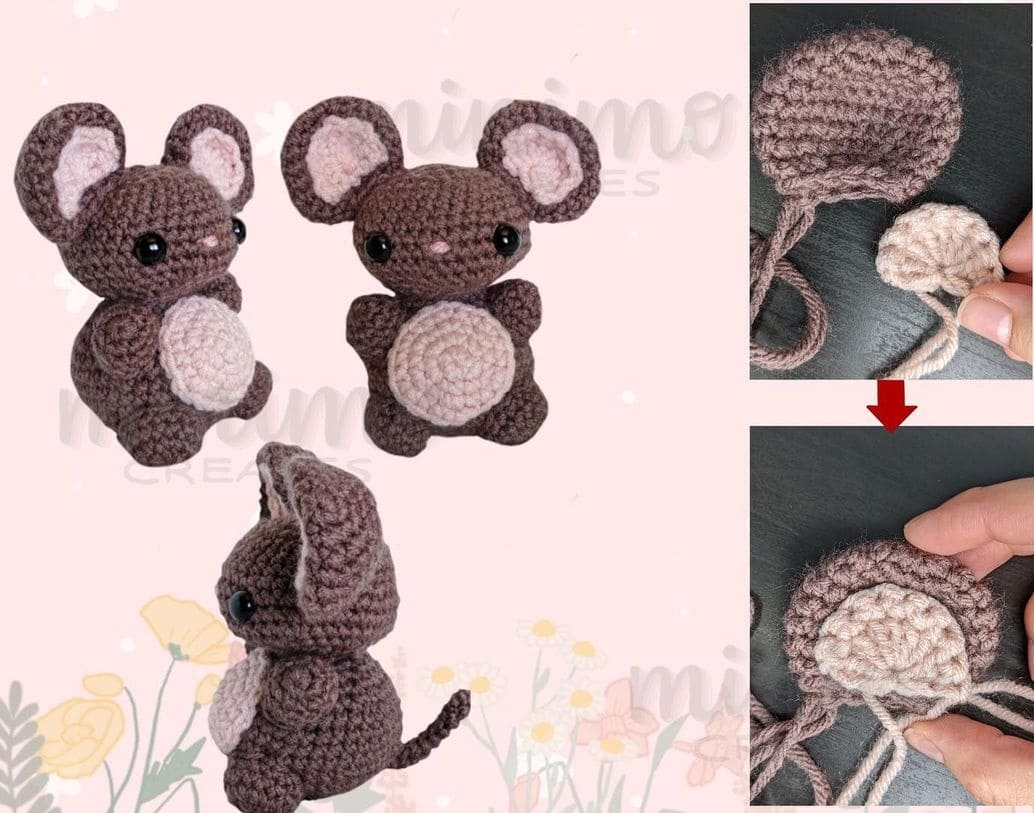
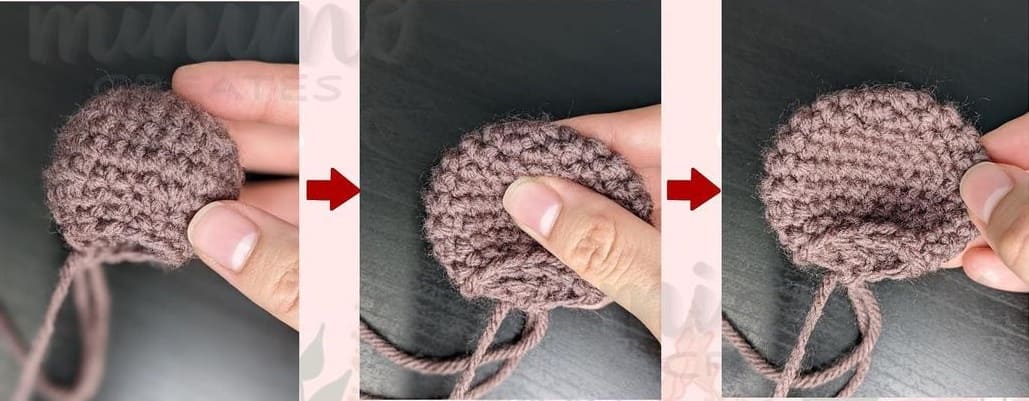
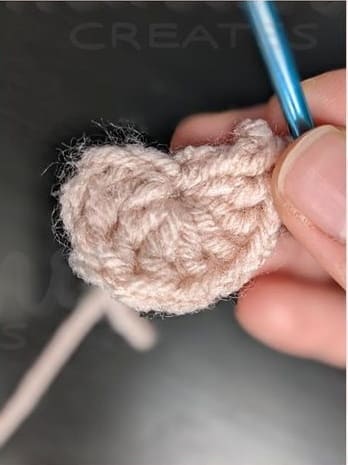
Ears (Make 2)
Rnd 1. 6 sc in MR (6)
Rnd 2. inc in each st (12)
Rnd 3. sc, inc *6 (18)
Rnd 4. 2sc, inc *6 (24)
Rnd 5. 3sc, inc *6 (30)
Rnd 6-7. sc in each st (30)
Rnd 8. 3sc,dec (24)
Rnd 9. 2sc, dec (18)
Rnd 10. sc, dec (12)
Fasten off and leave a long tail for sewing. There is no need to stuff or close.
When flattening the ears for assembly, please follow the photos below.
Inner ear (Make 2)
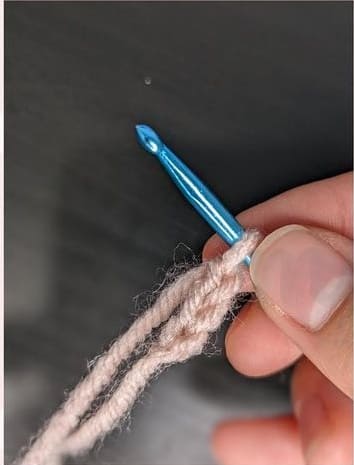
Start with a skip knot.
Ch 3 (this ch 3 count as a dc) and in the 3rd ch from the hook, dc 8 into the same st (9)
Turn your work, sc 9 (9)
Fasten off and leave a long tail for sewing.
Ch 3
After dc 8 into 3rd ch
Turn your work around. String from slip knot should be on this side.
After sc 9.
Arms (Make 2)
Rnd 1. sc 6 in MR (6)
Rnd 2. 6 inc (12)
Rnd 3-4. sc in each st (12)
Fasten off and leave a long tail for sewing. Stuff it before you sew it onto the body.
Legs (Make 2)
Rnd 1. 8 sc in MR (8)
Rnd 2. inc in each st (16)
Rnd 3-4. sc in each st (16)
Fasten off and leave a long tail for sewing. Stuff it before you sew it onto the body.
Belly
Rnd 1. 6 sc in MR (6)
Rnd 2. 6 inc (12)
Rnd 3. (sc,inc)*6 (18)
Rnd 4. (2sc,inc)*6 (24)
Fasten off and leave a long tail for sewing.
Tail
Rnd 1. 4 sc in MR (4)
Rnd 2-10. sc in each st (4)
Fasten off and leave a long tail for sewing. There is no need to stuff.
Assembly
Use the photos given as a guide as yo where you should sew each piece.
Sew the inner ear to the middle of the ear as shown in the pictures. Then sew the ears onto the head, starting from rnd 3 and ending at rnd 8.
Sew the arms between rnd 11 and 15, legs between rnd 3 and 7, and belly between the legs and arms roughly between rnd 7 and 15.
Then sew the tail onto the back of the body between rnd 6 and 7.