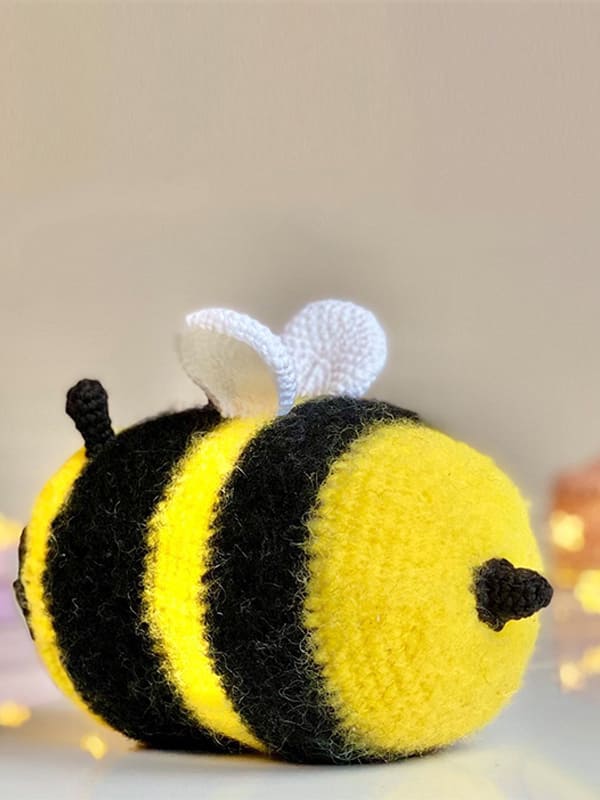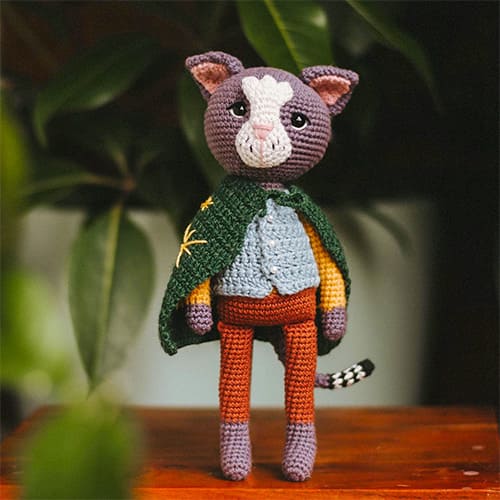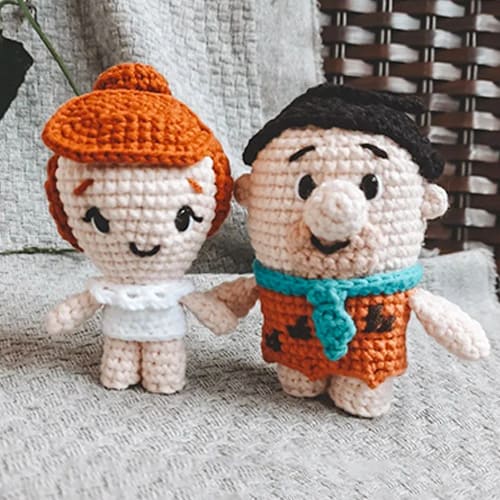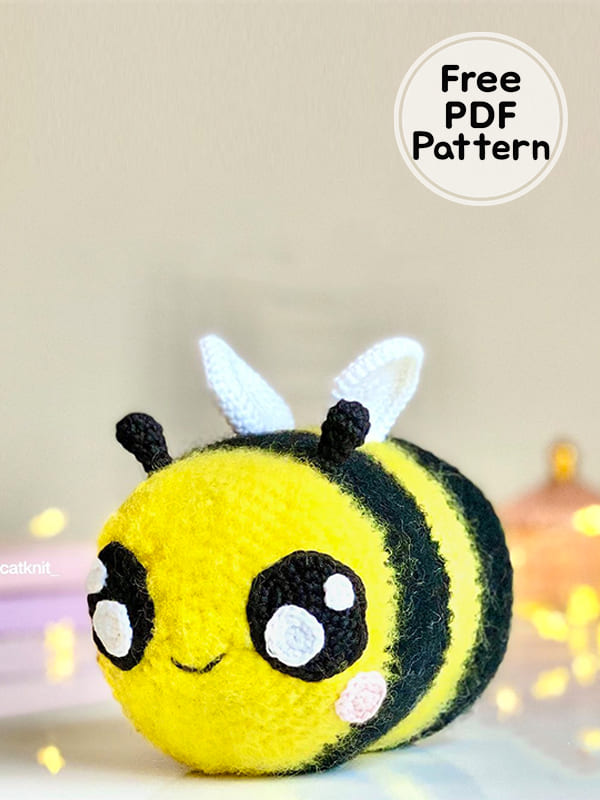
I am happy to share the furry crochet bee pattern with you absolutely free of charge, my friends. First of all, I would like to thank CatKnit, the owner of the pattern. It’s a really great amigurumi crochet bee. It is suitable for beginners as it is very easy to make the cute bee. It looks realistic and special with its furry look. Follow the free pattern instructions step by step and complete the cute bee amigurumi pattern right now. I wish you success in working out the crochet bee pattern.
Fuzzy The Crochet Bee Amigurumi PDF Free Pattern
Designer: catknit_
Materials
• Colour A: Rauma garn vams- sitrongul (100% wool yarn)
• Colour B: Rauma garn vams- sauesvart (100% wool yarn)
• Colour C: Ricorumi Dk- black
• Colour D: Ricorumi DK- white
• Colour E: Ricorumi DK- rose
• Crochet hook: 2.5 mm.
• Toy stuffing.
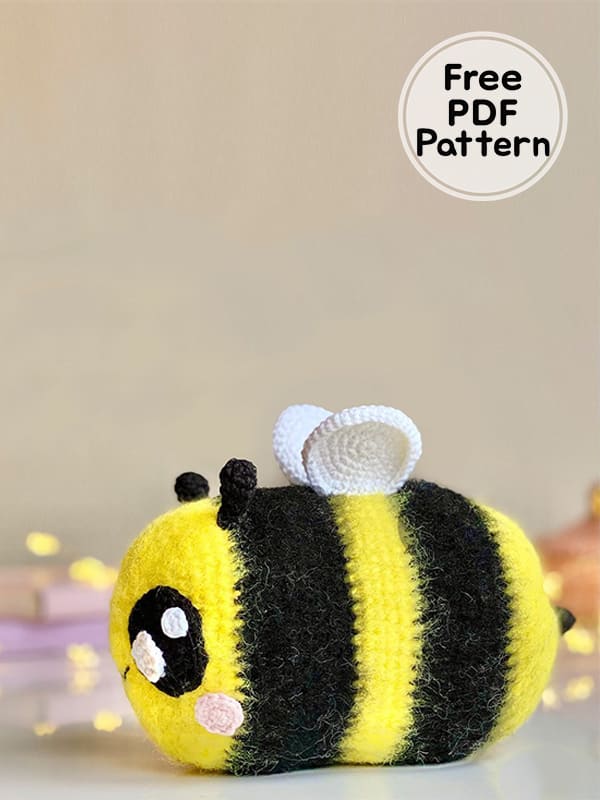
Body
Rnd 1. Using colour A, work 6 sc in MR (6)
Rnd 2. 6 inc (12)
Rnd 3. (1sc,inc)*6 (18)
Rnd 4. (2sc,inc)*6 (24)
Rnd 5. (3sc,inc)*6 (30)
Rnd 6. (4sc,inc)*6 (36)
Rnd 7. (5sc,inc)*6 (42)
Rnd 8. (6sc,inc)*6 (48)
Rnd 9. (7sc,inc)*6 (54)
Rnd 10. (8sc,inc)*6 (60)
Rnd 11-13. sc in each st
Rnd 14-21. change colour B, sc in each st.
Rnd 22-26. change colour A, sc in each st.
Rnd 27-33. change colour B, sc in each st.
Rnd 34-35. change colour A, sc in each st.
Rnd 36. (8sc,dec)*6 (54)
Rnd 37. (7sc,dec)*6 (48)
Rnd 38. (6sc,dec)*6 (42)
Rnd 39. (5sc,dec)*6 (36)
Rnd 40. (4sc,dec)*6 (30), start stuffing the bee firmly.
Rnd 41. (3sc,dec)*6 (24)
Rnd 42. (2sc,dec)*6 (18)
Rnd 28. (1sc,dec)*6 (12), top up the stuffing.
Rnd 29. (dec)*6 (6).
Fasten off and sew across the last sts to close.
Brushing the bee
ıf you’ve gone with a 100% wool yarn you can now brush the bee to create a fuzzy effect. A slicker pet brush is optimal for this.
Simply brush the bee in the same direction over and over and the yarn will become fuzzy to the touch.
Keep going until you have an even texture across the whole bee.
Wings (Make 2)
Rnd 1. Using colour D, work 6 sc in MR (6)
Rnd 2. inc in each st (12)
Rnd 3. (1sc,inc)*6 (18)
Rnd 4. (2sc,inc)*6 (24)
Rnd 5. (3sc,inc)*6 (30)
Rnd 6. (4sc,inc)*6 (36)
Rnd 7. sc in each st. Fasten off leaving a long tail.
Eyes (Make 2)
Black part:
Rnd 1. Using colour C, work 6 sc in magic ring (6)
Rnd 2. 6 inc (12)
Rnd 3. (1sc,inc)*6 (18)
Rnd 4. (2sc,inc)*6 (24)
Rnd 5. (3sc,inc)*6 (30), fasten off leaving a long tail.
White part 1:
Rnd 1. Using colour D, work 6 sc in MR (6)
Rnd 2. inc in each st (12), fasten off leaving a long tail.
White part 2:
Rnd 1. Using colour D, work 6 sc in MR (6)
Fasten off leaving a long tail.
Cheeks (Make 2)
Rnd 1. Using colour E, work 6 sc in MR (6)
Rnd 2. inc in each st (12), fasten off leaving a long tail.
Antennas (Make 2)
Rnd 1. Using colour C, work 6 sc in MR (6)
Rnd 2. 6 inc (12)
Rnd 3. sc in each st
Rnd 4. dec in each st (6)
Rnd 5-6. sc in each st. Fasten off leaving a long tail.
Stinger
Rnd 1. Using colour C, work 4 sc in MR (6)
Rnd 2. sc in each st
Rnd 3. inc in each st (8)
Rnd 4. sc in each st
Rnd 5. (1sc,inc)*4 (12)
Rnd 6. sc in each st
Rnd 4. FLO (2sc,1 inc)*4 (16)
Fasten off leaving a long tail.
Assembly
Wings:
You’ll want the last row of the wings to curl outwards a bit to create a thicker view from the front of the bee. Use this edge to attach the wings to the yellow part at the top of the bee with 4 sts in between the wings.
Horns:
Attach the horns in the first black row with 9 sts in between.
Mouth:
Using a tail of colour C, sew the mouth between row 3 and 4 , 5 sts wide, see image for guidance.
Eyes:
Black Part: attach across row 5-11, align the centre of the eye with the centre of the face.
White part 1: Attach the largest white part bottom inner corner of the eye.
White part 2: Attach the smaller white part top outer corner of the eye.
Cheeks:
Attach the cheeks 1 row away from the eyes, just before the first black part of the bee. See image for guidance.
Stinger:
Attach the stinger in the middle of the back of the bee.
