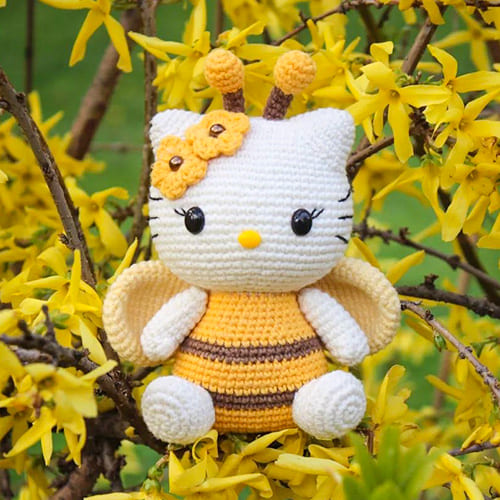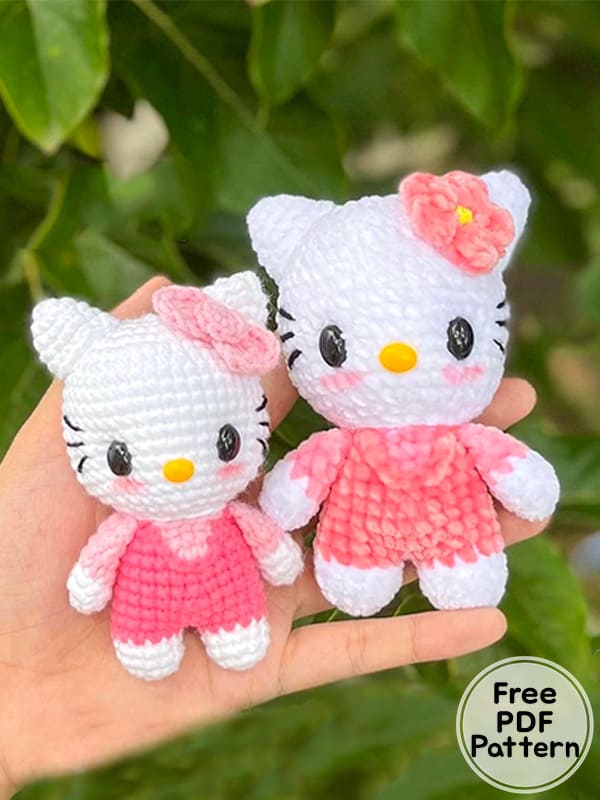
Greetings friends, I am with you with one of the most loved characters, hello kitty crochet pattern. First of all, I would like to thank the designer for the free hello kitty crochet cat pattern. Complete the kids’ favorite hello kitty amigurumi toy by following the step by step instructions and make them happy. Hello kitty crochet pattern, legs and body are crocheted as a single piece, while the other parts are crocheted separately and combined. Now I invite you to hello kitty crochet free amigurumi pattern, good luck.
Hello Kitty Crochet Pattern PDF Free Amigurumi
Designer: ash_does
Abbreviations
MR: Magic ring
Ch: Chain
Sc: Single crochet
Inc: Increase
Dec: Decrease
Slst: Slip stitch
Tr: Treble crochet
You can use any type of yarn you like with a suitable hook size. I used milk cotton 5 ply yarn with 2.5 mm hook.
Head
Start with 4 ch.
Rnd 1. inc, 1 sc, 3 sc in one stitch, 1 sc, inc (9)
Rnd 2. 9 inc (18)
Rnd 3. (1sc,inc)*6 (27)
Rnd 4. (2sc,inc)*6 (36)
Rnd 5. 36 sc (36)
Rnd 6. (5sc,inc)*6 (42)
Rnd 7-14. 42 sc (42)
Rnd 15. (5sc,dec)*6 (36)
Rnd 16. (4sc,dec)*6 (30)
Rnd 17. (3sc,dec)*6 (24)
Rnd 18. (2sc,dec)*6 (18)
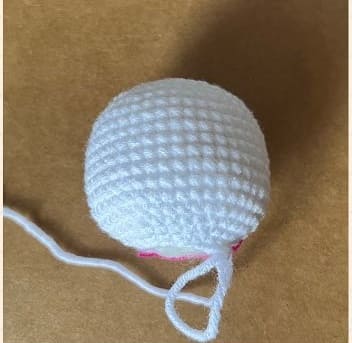
Stuff the head and cut the yarn leaving a long tail.
Arms (Make 2)
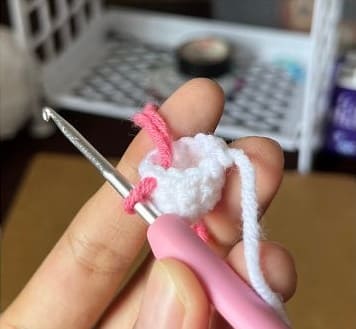
Rnd 1. 7 sc in MR (7)
Rnd 2. 2 sc, inc, 3 sc, inc (9)
Rnd 3. 9 sc (9)
Rnd 4. in pink color, 4 sc, inc, 4 sc (10)
Rnd 5. 10 sc (10)
Rnd 6. (3sc,dec)*2 (8)
Close the arm with 3 sc.
Legs (Make 2)
Rnd 1. 6 sc in MR (6)
Rnd 2. 6 inc (12)
Rnd 3-4. 12 sc (12)
– Cut the yarn in both legs.
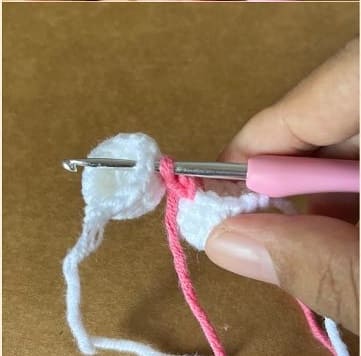
– Take one leg and join new pink yarn in 4th st after the last stitch of rnd 4.
– 2 ch and connect it onto 5th st before the last st of rnd 4.
– Continue to body.
Body
Rnd 1. 12 sc, 2 sc (on chain), 12 sc, 2 sc (on chain) (28)
Rnd 2-3. 28 sc (28)
Rnd 4. (12sc,dec)*2 (26)
Rnd 5. (11sc,dec)*2 (24)
Rnd 6. 24 sc (24)
Rnd 7. 10 sc (in pink, 3 sc), 11 sc (24)
Rnd 8. 4 sc, dec, 3 sc (in pink, 5 sc), 2 sc, dec, 4 sc, dec (21)
Rnd 9. 4 sc, dec, 2 sc (in pink, 5 sc), dec, 4 sc, dec (18)
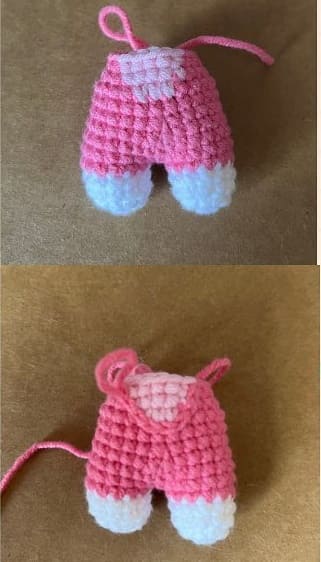
Using surface crochet, make slip stitches around the edges of color change starting from top right corner to make it neater and layered.
Ears
Rnd 1. 6 sc (6)
Rnd 2. (1sc,inc)*3 (9)
Rnd 3. (2sc,inc)*3 (12)
Rnd 4. 12 sc (12)
Rnd 5. (3sc,inc)*3 (15)
Cut the yarn and leave some tail.
Ribbon
4 ch.
4 tr into 1st chain
3 ch, sl into same st, 3 ch, 4 tr, 3 ch, sl.
round applique
– 8 sc in MR

– See the head onto the body.
– Glue or sew the eyes with a black thread, add nose and whiskers.
– Sew arms on both side and sew the ears on the head.
– Sew the ribbon in front of the ear.


